
How Do You Install LED Interior Lights: Step-By-Step Guide
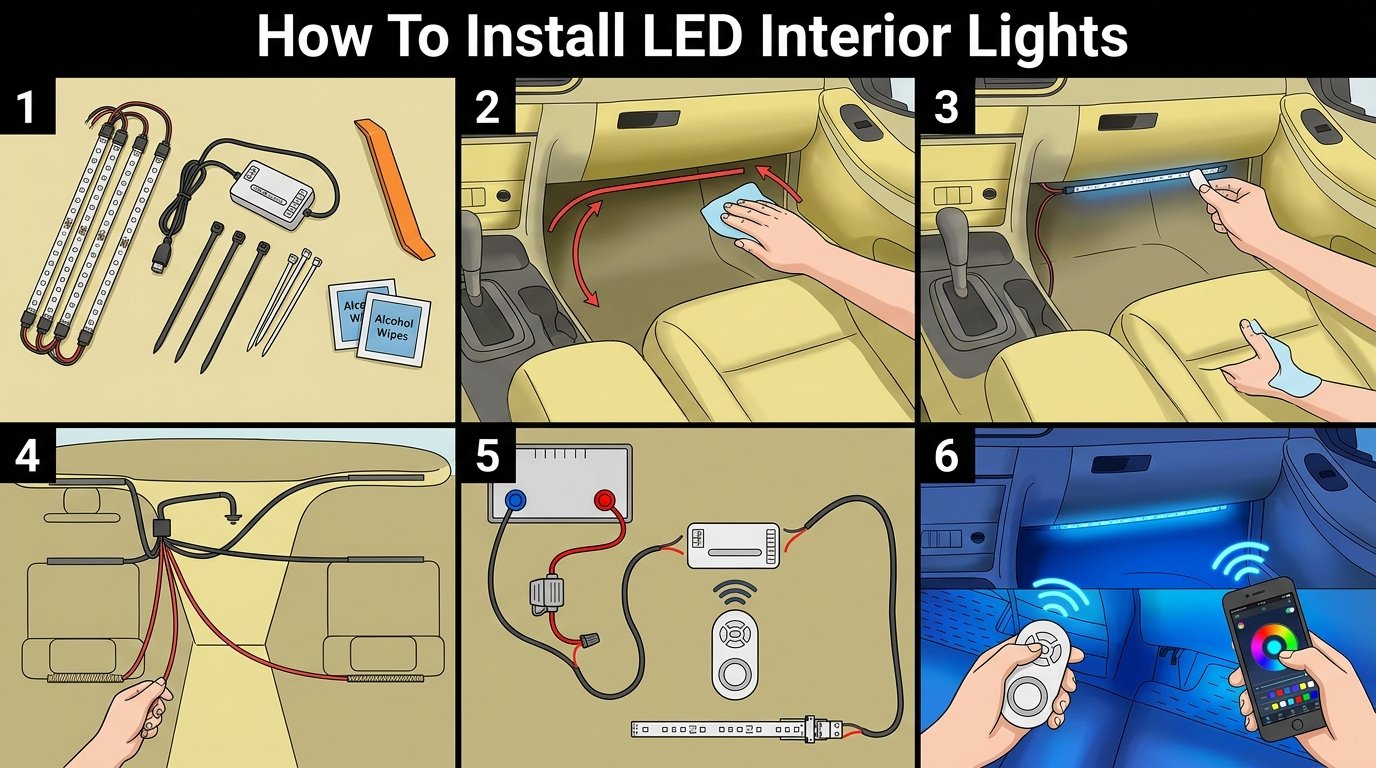
Shut off power, plan the layout, mount strips, connect driver, test, and tidy.
If you’ve wondered how do you install led interior lights and want a clean, pro look, you’re in the right place. I’ve installed LED strips, pucks, and smart bulbs in apartments, new builds, and even a few cars. In this guide, I’ll show you safe, simple steps with pro tips you can trust.

What to know before you start
LEDs run on either line voltage or low voltage. Most strip lights use 12V or 24V with a driver. Smart bulbs and many downlights run on 120V. Know which you have before you begin.
Safety matters. Turn off power at the breaker for any hardwired work. If you ask how do you install led interior lights for the first time, start with plug-in kits. They are safer and faster.
Plan your route. Measure runs, count corners, and note where power will live. Decide on color temperature (2700K warm, 3000K soft white, 4000K neutral). Aim for 90+ CRI for natural color.
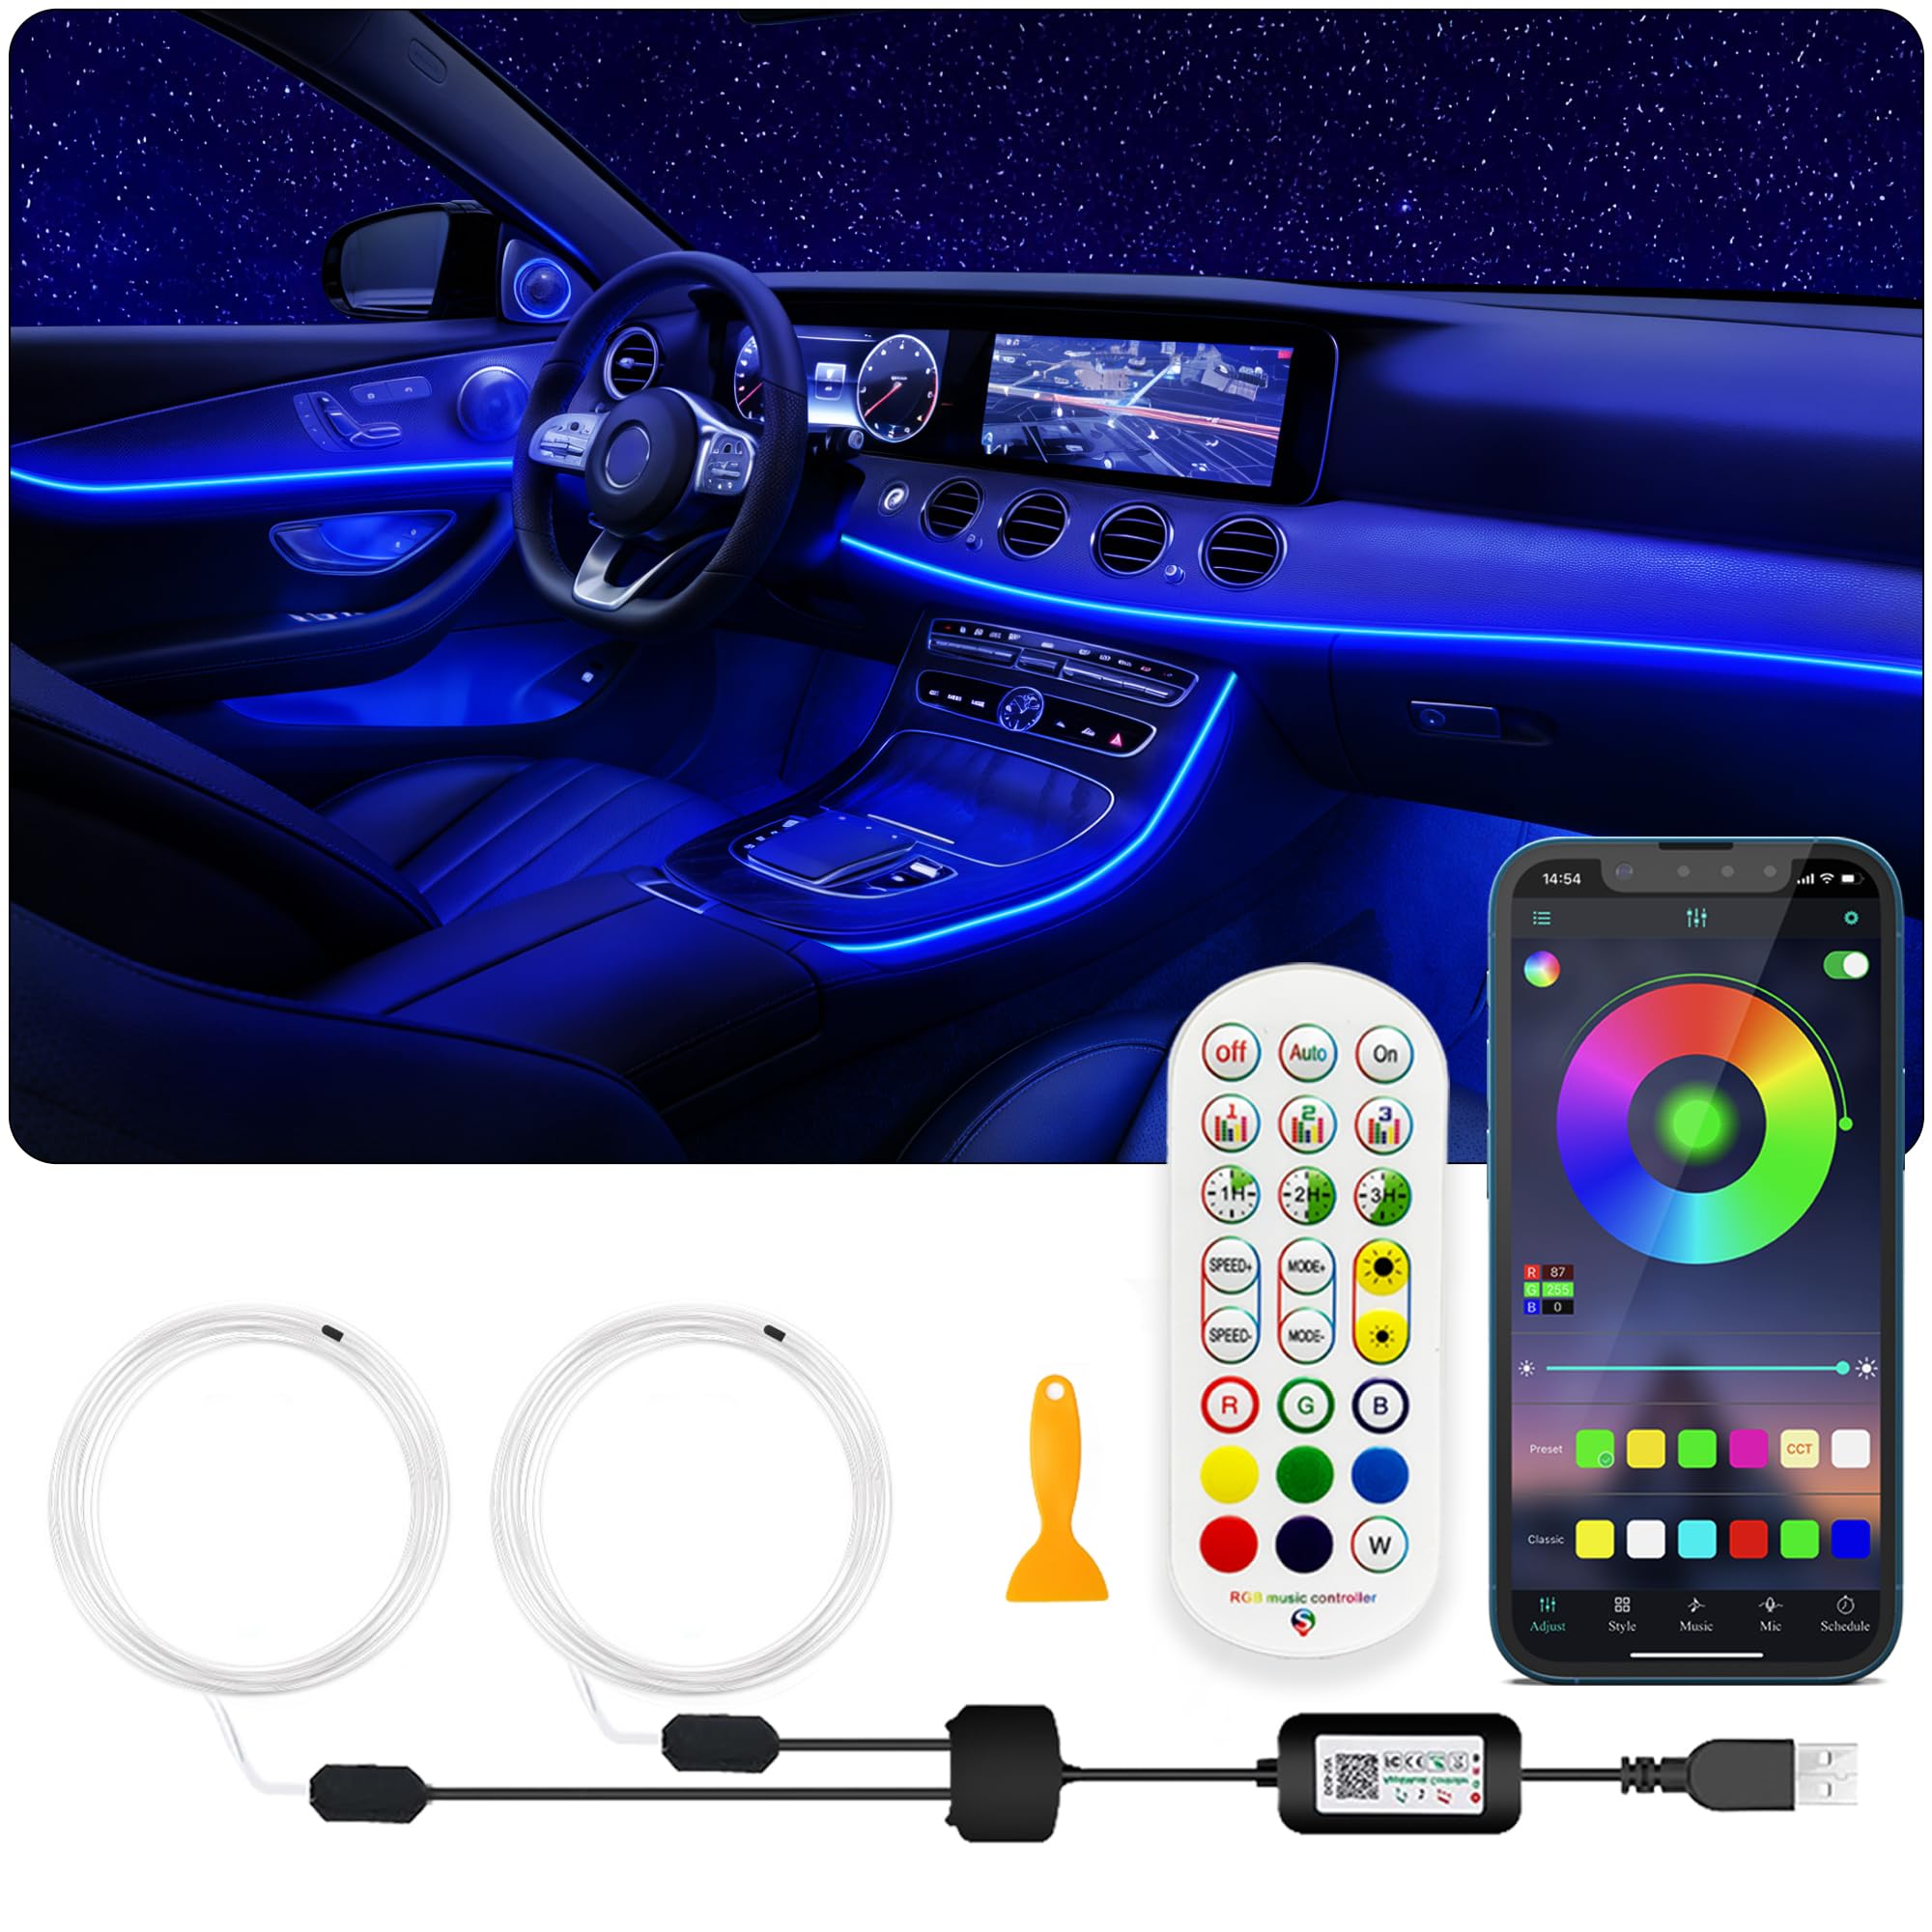
Tools and materials checklist
Pick the right gear before you cut or peel. This saves time and makes the result clean.
Essentials most projects need:
- Tape measure, painter’s tape, pencil
- Scissors or snips rated for LED strips
- Isopropyl alcohol wipes for surface prep
- Low-voltage wire (18–22 AWG), wire strippers
- Mounting clips, aluminum channels with diffusers
- UL‑listed LED driver or the included power supply
- Power drill, small screws, cable clips or raceway
- Smart hub or app if using smart LEDs
Nice-to-have:
- Soldering iron and heat-shrink for pro connections
- Corner connectors and L‑shape channels
- Multimeter to test polarity and continuity
If you’re still asking how do you install led interior lights, remember: great prep beats a rushed install.

Step-by-step: install LED strip lights indoors
This is the most common project for under-cabinet, shelves, and coves. You can use a plug-in power supply or a driver hardwired to a switch. Below is the simple plug-in path.
-
Measure and plan
- Mark start and end points with painter’s tape.
- Plan the power location and a hidden cable path.
-
Prep the surface
- Clean with isopropyl alcohol and let dry.
- Avoid dust, oil, and rough or porous areas.
-
Dry-fit the strip
- Unroll the LED strip and set it in place without peeling.
- Check corners. Use channels to keep lines straight.
-
Cut only at cut marks
- Every strip has printed cut lines. Cut there only.
- If you need angles, use corner connectors or solder.
-
Mount the aluminum channel
- Screw or tape the channel in place.
- Snap in diffusers after the strip is stuck down.
-
Stick the strip
- Peel a small section of backing at a time.
- Press evenly. Do not stretch the strip.
-
Connect to power
- Match polarity: positive to positive, negative to negative.
- Use the included barrel connector, or solder and heat-shrink.
-
Test before hiding wires
- Power on. Check for even brightness.
- Fix dim or dead sections before you tidy.
-
Manage cables
- Use clips or raceway to hide cords.
- Leave service slack near the driver.
-
Final touches
- Add a smart plug or dimmer if desired.
- Label the power supply for easy service.
If you searched how do you install led interior lights for kitchens or bookshelves, this method gives a clean, even glow. It also scales well for long runs by adding more drivers.

Hardwiring to a switch safely
Hardwiring is neat and renter-proof, but it must be safe and code-aware.
Low-voltage LED strips (12V/24V) on a wall switch:
- Use a UL‑listed, class 2 LED driver sized for your load.
- Place the driver in an accessible junction box or cabinet.
- Bring switched 120V to the driver input, then low-voltage output to the strip.
- Keep low-voltage and high-voltage wires separate in approved enclosures.
- Dim with a compatible low-voltage dimmer or PWM dimmer rated for your driver.
Line-voltage fixtures (smart cans, 120V LEDs) on a switch:
- Turn off breaker, verify power is off.
- Follow fixture wiring diagram. Maintain ground and neutral continuity.
- Use wire nuts sized for conductor count. Tug-test each connection.
- Secure in a listed box. Add a compatible dimmer if needed.
When people ask how do you install led interior lights on a wall switch, the key is driver sizing, dimmer compatibility, and safe enclosures. When in doubt, hire a licensed pro.

Mounting tips by location
Under-cabinet task light:
- Push the strip near the cabinet front to avoid scallops.
- Use an aluminum channel to cool LEDs and smooth dots.
- Hide wires in the face frame or a shallow raceway.
Bookshelves and display cases:
- Face the strip toward the back wall for a soft wash.
- Add a diffuser to avoid glare on glass.
Cove or ceiling accents:
- Keep at least 2 inches from the wall for even spread.
- Use 24V for long runs to avoid voltage drop.
Closets and pantries:
- Add a door sensor switch for auto on/off.
- Pick 4000K for crisp visibility.
Bathrooms:
- Choose an IP65 or better strip where moisture exists.
- Keep drivers outside wet zones unless rated for damp.
If you still wonder how do you install led interior lights so they look seamless, the answer is simple: channels, diffusion, and smart cable paths.

Car interior option: quick guide
Some readers mean their vehicle when they ask how do you install led interior lights. Here’s the safe 12V path I use for footwells and courtesy areas.
- Plan low spots only. Avoid airbags and moving pedals.
- Use a fused add-a-circuit at the fuse box. Match the fuse rating.
- Ground to a clean chassis bolt. Scrape paint for a solid bond.
- Use a simple remote or tie into the dome light circuit for courtesy on/off.
- Tidy with loom and zip ties. Keep wires off sharp metal.
If your question is how do you install led interior lights in a car without flicker, keep runs short, match polarity, and use a decent controller with a stable ground.

Troubleshooting and common mistakes
What goes wrong most often:
- One end looks dim: Voltage drop. Feed power from both ends or use 24V.
- Sections dead: Cut at the wrong mark or a bad connector. Re-cut and reconnect.
- Strip won’t stick: Surface not clean. Re-clean and use channels or 3M VHB tape.
- Buzzing or flicker: Incompatible dimmer/driver. Match dimmer type and driver.
- Overheating: No aluminum channel. Add a heat-sinking channel to extend LED life.
If you’re stuck on how do you install led interior lights without hum or flicker, pair a quality driver with the right dimmer curve.

Maintenance, upgrades, and smart control
Make your lighting easy to live with:
- Label each driver with room and wattage.
- Keep a spare strip and connectors for quick repairs.
- Use scenes and schedules in your smart app.
- Calibrate white balance across rooms for a uniform look.
Curious how do you install led interior lights that feel high-end? Add aluminum channels with frosted diffusers, warm-dim LEDs, and motion sensors in closets and hallways.

Cost, time, and skill level
Budget guide for typical rooms:
- Basic plug-in strip kit under cabinets: $25–$80. About 60–90 minutes.
- Pro-grade strip with channel and driver: $120–$300. About 2–4 hours.
- Hardwired smart downlights: $200–$600 per room. About 2–6 hours.
If you ask how do you install led interior lights on a tight budget, start with a quality plug-in kit and add channels later.
My real-world lessons learned
After dozens of installs, a few truths hold up. Clean surfaces and channels matter more than brand names. Cheap drivers cause 80% of headaches. Test before you hide wires. I once installed a long run without feeding both ends and chased dim spots for hours. Now, I map power injection points up front and never rush connectors.
If a friend asks how do you install led interior lights like a pro, I tell them: plan the route, test early, cool the LEDs, and buy once, cry once.
Frequently Asked Questions of how do you install led interior lights
Do I need an LED driver or can I plug strips straight into the wall?
Most strips need a driver that converts 120V to 12V or 24V DC. Some kits include a plug-in power supply, which is the driver in a small brick.
How do I choose the right LED brightness and color?
Check lumens for brightness and CRI for color quality. For warm rooms use 2700K to 3000K; for work areas pick 3500K to 4000K.
Can I cut and reconnect LED strips?
Yes, but only at marked cut points. Use solder or quality connectors and match polarity to avoid damage.
Why does my strip look dim at the far end?
That’s voltage drop on long runs. Use 24V strips, thicker wire, and power from both ends or from the middle.
Are LED strips safe in bathrooms or kitchens?
Yes, if they have the right IP rating and proper power. Keep drivers out of wet zones unless they’re rated for damp locations.
Conclusion
You now have a clear path from plan to power to polish. Measure twice, use quality drivers and channels, and test connections before you hide them. With a little care, your LED project will look custom and last for years.
Pick one small area and try it today. Under one cabinet is all it takes to learn the basics and build confidence. Want more guides like this? Subscribe for future tutorials, and drop your questions in the comments so I can help you light your space right.