
How To Use Ceramic Headlight Restoration Kit: Easy Guide
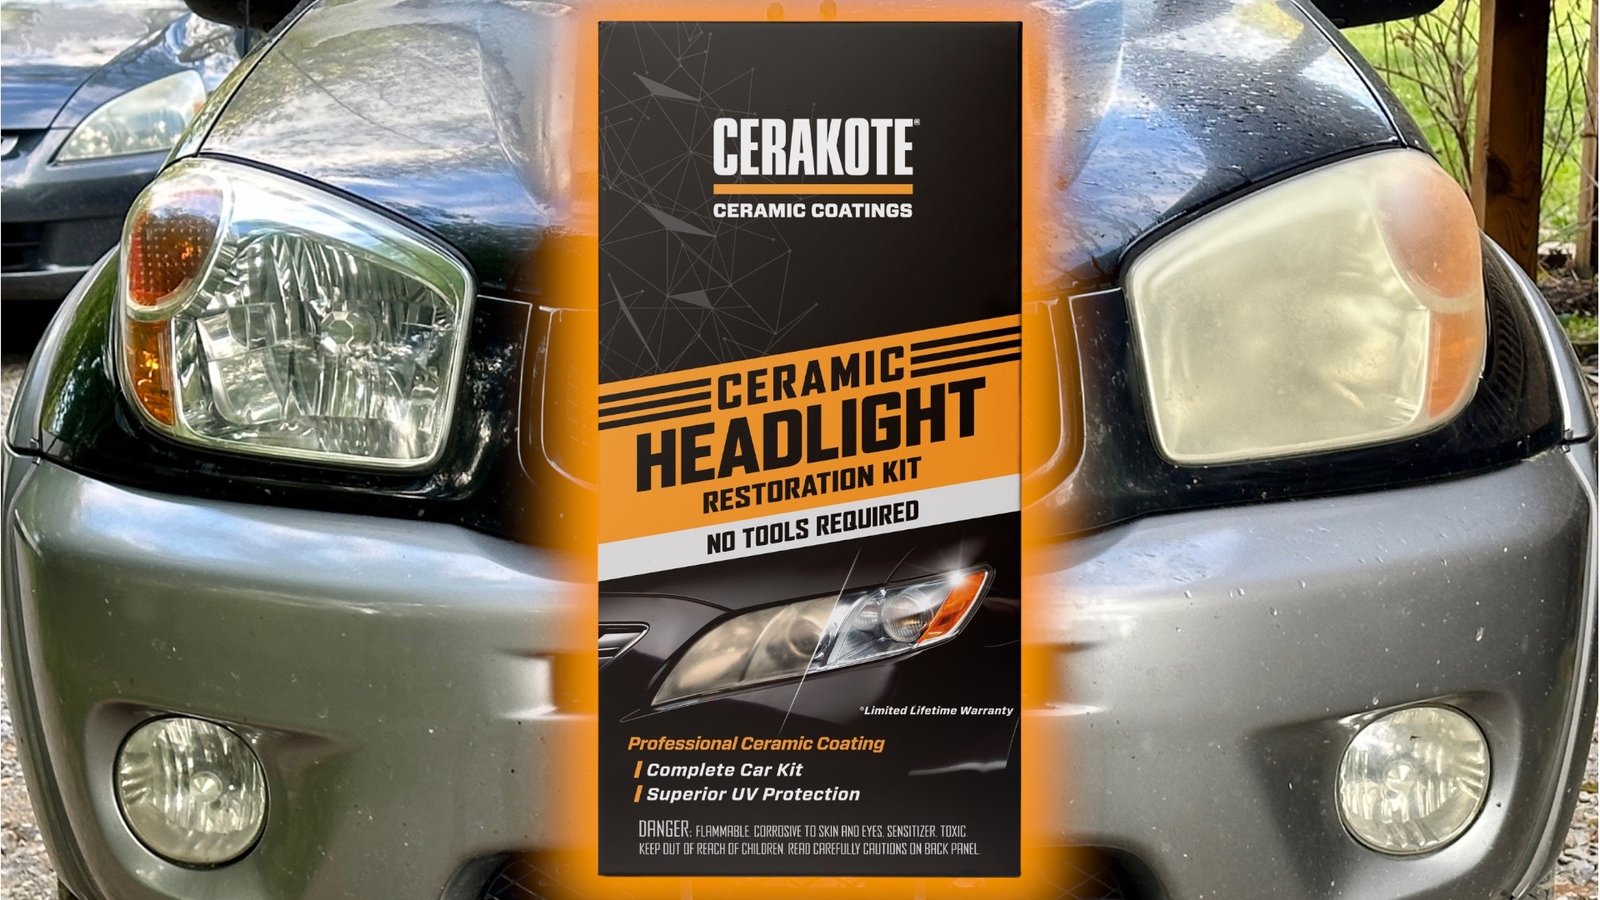
Use a ceramic headlight restoration kit by cleaning, sanding, polishing, and sealing the lens carefully.
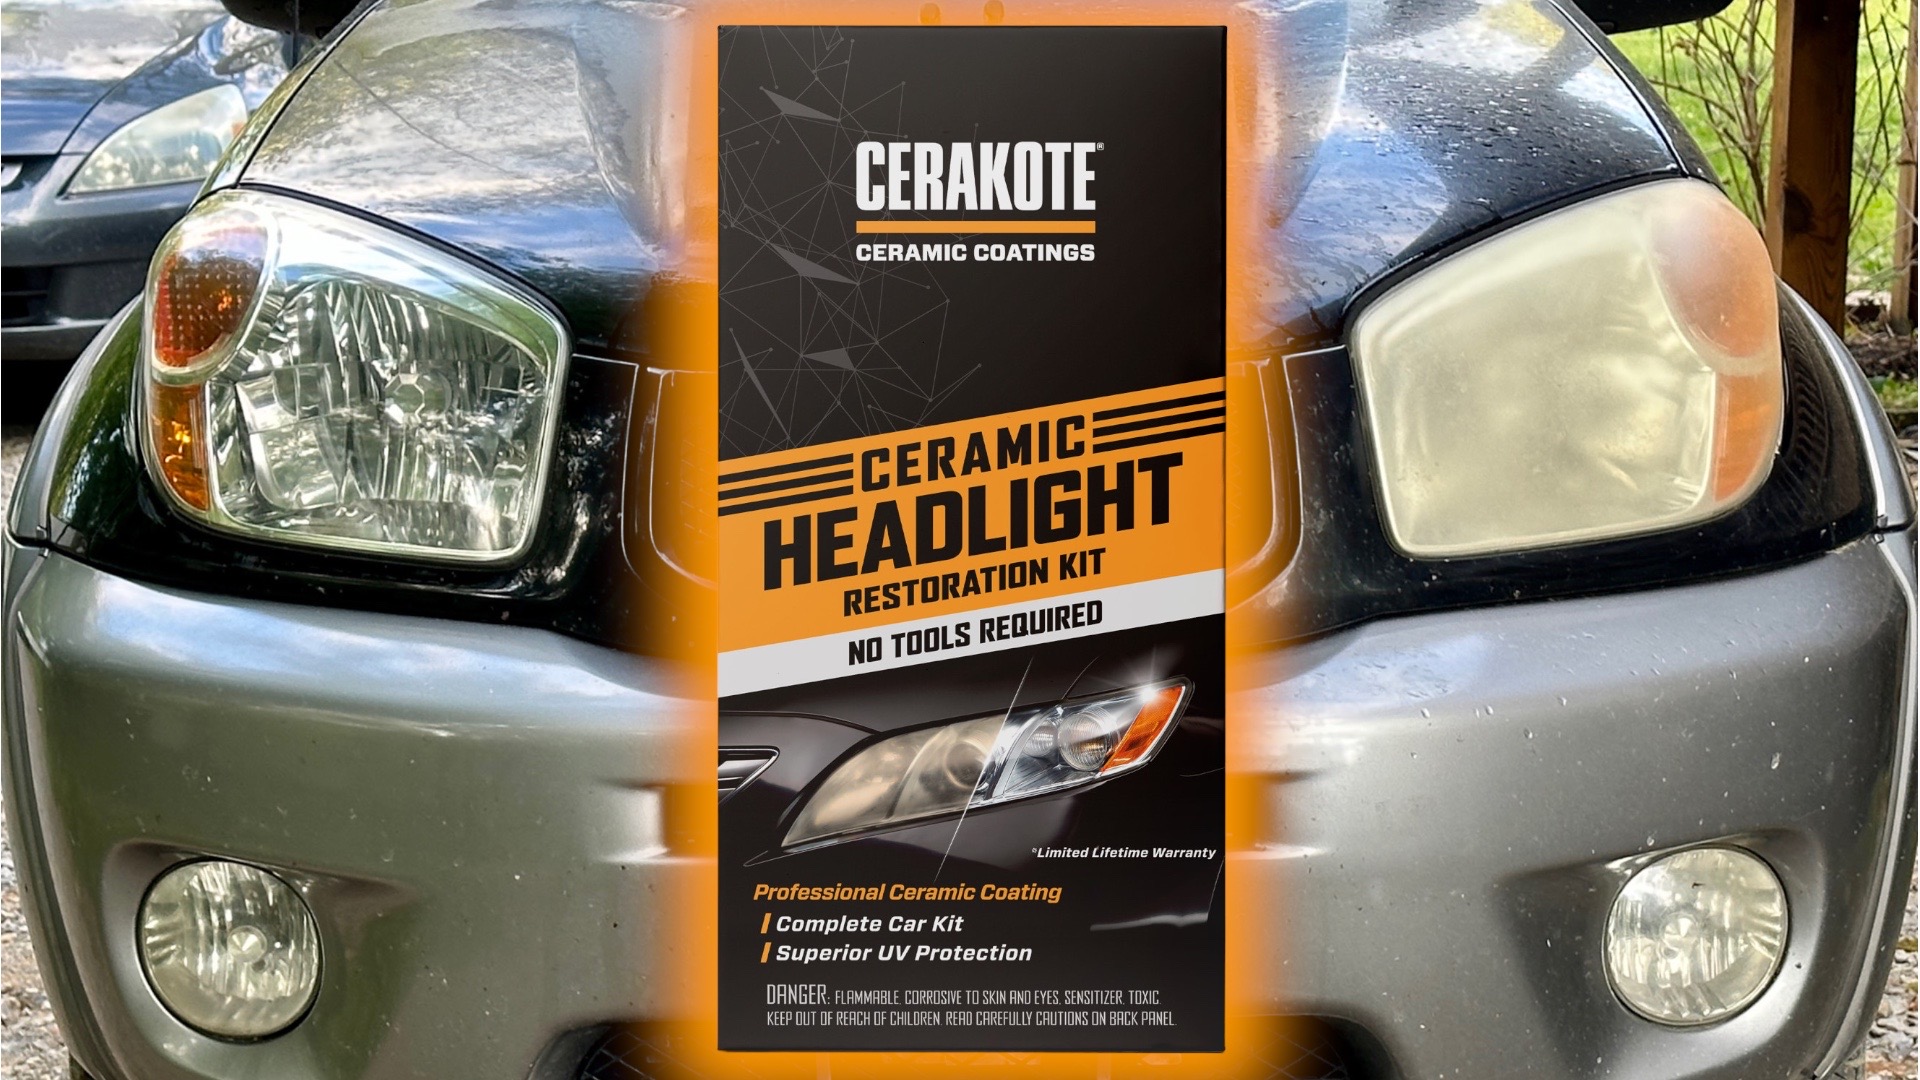
Cloudy headlights reduce light output and make a vehicle look older than it is. A ceramic headlight restoration kit can remove yellow oxidation and add a clear protective coating that helps slow future damage. The key is not rushing the job. Proper surface preparation matters more than the brand of kit you buy, so this guide explains each step, common mistakes, safety tips, and realistic results.
What Is a Ceramic Headlight Restoration Kit?
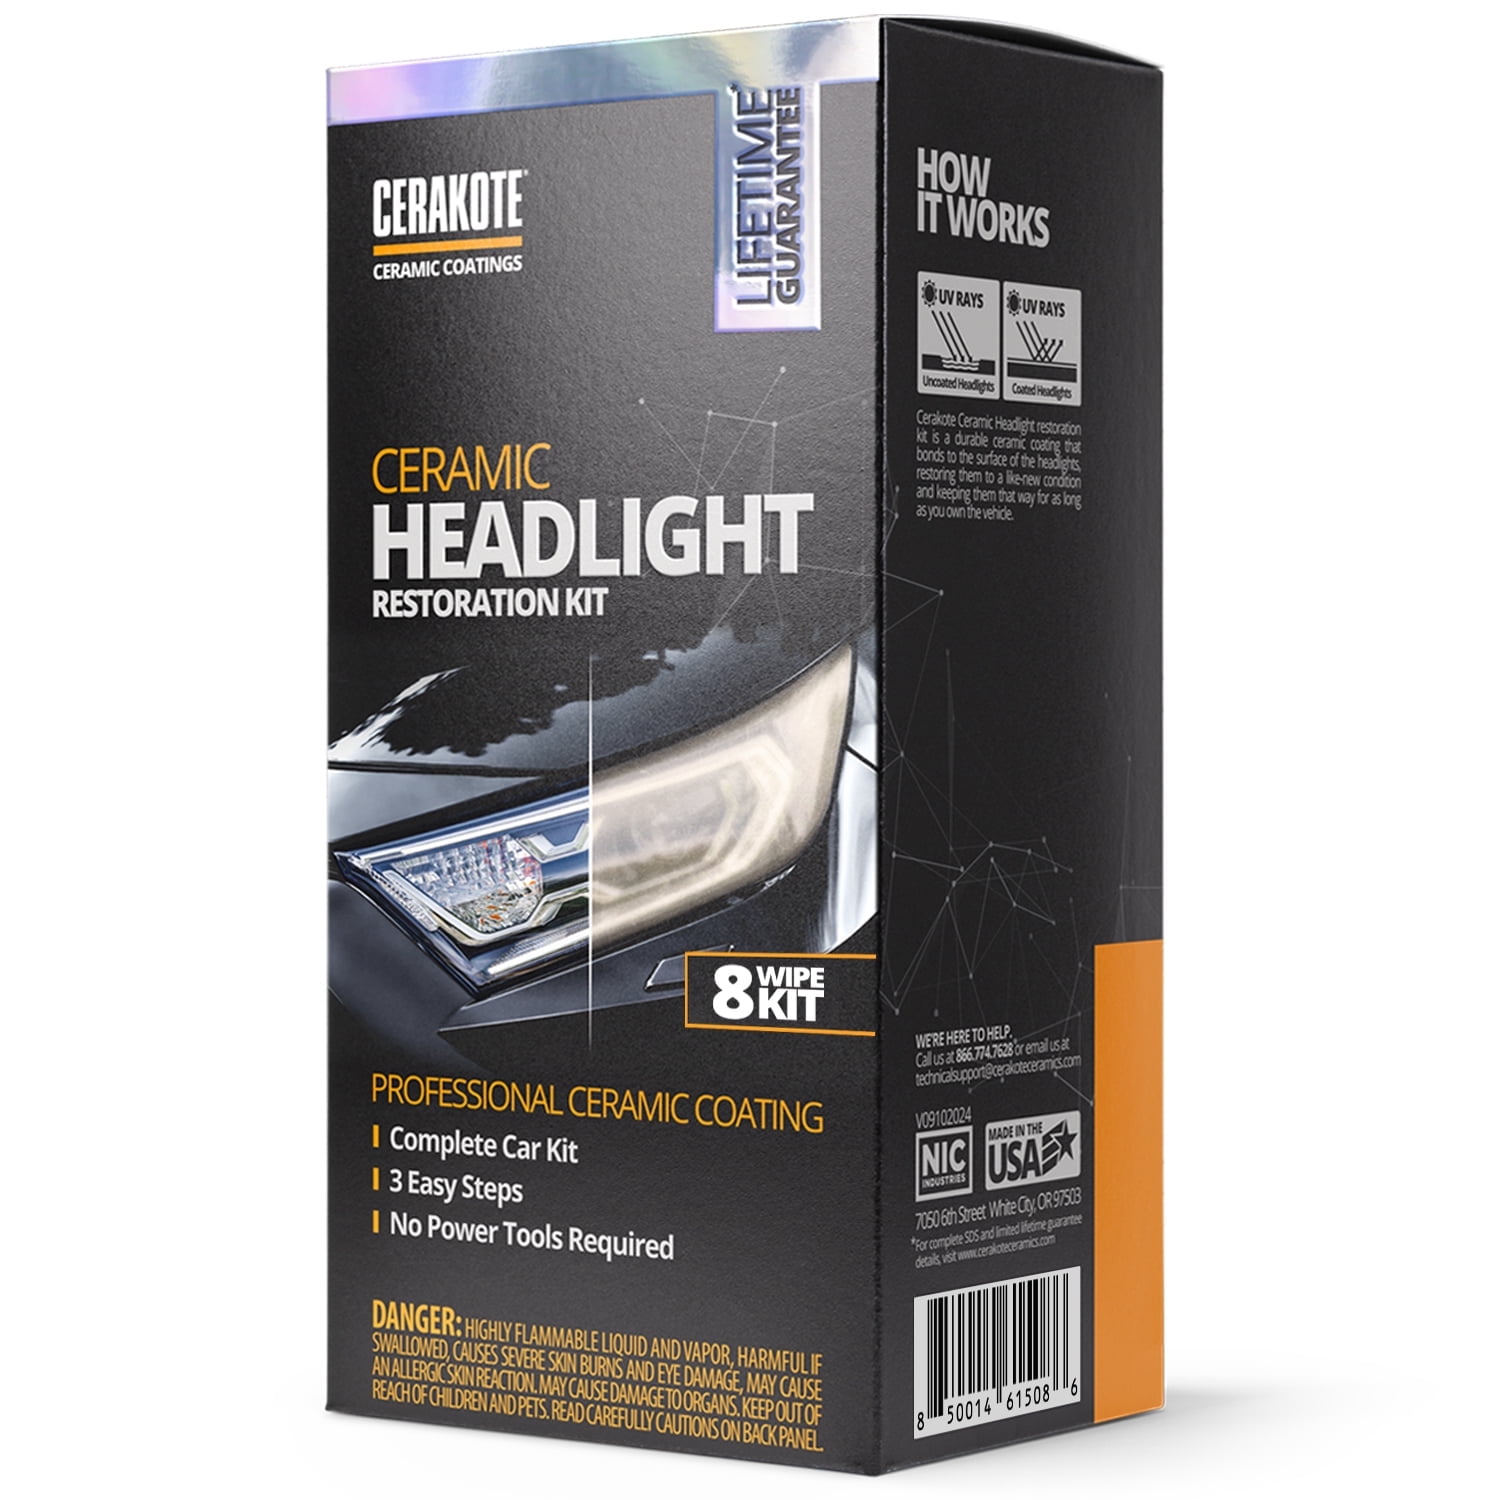
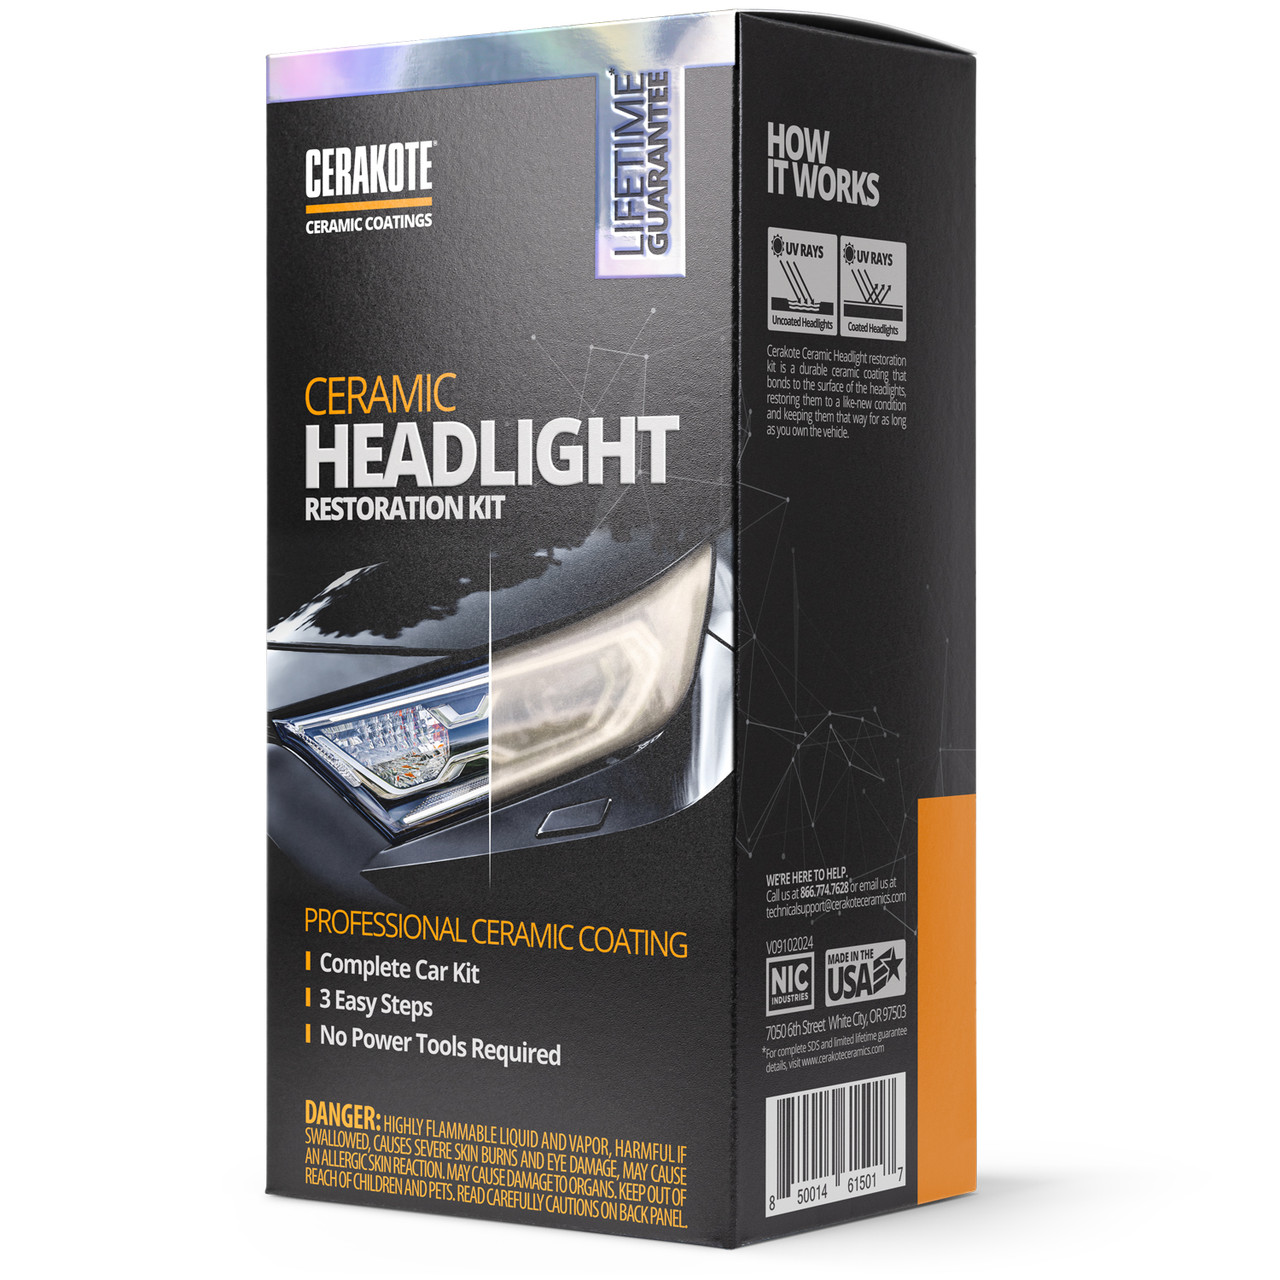
A ceramic headlight restoration kit is a group of products designed to restore plastic headlight lenses. Most kits include abrasive pads or sandpaper, a polish, cleaning wipes, and a ceramic coating or ceramic-infused sealant.
Headlight lenses are usually made from polycarbonate plastic. This plastic is strong, but sunlight, heat, road salt, dust, and harsh cleaners can damage its outer layer. Over time, the lens may turn yellow, hazy, or dull.
The restoration process has two jobs:
• Remove the damaged outer layer from the lens.
• Protect the newly clear plastic with a ceramic coating.
A ceramic coating does not repair cracks or deep internal damage. It also cannot fix moisture inside the headlight housing. It works best when the problem is surface oxidation, light scratches, or cloudy plastic.

What You Need Before Starting
Gather everything before you begin. A clean setup helps prevent dust from landing on the lens while the coating is drying.
Most ceramic headlight restoration kits require:
• The kit’s sanding discs, pads, or abrasive sheets
• Headlight polish or compound
• Ceramic coating, sealant, or coating wipe
• Clean microfiber towels
• Automotive soap
• Two buckets of water
• Painter’s tape
• Nitrile gloves
• Eye protection
• A spray bottle filled with clean water
• A bright work light
You also need a shaded place with low dust. Avoid direct sunlight, strong wind, and very high humidity. The lens should stay dry during the coating stage.
Read the product label before using the kit. Some products use several sanding steps. Others use a one-step abrasive pad. The instructions on the package should always take priority because coating formulas and curing times vary.
How to Use a Ceramic Headlight Restoration Kit
The safest method is to treat one headlight at a time. This lets you compare your progress and prevents one lens from sitting unfinished while you work on the other.
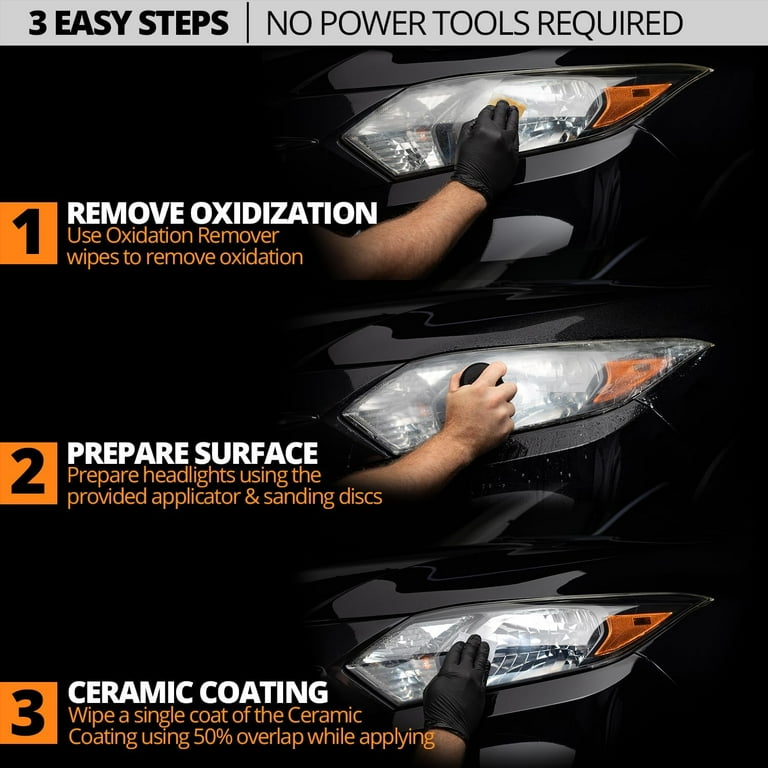
1. Wash the Headlight and Nearby Paint
Wash the headlight with car soap and clean water. Remove bugs, road film, wax, and grit from the lens and the surrounding bumper.
Dry the area with a clean microfiber towel. Do not start sanding while sand or dirt remains on the surface. Small grit particles can create deep scratches that take more time to remove.
2. Mask the Paint Around the Lens
Apply painter’s tape around the full edge of the headlight. Cover nearby paint, chrome trim, rubber seals, and plastic panels.
Use two or three layers of tape if the headlight has a narrow painted edge. Sandpaper can cut through a single thin layer, especially near corners. Good masking takes a few minutes and can prevent an expensive paint repair.
3. Inspect the Lens
Look closely at the headlight before sanding. Check for:
• Yellow or brown oxidation
• A cloudy or milky surface
• Fine scratches
• Deep cracks
• Moisture inside the housing
• Peeling plastic or coating
Light haze and surface oxidation are good candidates for a ceramic headlight restoration kit. Deep cracks, broken tabs, or heavy internal moisture may need professional repair or a replacement assembly.
4. Sand the Damaged Surface
Follow the grit order listed in the kit instructions. If the kit includes several grits, begin with the least aggressive option that removes the damage.
Keep the pad or sandpaper wet if the instructions call for wet sanding. Use steady, overlapping strokes. You can work from left to right, then up and down, to create an even pattern.
Do not press hard. Let the abrasive do the work. Excessive pressure can create uneven spots and may remove too much plastic from an edge.
The lens may look worse during sanding. That is normal. A properly sanded lens often appears evenly dull or hazy before polishing. What matters is that the old, damaged layer is removed consistently.
Pay special attention to corners and curved areas. Do not stay in one spot for too long. Wipe the lens often and check your progress under a bright light.
5. Use the Fine Sanding Step
If the kit provides a finer pad, use it after the first sanding stage. This step removes the deeper marks left by the coarse abrasive.
Keep the pattern even across the entire lens. Do not polish only the center. A clear center with a hazy border will make the result look patchy.
A useful test is to wipe the lens completely dry. If yellow areas remain, continue sanding. If the lens has an even, smooth haze, it is usually ready for polishing.
6. Polish the Lens
Apply the included polish to a clean applicator or microfiber towel. Work in small sections using moderate pressure.
Polishing removes the fine sanding marks and brings back optical clarity. Continue until the surface looks clear and smooth. If the polish dries too quickly, work on a smaller area or use less product.
Remove all polish residue with a clean towel. Check the lens from different angles. Bright overhead light can reveal streaks or cloudy spots that are hard to see in shade.
7. Clean the Surface Before Coating
This step is one of the most important parts of how to use a ceramic headlight restoration kit.
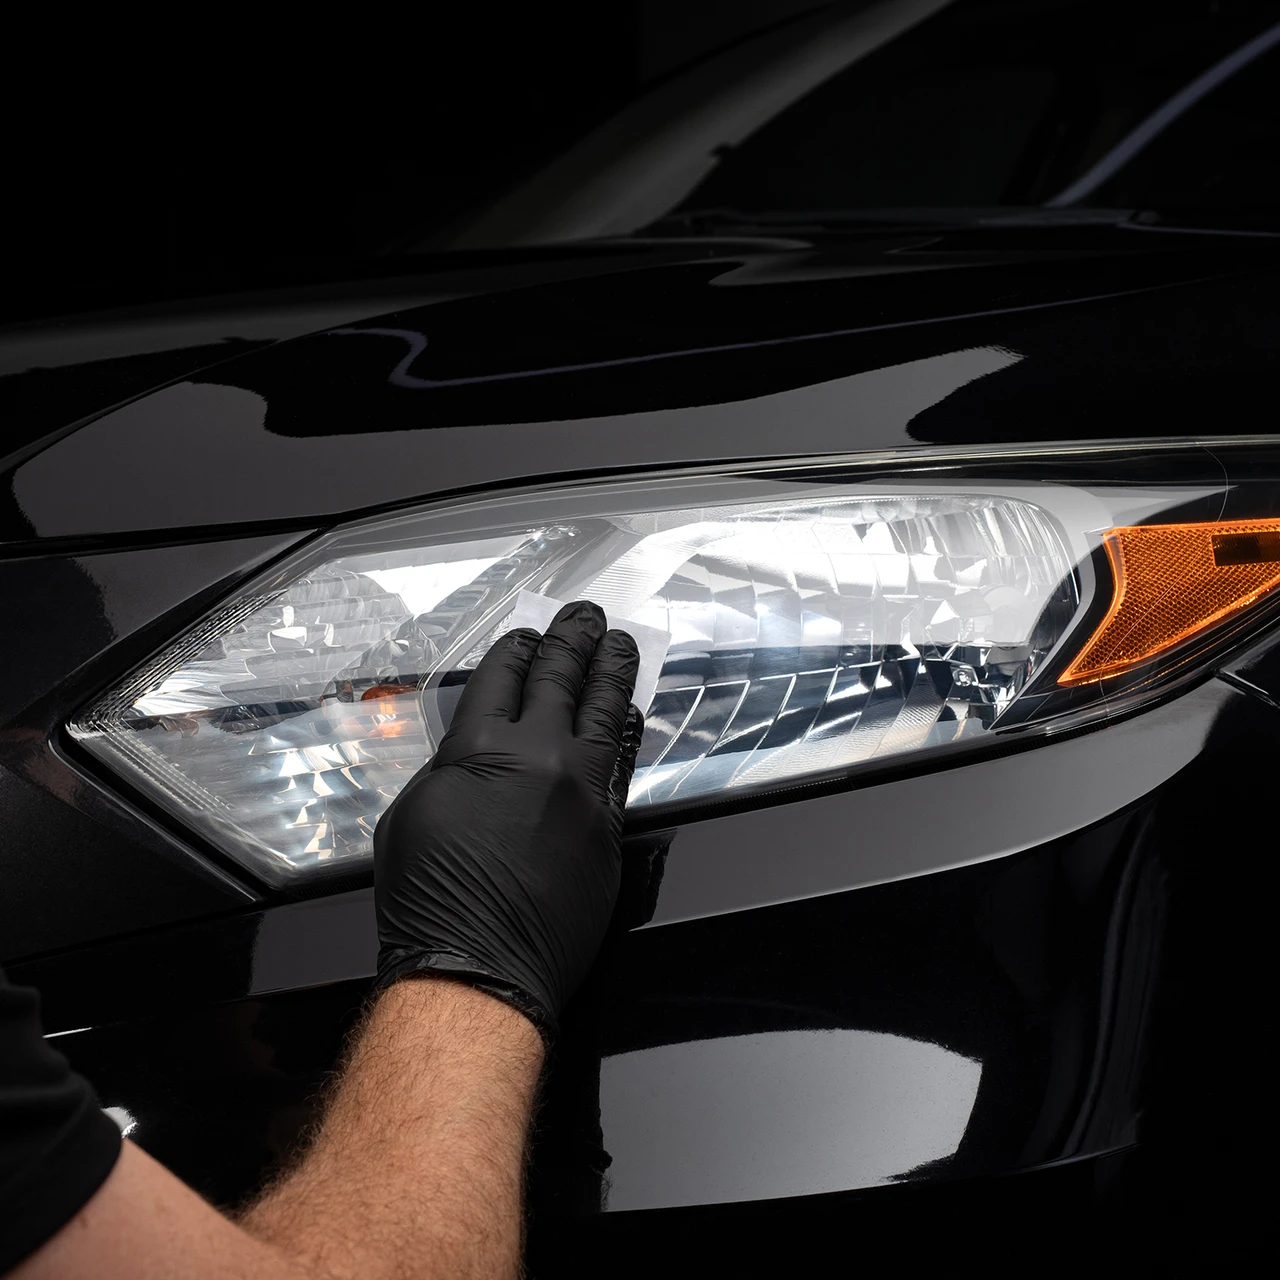
The lens must be free from oil, polish, dust, and moisture before the ceramic coating goes on. Use the cleaning wipe supplied with the kit, or use the product recommended on the label.
Do not touch the lens with bare fingers after cleaning. Skin oils can cause uneven bonding and visible smears. Put on clean gloves if needed.
Let the surface flash off or dry for the time stated by the manufacturer. Never apply ceramic coating over a wet lens unless the instructions specifically say to do so.
8. Apply the Ceramic Coating
Open the coating only when you are ready to use it. Apply a thin, even layer with the supplied applicator.
Work in straight, overlapping passes. Cover the whole lens without flooding it. More coating does not mean more protection. A thick layer may create streaks, high spots, or a cloudy finish.
Many products need to sit briefly before removal. Watch for the coating to begin flashing, which may look like a light rainbow or haze. Then level it with a clean microfiber towel if the instructions require that step.
Use a second dry towel to remove leftover streaks. Inspect the lens from several angles before the coating sets.
9. Allow the Coating to Cure
Keep the vehicle dry and away from dust while the coating cures. Do not wash the car or touch the lens during the stated cure period.
Some coatings need a few hours before light contact. Others need a full day or longer before water exposure. Cure time depends on the formula, temperature, and humidity.
If rain is expected, move the vehicle into a garage. Water that reaches the coating too soon may leave spots or reduce its final appearance.
Best Conditions for Headlight Restoration
Good conditions make the work easier and improve the final finish. Aim for a clean, shaded area with mild temperatures.
The best setup includes:
• A temperature within the range on the product label
• Low wind and low dust
• No direct sunlight on the lens
• A dry surface
• Enough time to complete both the restoration and cure stages
Avoid restoring headlights when the lens is hot. Heat can make polish dry too fast and cause the ceramic coating to flash unevenly.
A garage is ideal, but a shaded driveway can work. If you work outdoors, check the weather first and keep a clean cover nearby. The cover should not touch the fresh coating.
Common Mistakes to Avoid
Many poor results come from preparation errors, not from the ceramic product itself.
Skipping the Sanding
Polish cannot always remove heavily oxidized plastic. If the damaged layer remains, the coating may lock in the haze. Sand until the lens has an even finish before polishing.
Using Only One Grit
A coarse abrasive leaves marks. A fine abrasive may not remove deep oxidation. Follow the full grit sequence provided with the ceramic headlight restoration kit.
Applying Coating to a Dirty Lens
Dust, grease, and polish residue can cause streaks and weak adhesion. Clean the lens carefully and avoid touching it before coating.
Working Too Fast
Rushing around edges often leaves yellow lines near the tape. Rushing the coating stage can also create high spots that are hard to remove after curing.
Using Household Cleaners
Strong household cleaners may leave residue or damage nearby trim. Use automotive soap and the cleaning products recommended by the kit maker.
Expecting the Coating to Fix Every Problem
A ceramic coating protects a clear surface. It does not rebuild cracked plastic or remove moisture trapped inside the headlight. Know the limits of the process before you begin.
How Long Does Ceramic Headlight Restoration Last?
The service life depends on the coating, climate, vehicle use, and preparation quality. Strong sunlight, high heat, winter salt, automatic car washes, and harsh chemicals can shorten the coating’s life.
A well-prepared headlight may stay clear for many months or longer. However, product claims vary, and real-world results may differ from laboratory testing.
You can help the finish last by:
• Washing with pH-balanced car soap
• Avoiding abrasive brushes on the lens
• Removing bird droppings and bug residue quickly
• Using a clean microfiber towel
• Checking the lens when you wash the car
• Reapplying a compatible protective product when needed
Do not apply a new product over a failing coating without checking compatibility. Some coatings need light polishing or surface preparation before a new layer can bond correctly.
How to Tell If You Need a New Headlight
A restoration kit is not the right answer for every lens. Replace or professionally inspect the headlight if you see:
• Deep cracks through the lens
• Broken mounting points
• Severe internal condensation
• Burn marks inside the housing
• Damage that remains after proper sanding and polishing
• A lens that is cloudy from the inside
Poor headlight performance can also come from a weak bulb, damaged reflector, wiring trouble, or incorrect aim. After restoration, check the beam pattern at night. The light should be bright, even, and aimed safely.
Headlights are safety equipment, not just cosmetic parts. If visibility remains poor, have the system checked by a qualified technician.

Practical Tips From Hands-On Restoration Work
One lesson comes up again and again: preparation beats speed. A person can apply an expensive coating poorly, while a careful person can get strong results from a basic ceramic headlight restoration kit.
Mask farther around the lens than you think you need. It is easy to remove extra tape, but it is difficult to repair a sanded bumper edge.
Use fresh towels. A towel that touched polish, wax, or tire dressing can leave oil on the lens. I also recommend using one towel for removing polish and another for leveling the coating.
Do not judge the lens while it is wet. Water can temporarily hide sanding marks. Always inspect the dry surface under strong light before applying the ceramic coating.
Finally, do not chase perfection by sanding one small area for too long. Uneven thickness can make the lens look distorted. Use smooth, balanced passes across the entire surface.
Frequently Asked Questions About How to Use a Ceramic Headlight Restoration Kit
Can I use a ceramic headlight restoration kit on glass headlights?
Most restoration kits are made for plastic polycarbonate lenses, not glass. Check the product label before use because abrasive products and ceramic formulas may not be suitable for glass.
Do I need to wet-sand headlights?
Not always. Some kits use dry pads, while others require wet sanding. Follow the included instructions, since using water with a dry-only system can change the result.
How long should I wait before driving after applying the coating?
You can often drive once the coating is no longer wet, but avoid rain, washing, and road spray during the recommended cure period. The exact time varies by product, temperature, and humidity.
Can I apply wax over a ceramic headlight coating?
Avoid applying wax unless the coating maker says it is compatible. Some waxes contain oils or cleaners that can reduce clarity or interfere with the coating’s surface.
Why are my headlights still cloudy after restoration?
The haze may come from incomplete sanding, leftover polish, coating streaks, or damage inside the lens. Inspect the surface when dry and use a bright light to find the source before repeating any step.
Is a ceramic coating better than a clear spray coating?
A ceramic coating can offer a convenient protective layer and a smooth finish, but results depend on preparation and product quality. A professional clear coat may last longer in some cases, but it requires more skill and proper safety controls.
Can I restore headlights without sanding?
Light oxidation may improve with a polish alone, but heavy yellowing usually needs an abrasive step. Skipping sanding when the lens needs it can leave the damaged layer under the protective coating.
Conclusion
Using a ceramic headlight restoration kit is a simple process when you follow the correct order: wash, mask, sand, polish, clean, coat, and cure. Take your time with surface preparation, protect nearby paint, and apply the ceramic layer thinly and evenly.
The result should be clearer headlights, better appearance, and improved protection from future UV damage. Start with one lens, follow the product instructions, and inspect your work under strong light. If this guide helped, explore more vehicle care tips or share your restoration experience in the comments.