
How To Make A Car Trash Can: Easy DIY Guide
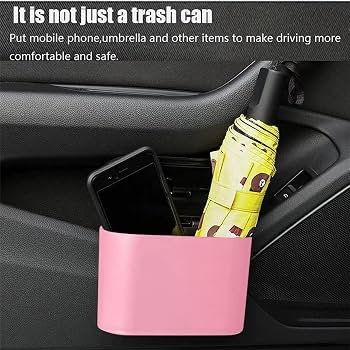
A homemade car trash can takes fabric, a liner, simple sewing, and secure placement for clean rides.
Learning how to make a car trash can is easier than most people expect. With a small fabric bag, a waterproof liner, and a safe mounting point, you can build a useful car accessory in less than an hour. This guide explains the best materials, clear steps, smart design choices, and common mistakes so your homemade car trash can stays neat, strong, and easy to empty.

Why make a car trash can?
A car trash can gives wrappers, receipts, tissues, and snack bags one clear home. Without one, small bits of trash often collect in door pockets, cup holders, or under the seats.
A store-bought car trash can may work well, but a homemade version has some useful benefits:
• It can match your car’s interior.
• You can choose the size and shape.
• You can reuse old fabric, denim, or a tote bag.
• You can add a washable or waterproof liner.
• You can make it fit a center console, seat back, or door area.
A car trash can also helps reduce distraction. Loose items can roll near the pedals or move under a seat. The National Highway Traffic Safety Administration warns drivers to keep the area around the pedals clear, so a secure trash container is a better choice than loose bags on the floor.
In my own practical test, the most useful design was not the biggest one. A compact bag that stayed open and was easy to remove worked better than a large bin that took up legroom.
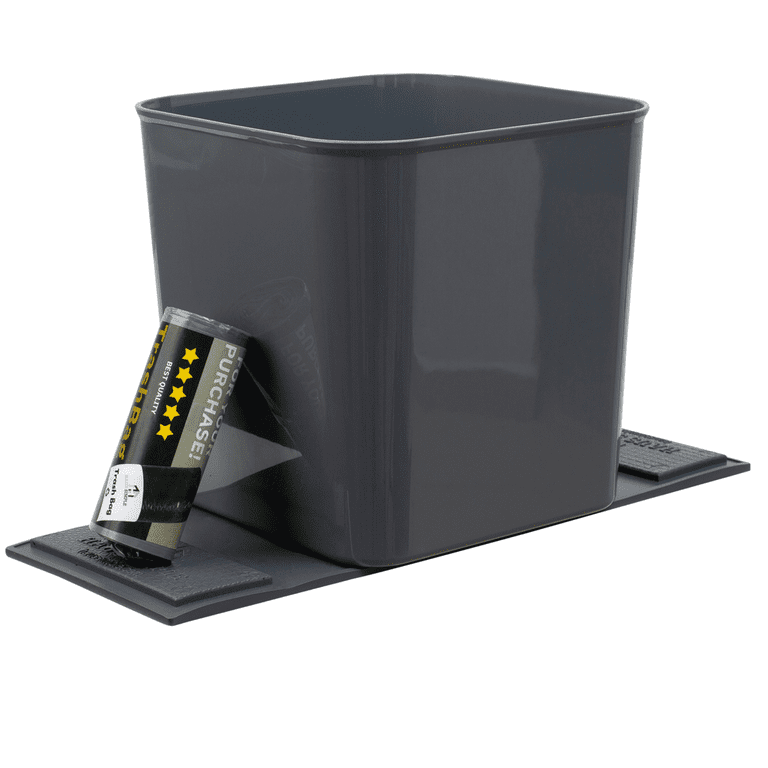
Materials and tools you will need
You do not need advanced craft skills to make a car trash can. Most supplies can come from a sewing box or a local craft store.
Basic materials
• One piece of durable fabric, about 14 by 18 inches
• One waterproof liner, such as a reusable shopping bag, shower curtain scrap, or oilcloth
• One strip of webbing, ribbon, or strong fabric for the hanging strap
• Thread that matches the fabric
• One plastic container or cardboard template for sizing
• Optional hook-and-loop tape, snaps, or a small button
Good outer fabrics include canvas, denim, upholstery fabric, and thick cotton. Avoid thin cotton unless you plan to use two layers. Thin cloth can tear when it holds cans, food packaging, or damp tissues.
For the liner, use a material that can be wiped clean. A washable liner is better than a thin plastic grocery bag because it lasts longer and creates less waste. You can still use a disposable bag inside the liner when you need extra protection.
Tools
• Scissors
• Measuring tape or ruler
• Fabric marker or pencil
• Sewing machine or hand-sewing needle
• Pins or fabric clips
• Iron
• Safety scissors or a seam ripper
If you do not sew, use a sturdy reusable tote bag as the outer shell. Fold the top edge inward, attach a strap, and place a removable waterproof container inside.
 location”
style=”max-width: 100%; height: auto; border: 2px solid black; border-radius: 10px; display: block; margin: 0 auto;”
loading=”lazy”
/>
Choose the right size and location
Before cutting fabric, decide where your car trash can will sit. The location affects its shape, strap length, and safety.
Common locations include:
• The center console
• The back of a front seat
• The passenger-side footwell
• A removable headrest post
• The side of a center armrest
The best location is within easy reach of passengers but away from the driver’s feet, gear selector, parking brake, airbags, and seat controls. Never hang a trash can from a steering wheel, turn-signal lever, or any part of the driver’s knee area.
A small car trash can usually measures about 8 inches wide, 5 inches deep, and 10 inches tall. This size can hold daily waste without becoming heavy or awkward. For family road trips, you may want a wider model, but it should still stay securely attached.
Use a cardboard mock-up before sewing. Place it in the car and check whether it blocks legroom, cup holders, seat movement, or the view of a passenger. This simple test can prevent wasted fabric and an uncomfortable final design.

How to make a car trash can step by step
Follow these steps to make a car trash can with a fabric outer bag and a waterproof liner.
1. Make a simple pattern
For a basic rectangular bag, cut two outer fabric panels. Each panel can measure 10 inches wide and 12 inches tall. Add an extra half inch on each side for the seam allowance.
Cut two matching liner panels from waterproof material. Keep the liner the same size or slightly smaller than the outer panels.
If you want a flat bottom, cut two additional pieces for the base. A base that measures 8 by 5 inches works well for a small car trash can.
2. Cut the outer fabric
Place the pattern on the fabric and mark around it. Cut slowly to keep the edges straight.
If the fabric is thin, cut two layers for each panel. Double fabric gives the car trash can more strength and helps it hold its shape.
3. Cut the waterproof liner
Use the same pattern for the liner. Check for holes or weak areas before sewing.
A liner made from an old reusable shopping bag is a useful low-cost choice. Clean the bag first, then cut away the handles and seams. Keep the material flat as you cut.
4. Sew the outer bag
Place the two outer panels together with the good sides facing inward. Pin the sides and bottom, then sew around them with a strong seam.
Leave the top open. If you are adding a separate base, sew the base to the bottom edge one side at a time. Turn the bag right side out after sewing.
For hand sewing, use a backstitch. It takes more time, but it creates a stronger seam than a simple running stitch.
5. Sew the liner
Sew the liner panels together in the same way. Keep the waterproof side facing inward if the material has a coated surface.
Leave the liner inside out. Place it inside the outer bag so the clean side faces the trash. Fold the top edge of the liner over the top edge of the outer fabric.
6. Add the strap
Cut a strap about 12 to 18 inches long. The correct length depends on where you plan to hang the car trash can.
Sew both ends of the strap to the back or side seams. Make a square with an X through it for extra strength. This small detail helps stop the strap from pulling loose when the bag is full.
For a center console design, use two short straps instead of one long strap. Attach hook-and-loop tape to the straps so the car trash can can be removed for cleaning.
7. Finish the top edge
Fold the top edge inward by about half an inch. Press it with an iron, then sew around the opening.
If you want the bag to stay open, insert a flexible plastic strip around the rim. You can also sew a narrow channel and place a piece of craft wire inside. Cover the wire ends so they cannot scratch anyone.
Do not use sharp wire near children or passengers. A plastic strip is usually the safer choice.
8. Test the finished car trash can
Place the bag in the car and add a few light items. Check that it hangs straight and does not swing into the driver’s legs.
Test the strap by gently pulling it. If the seams stretch or the fabric puckers, reinforce them before regular use. A homemade car trash can should be tested while empty, half full, and fully loaded.

No-sew ways to make a car trash can
You can make a car trash can without a sewing machine. These methods are useful if you want a fast weekend project.
Use a reusable tote bag
Choose a small tote with strong handles. Place a waterproof container inside it, such as a plastic food storage tub or a washable fabric liner.
Attach the tote handle to the center console or the back of a seat. Use a removable strap rather than tying the handle around a moving seat part.
Use a cereal box
A cereal box can become a temporary car trash can. Cut off the top, cover the box with duct tape, and place a reusable bag inside.
This option costs very little, but it is not waterproof and will soften if it gets wet. Use it for dry waste only, and replace it when the cardboard bends.
Use a plastic storage container
A small plastic container with a lid can serve as a durable car trash can. Add adhesive hook-and-loop strips to the container and a firm surface in the car.
Check the adhesive often. Heat inside a parked vehicle can weaken some adhesives. Do not attach the container to textured surfaces if it may fall near the pedals.

How to keep the trash can secure
A secure car trash can should not slide, swing, or fall during a normal turn or sudden stop. The attachment method matters as much as the bag itself.
Use one of these options:
• Hook-and-loop straps around a fixed console section
• A strap around a headrest post
• A buckle attached to a seat-back organizer
• Non-slip material under a floor container
• A fitted insert inside a cup holder
Avoid attaching the trash can to a seat belt. It can interfere with belt movement and may affect how the belt works in a crash.
Do not place a trash can where it covers an airbag. Airbags may deploy from the dashboard, seat side, door, or roof area. If you are unsure about a location, check the vehicle owner’s manual.
A hanging car trash can should also stay light. Empty it before it becomes heavy enough to pull on the strap or change how the seat moves.

Make the car trash can easy to clean
A car trash can only helps if you are willing to empty it. A washable design makes that task much easier.
Use these care tips:
• Remove the liner every few days.
• Shake out crumbs outdoors.
• Wipe the liner with mild soap and water.
• Dry the liner fully before putting it back.
• Clean food spills as soon as possible.
• Do not mix wet waste with paper if the liner is not waterproof.
For odors, wash the liner and let it air dry. Baking soda can help absorb mild smells, but it will not replace proper cleaning. Avoid strong air fresheners inside a small car because some people may react to intense scents.
A removable liner is one of the best features you can add. In one trial, a fixed liner looked neat at first but took much longer to clean. A removable liner turned a messy chore into a quick rinse.
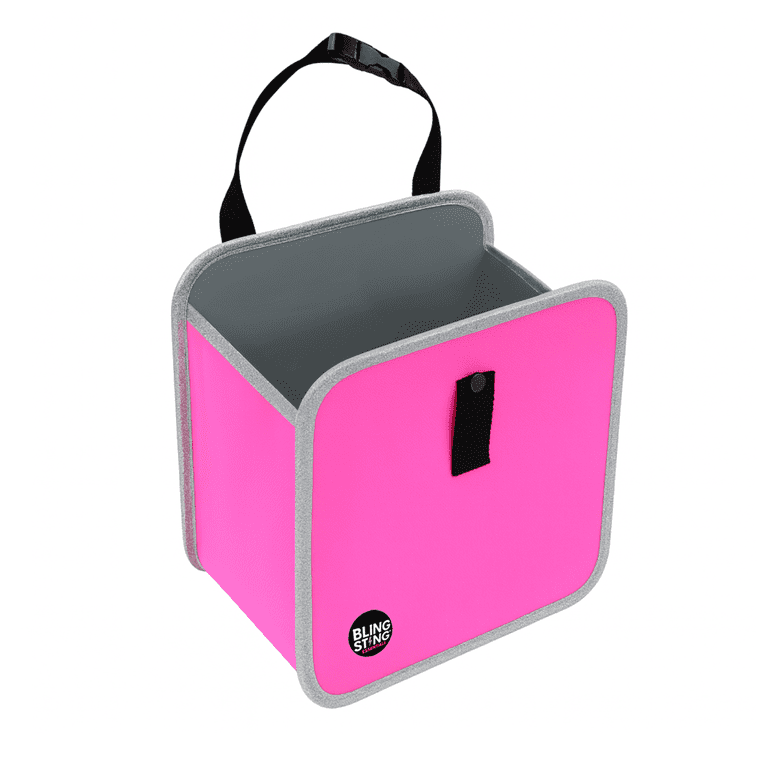
Common mistakes to avoid
Many homemade car trash cans fail because of small design errors. These problems are easy to prevent.
• Making the bag too large: A large bag can steal legroom and become heavy.
• Using weak fabric: Thin fabric may rip at the strap.
• Skipping the liner: Food and drink residue can soak into the outer fabric.
• Using a loose plastic bag: It can fall into the footwell and become a driving hazard.
• Adding a rigid sharp rim: Sharp edges can scratch hands or seats.
• Placing it near pedals: Even a small container can block safe foot movement.
• Relying on weak adhesive: Heat can loosen glue inside a parked car.
• Forgetting to reinforce straps: The strap carries most of the load.
The biggest lesson is to design for real use, not just appearance. A car trash can should be stable, washable, light, and simple to remove.

Cost, sustainability, and useful upgrades
A basic homemade car trash can can cost very little if you reuse fabric and a shopping bag. If you buy new canvas, webbing, thread, and fasteners, the total cost may be similar to a low-cost store model.
Reuse is one reason this project is appealing. Old jeans, tote bags, curtains, and upholstery scraps can all become useful materials. However, reuse only helps when the finished item is durable. A bag that tears after one week creates more waste than a well-made product.
Useful upgrades include:
• A snap-on waterproof liner
• A stiffened opening
• A small outside pocket for spare bags
• Reflective trim for night visibility
• A removable shoulder strap for carrying the bag
• A divider for recycling paper and general waste
Avoid adding heavy metal parts or bulky decorations. They can make the car trash can harder to use and may become loose objects in a sudden stop.
Frequently asked questions about how to make a car trash can
What is the best material for a homemade car trash can?
Canvas, denim, and upholstery fabric are strong choices for the outside. Use oilcloth, coated fabric, or a washable reusable bag for the liner.
How big should a car trash can be?
A compact bag about 8 inches wide, 5 inches deep, and 10 inches tall suits most cars. Make a cardboard model first to confirm that it will not block legroom or vehicle controls.
Where should I place a car trash can?
Place it where passengers can reach it, such as beside the center console or behind a front seat. Keep it away from pedals, airbags, seat belts, gear controls, and moving seat parts.
Can I make a car trash can without sewing?
Yes. You can use a reusable tote bag, plastic storage container, or reinforced cereal box. Add a washable liner and secure the container so it cannot fall into the footwell.
How do I stop a car trash can from smelling?
Empty it often, remove food waste quickly, and wash the liner with mild soap and water. Allow the liner to dry completely before putting it back in the vehicle.
Is a plastic bag enough for a car trash can?
A plastic bag alone can slip, tear, or fall near the pedals. It is safer to place the bag inside a stable fabric container or small lidded bin.
How can I make a car trash can stay open?
Add a flexible plastic rim, use a stiff fabric facing, or sew a channel around the opening. Make sure any support material has no sharp edges.
Conclusion
Making a car trash can is a simple project with a useful daily payoff. Choose durable fabric, add a waterproof liner, reinforce the strap, and place the finished container away from pedals and airbags. A small, washable design usually works better than a large bin that becomes heavy or takes up space.
Start with a cardboard template and build the simplest version first. Once you know the best location, add features such as pockets, snaps, or a stiff opening. Try making your own car trash can today, and share your design or results in the comments.