
How To Use Cerakote Ceramic Headlight Restoration Kit: Guide
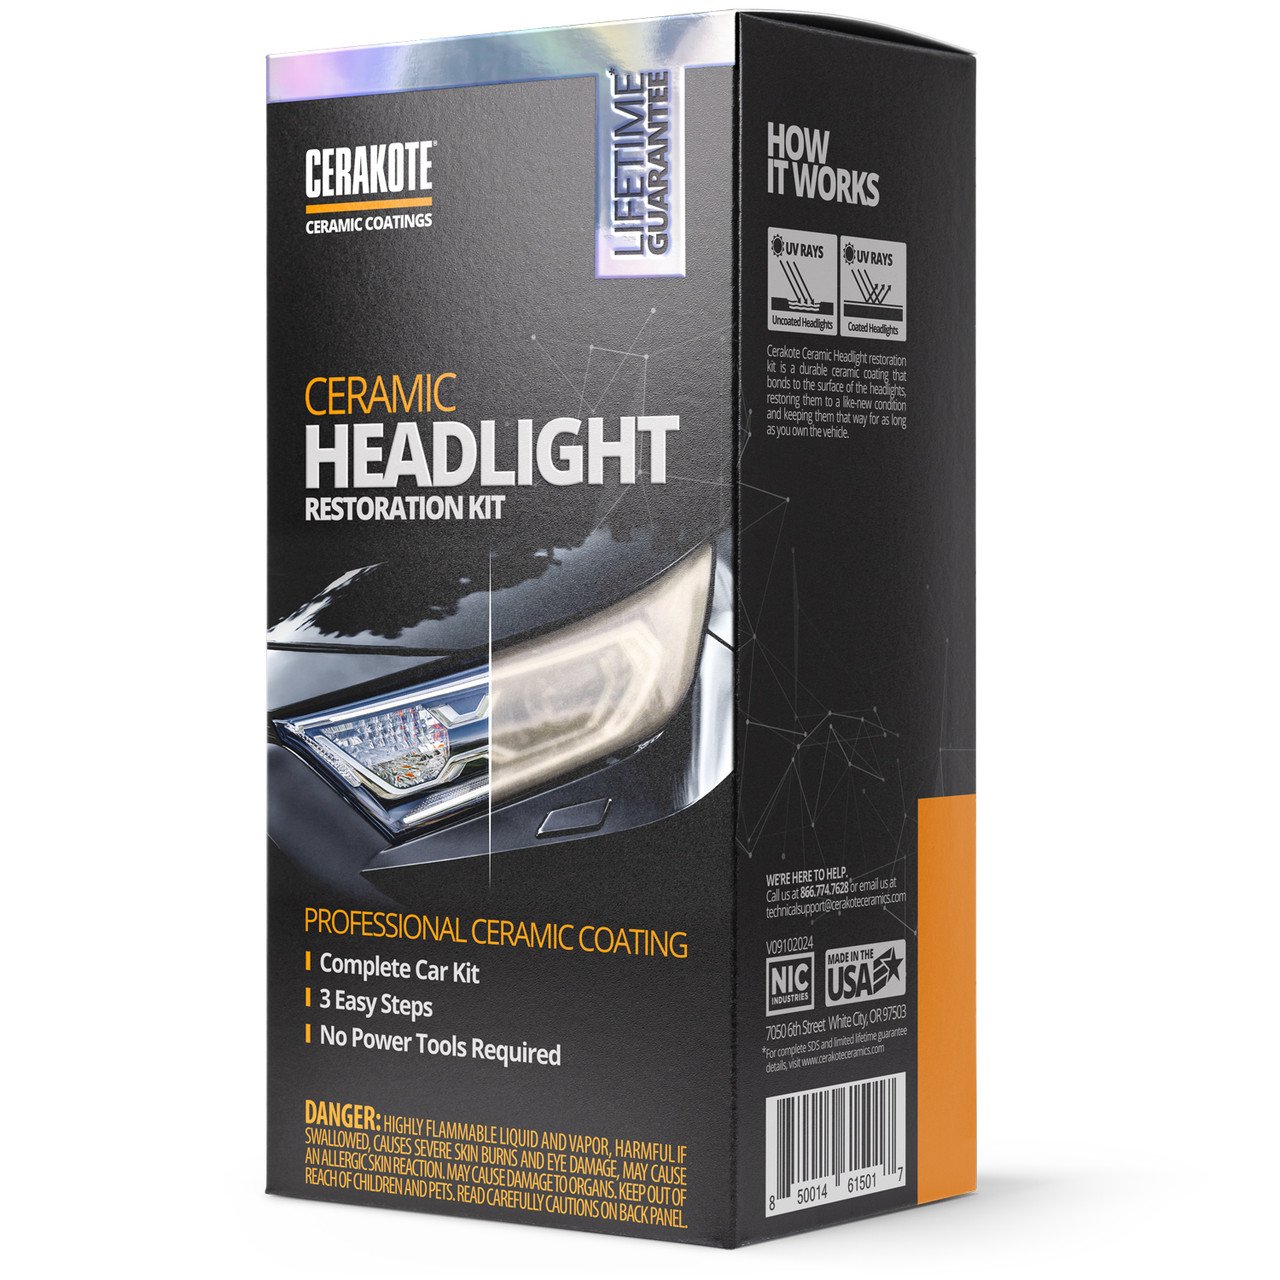
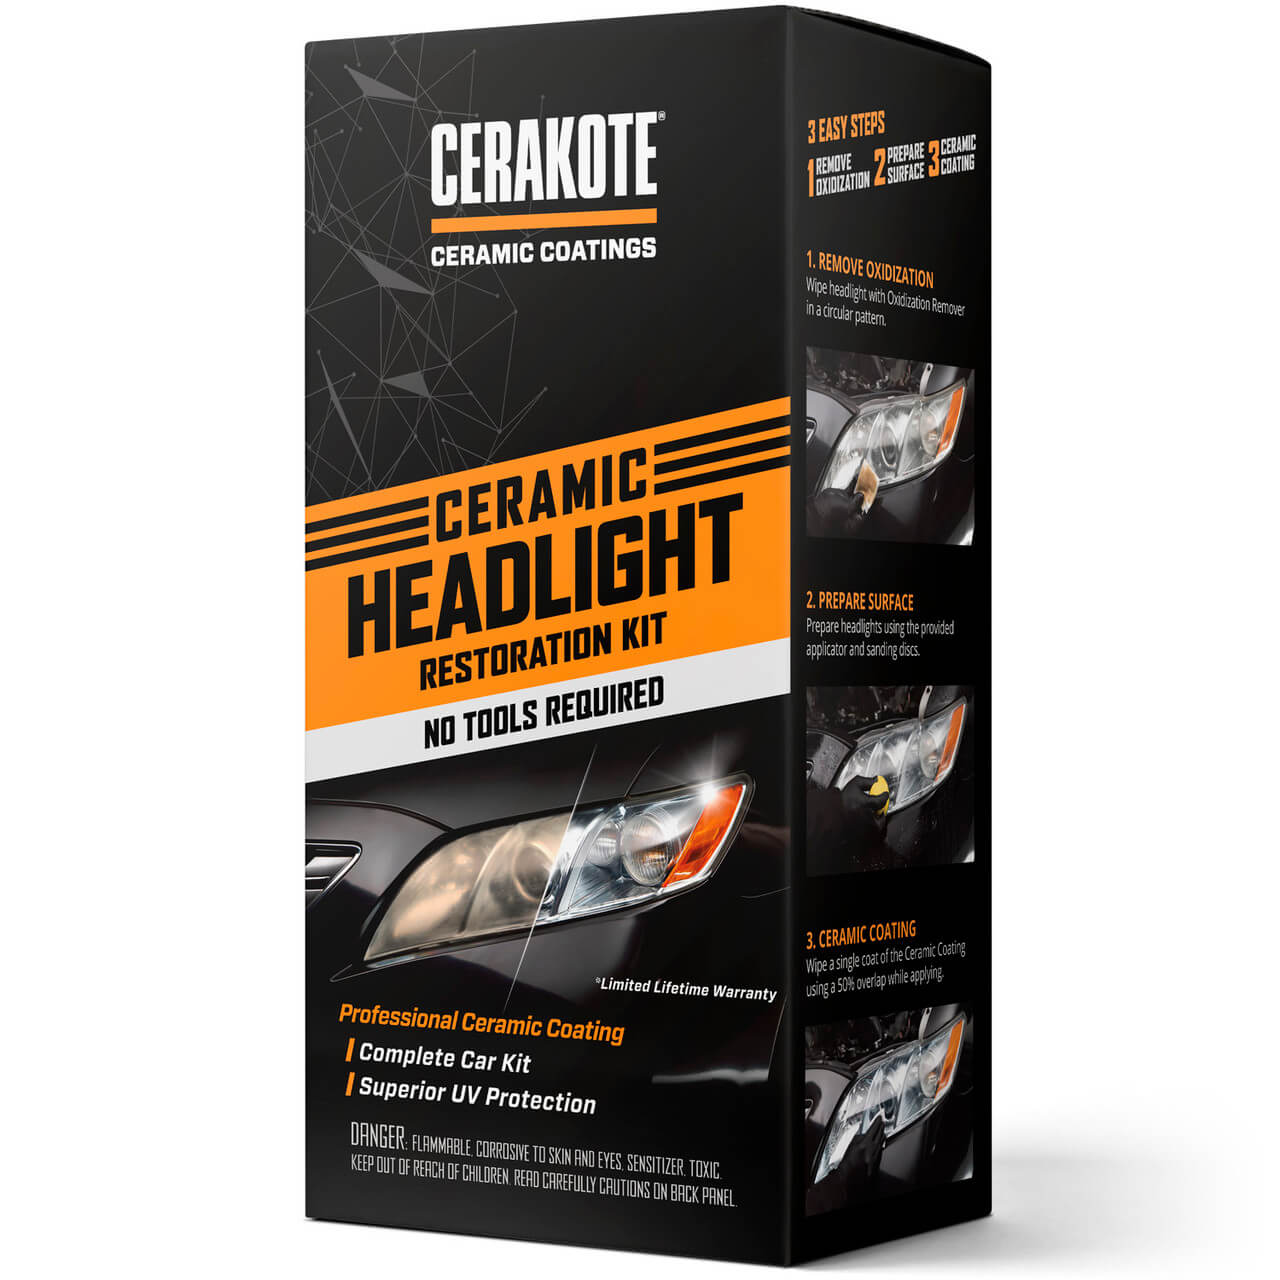
Use the Cerakote ceramic headlight restoration kit by cleaning, sanding, drying, and applying its coating as directed.
Cloudy headlights can make a clean car look old and may reduce light output at night. The Cerakote kit offers a simple way to remove yellow oxidation and add a ceramic coating that helps protect the plastic lens. This guide explains how to use Cerakote ceramic headlight restoration kit correctly, avoid common mistakes, and get a smooth, clear finish that lasts.
What the Cerakote Ceramic Headlight Restoration Kit Does
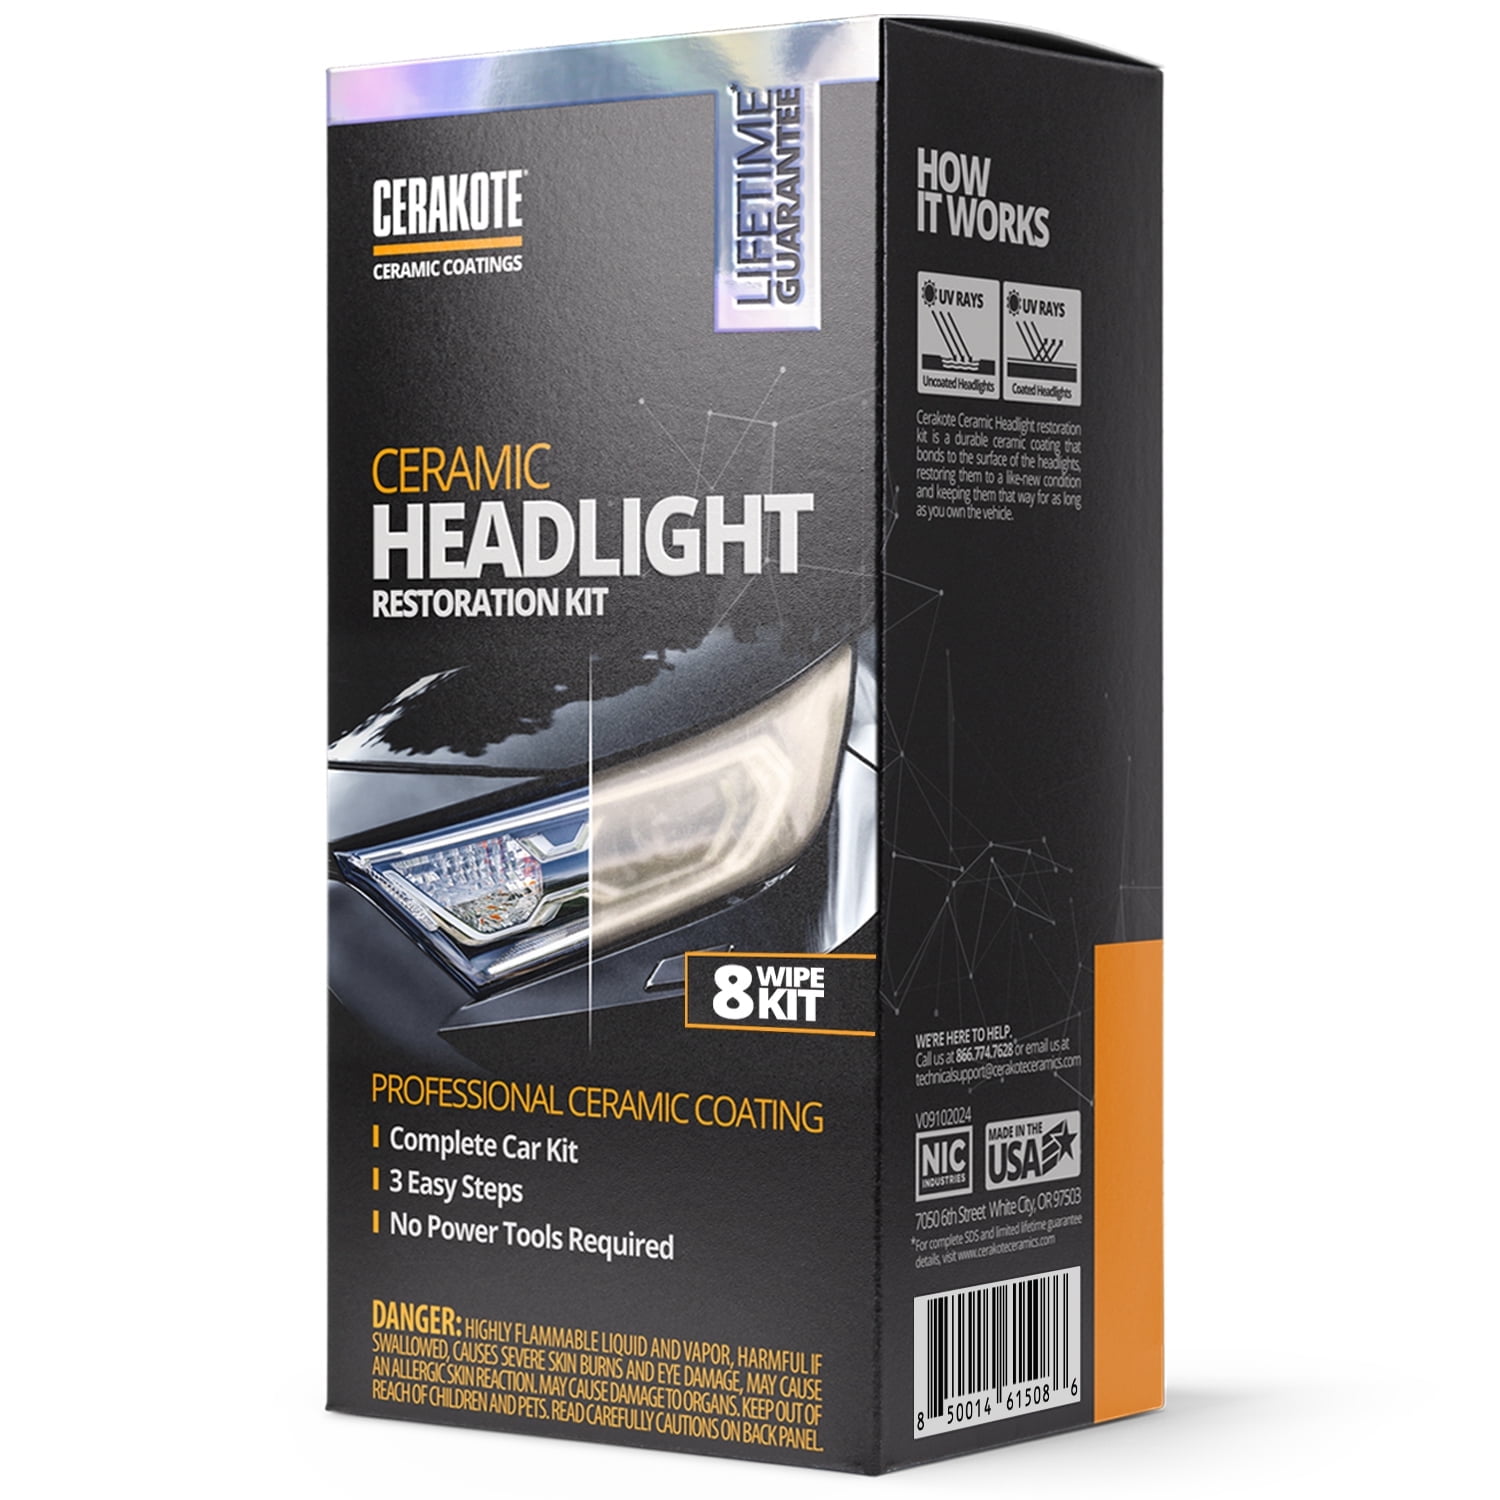
The Cerakote ceramic headlight restoration kit is made for plastic headlight lenses with yellowing, haze, light scratches, and surface oxidation. It usually includes sanding materials, cleaning products, and a ceramic clear-coat wipe or applicator.
The process has two main jobs:
• Remove the damaged outer layer of plastic.
• Seal the fresh surface with a ceramic coating.
Think of the headlight lens like a clear window. Sanding removes the dirty, damaged layer. The ceramic coating then acts like a thin protective shield.
The kit may improve the look of many headlights, but it cannot repair deep cracks, moisture inside the housing, broken mounting points, or damage beneath the plastic surface. Read the package directions before starting because kit contents and instructions may vary.
What You Need Before Starting
Learning how to use Cerakote ceramic headlight restoration kit starts with good preparation. Most poor results come from rushing this stage, not from the coating itself.
Gather these items before you begin:
• Cerakote headlight restoration kit
• Clean water in a spray bottle
• Automotive soap
• Two or three clean microfiber towels
• Painter’s tape
• Nitrile gloves
• Safety glasses
• A bucket
• A dry, shaded work area
• A timer or phone stopwatch
Wear gloves when using sanding materials and coating wipes. Work outdoors or in a well-ventilated garage. Avoid strong wind, direct sunlight, rain, dust, and high humidity.
Wash the vehicle first. Dirt near the headlight can move under the sanding pad and create deep scratches. Let the lens cool before you start. A hot lens can dry the solution too fast and make the process harder.
Check the Headlight Damage
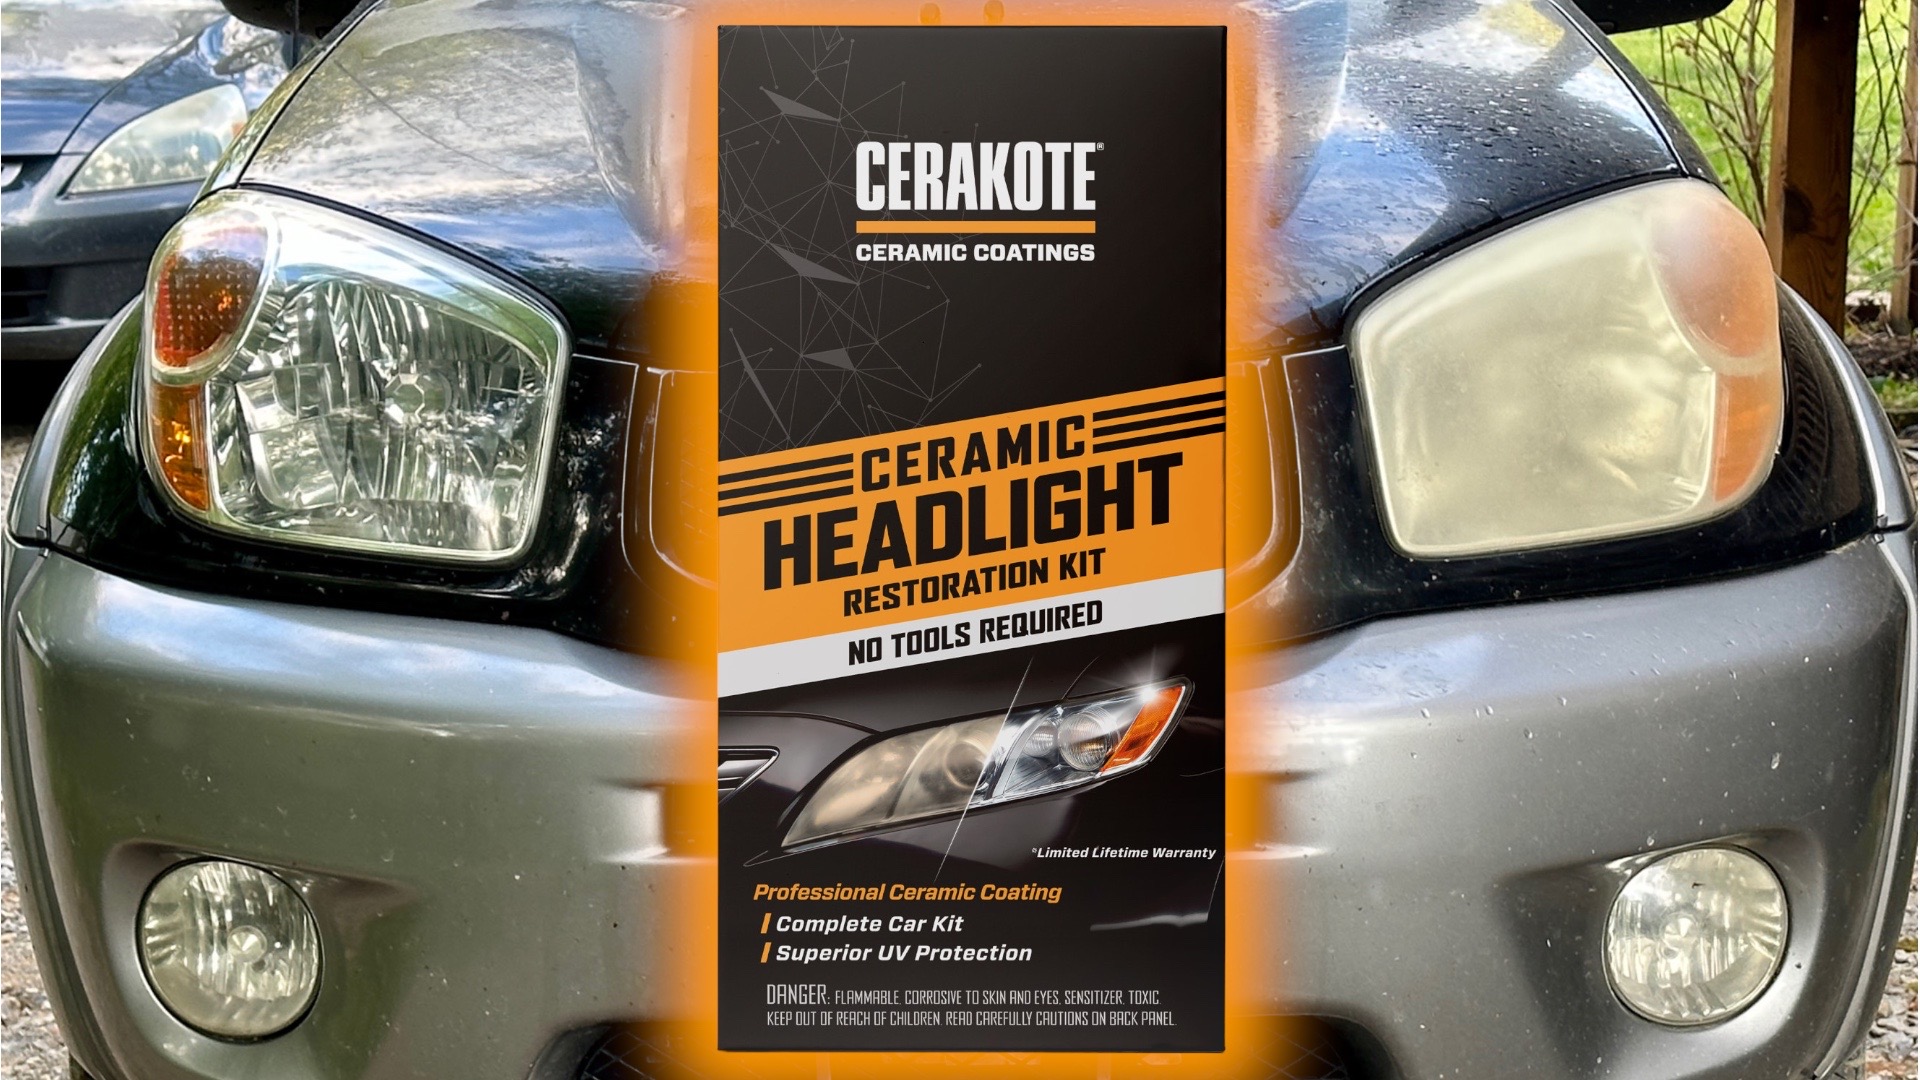
Before using the kit, inspect both headlights in daylight. Look for the type and depth of the damage.
Light surface damage often includes:
• Yellow or brown discoloration
• A dull, cloudy appearance
• Fine scratches
• White oxidation
• Faded plastic
More serious damage may include:
• Deep cracks
• Holes or chips
• Moisture inside the housing
• Peeling plastic
• Severe pitting from road debris
The Cerakote kit works best on surface oxidation. If the lens is cracked or moisture has entered the headlight, restoration may only improve its appearance for a short time. In that case, repair or replacement may be the safer choice.
Test a small corner first if you are unsure. This helps you see how much sanding is needed before working across the whole lens.
How to Use Cerakote Ceramic Headlight Restoration Kit
Follow these steps for a clean and even result. Do not skip the sanding stages or shorten the drying time.
1. Wash and dry the lens
Clean the headlight with automotive soap and water. Remove bugs, road film, wax, and grease.
Dry the lens with a clean microfiber towel. Run your finger over the surface. If it feels oily or gritty, clean it again. The lens must be free of dirt before sanding.
2. Protect the paint
Apply painter’s tape around the full edge of the headlight. Cover nearby paint, trim, rubber seals, and chrome parts.
Use two layers of tape if the headlight sits close to the fender or bumper. Sanding pads can touch nearby paint very easily. A few extra minutes of masking can prevent an expensive paint repair.
3. Wet sand the lens
Wet sanding removes the old, damaged surface. Spray the lens and sanding pad with clean water. Keep both wet during the process.
Use the sanding pads in the order listed in your kit. Many headlight kits begin with a coarse pad and move to finer pads. Use straight strokes in one direction for the first stage, then change direction for the next stage.
For example:
-
Sand left to right.
-
Wipe the lens clean.
-
Sand up and down with the next pad.
-
Continue through each finer stage.
Keep light, even pressure. Do not press hard in one spot. Spend the same amount of time across the whole lens, including the corners.
A properly sanded lens may look cloudy or frosted. That is normal. The coating will restore the clear look later. The important goal is an even, uniform finish with no shiny patches.
4. Rinse and inspect
Rinse the lens with clean water and wipe it with a fresh microfiber towel. Look at it from several angles.
If you see shiny spots, those areas still have old oxidation. Sand them again until the surface looks evenly dull. If you leave shiny areas, the coating may not bond evenly.
This inspection is one of the most important steps in how to use Cerakote ceramic headlight restoration kit. The coating cannot hide uneven preparation as well as many people expect.
5. Clean the surface
Use the cleaning wipe or solution included in the kit. Follow the package instructions for how to apply it and how long to let it work.
Do not touch the lens with bare fingers after cleaning. Skin oils can create streaks or weak spots in the ceramic layer.
If the kit includes more than one cleaning wipe, use each one as directed. Allow the lens to dry fully before applying the coating.
6. Apply the ceramic coating
Open the ceramic coating wipe only when you are ready to use it. Most ceramic wipes begin curing after exposure to air.
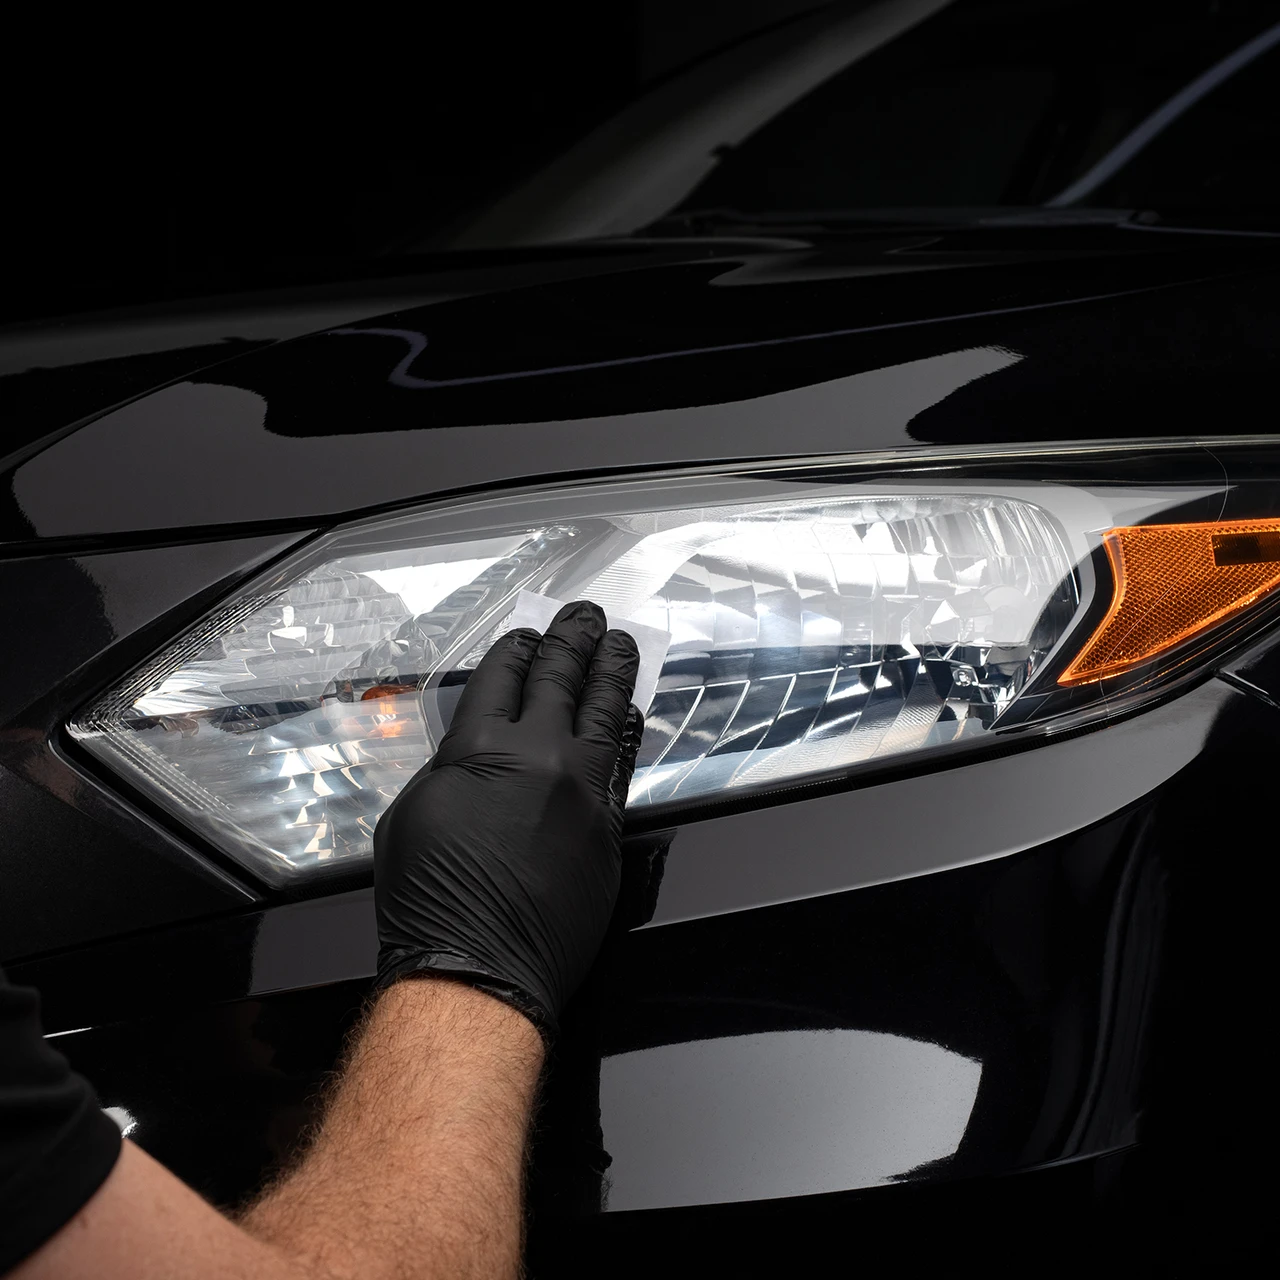
Wipe the product across the lens in smooth, overlapping passes. Cover the full surface, including the edges, but avoid letting the product pool in one area.
Use steady pressure and work at a comfortable pace. Do not keep rubbing the same section after the coating begins to flash or turn hazy. Overworking the product can cause streaks.
If the kit includes separate wipes for each headlight, use one wipe per lens as instructed. Do not save an opened wipe for another day.
7. Let the coating cure
Keep the vehicle dry during the curing period listed on the package. Do not wash the car or touch the lens while the coating sets.
Avoid driving in rain or heavy dust if the instructions advise against it. Curing time can change with temperature and humidity. A cool, damp day may require more care than a warm, dry day.
After the coating cures, remove the painter’s tape slowly. Check the lens in daylight and at night. A properly finished lens should look clear and even.
How Long Does the Restoration Take?
Most people can restore both headlights in about 30 to 60 minutes, not counting the full curing period. The exact time depends on how badly the lenses are oxidized and how carefully you complete each sanding stage.
The sanding may take longer on headlights with heavy yellowing or deep surface marks. Do not rush to finish within a certain time. Even sanding matters more than speed.
The ceramic coating needs time to cure after application. Follow the product label instead of relying on a general time estimate. The label is the best guide for your kit and local conditions.

Mistakes to Avoid
Knowing what not to do is a major part of how to use Cerakote ceramic headlight restoration kit. These common errors can lead to streaks, uneven clarity, or short coating life.
• Skipping the wash: Dirt can scratch the lens during sanding.
• Using dry sandpaper: Dry sanding creates excess heat and can clog the abrasive.
• Pressing too hard: Heavy pressure may create deep sanding marks.
• Leaving shiny spots: Old oxidation can remain under the coating.
• Touching the lens after cleaning: Finger oils can affect bonding.
• Applying the coating in direct sun: Heat may dry the product too fast.
• Using too much product: Thick areas may streak or cure unevenly.
• Reusing a dry coating wipe: The product may not spread correctly.
• Washing too soon: Water can interfere with the curing process.
• Forgetting the edges: Unprotected edges may fade sooner than the center.
A useful rule is simple: preparation should look boring and even. If the lens has random dull and shiny areas before coating, stop and correct them first.

Tips for a Better Finish
Small details can make a big difference when learning how to use Cerakote ceramic headlight restoration kit.
Work on one headlight at a time. This keeps the process organized and prevents the cleaning surface from sitting too long.
Use a separate microfiber towel for dirty work and final drying. A towel that picked up sanding residue can put tiny scratches back on the lens.
Keep the water clean. If your spray bottle or bucket contains grit, it can act like sand between the pad and the plastic.
Check the lens from different angles while sanding. Bright side light can reveal missed oxidation that is hard to see from the front.
If the lens still looks hazy after coating, do not immediately apply another layer. The problem may be uneven sanding, leftover residue, or moisture. Let the coating cure fully and review the kit instructions before taking further action.

How Long Does Cerakote Headlight Protection Last?
The life of a ceramic headlight coating depends on sun exposure, weather, road salt, washing habits, and the condition of the plastic. A protected vehicle stored in a garage may keep its clarity longer than a vehicle parked outside in strong sunlight every day.
Ceramic coating is not permanent armor. It helps protect the restored surface, but ultraviolet light and road debris still affect plastic over time.
To help the finish last:
• Wash the headlights with mild automotive soap.
• Avoid harsh solvents and abrasive cleaners.
• Do not scrub the lens with rough pads.
• Remove bug residue without letting it bake in the sun.
• Park in a garage or shaded area when possible.
• Inspect the surface if yellowing or haze returns.
Product life claims can vary, so treat the manufacturer’s stated period as an estimate rather than a guarantee. Real-world conditions matter.
Can You Use the Kit on Other Plastic Parts?
The Cerakote ceramic headlight restoration kit is designed for automotive headlight lenses. Some people may consider using it on fog lights, motorcycle screens, or other clear plastic parts, but the result is not guaranteed unless the product directions allow it.
Avoid using the kit on painted panels, glass, chrome, rubber, or textured plastic. These materials may react differently to sanding and coating products.
If you want to restore another plastic part, test a hidden area first. Even then, follow the product label and accept that the finish may not match the result on a headlight lens.
Is Professional Restoration Better?
A do-it-yourself kit can be a good choice when the headlight has moderate surface oxidation and you want an affordable repair. It also gives you control over the process.
Professional restoration may be better when:
• The lens has deep damage.
• The headlight has complicated curves.
• You lack a shaded work area.
• The housing has internal moisture.
• The plastic needs machine polishing.
• You want a shop warranty.
The key difference is preparation quality. A skilled technician may use multiple sanding stages, polishing tools, and controlled coating conditions. A home kit can still work well when you follow the directions with care.
Frequently Asked Questions About How to Use Cerakote Ceramic Headlight Restoration Kit
How do you use the Cerakote ceramic headlight restoration kit?
Wash and dry the lens, mask the surrounding paint, wet sand with the included pads, clean the surface, and apply the ceramic coating wipe. Let the coating cure for the time stated in the instructions.
Do you need to wet sand before applying Cerakote?
Yes, wet sanding is usually needed when the lens has oxidation, yellowing, or surface haze. It removes the damaged plastic and creates an even surface for the coating.
How long should Cerakote headlight coating dry?
Use the curing time printed on your kit’s packaging. Temperature, humidity, and airflow can affect curing, so keep the headlights dry and untouched during that period.
Can you apply Cerakote to a headlight without sanding?
Sanding is not optional for heavily oxidized headlights. Applying coating over yellow or uneven plastic can lock in the haze and produce a poor finish.
Can you wash the car after using the kit?
Wait until the full cure time has passed before washing the vehicle. Early water exposure may affect the coating’s clarity and durability.
How often should you restore headlights with Cerakote?
Restore them when the surface becomes cloudy or yellow again, but do not repeatedly sand the plastic without checking its condition. If the lens becomes thin, cracked, or deeply damaged, replacement may be safer.
Conclusion
Learning how to use Cerakote ceramic headlight restoration kit is mostly about careful preparation. Clean the lens, protect the paint, wet sand evenly, remove every trace of residue, and apply the ceramic coating in a dry, shaded area.
The biggest lesson is not to rush. A smooth, even lens before coating usually leads to a clear and lasting result. Follow the product instructions, protect the restored surface, and inspect your headlights often for early signs of fading.
Try the process on a suitable set of headlights, and share your restoration results or questions in the comments.