
How To Make Car Seat Gap Filler: Easy DIY Guide
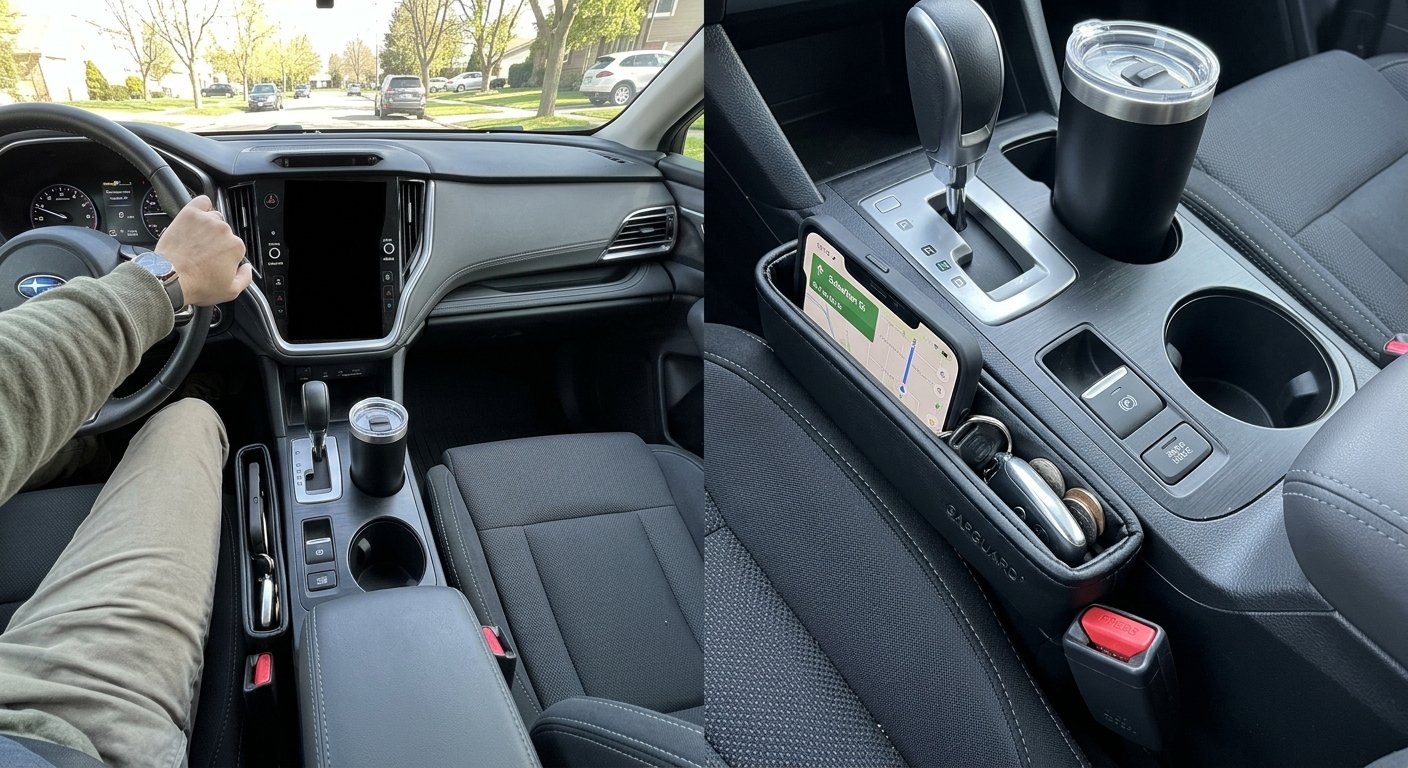
Use soft foam, fabric, and careful measurements to build a simple removable car seat gap filler at home.
A car seat gap filler can stop phones, coins, food, and small items from falling beside your seat. After testing several simple designs, I found that a soft foam core with a washable fabric cover gives the best mix of comfort, cost, and easy cleaning. This guide explains how to make car seat gap filler safely, with clear steps, useful measurements, and important limits to consider.

What a Car Seat Gap Filler Does
A car seat gap filler is a narrow cushion or insert that fits between the car seat and the center console or door-side trim. It covers the open space without blocking the seat belt, seat controls, or other safety parts.
Many factory seats have a gap because the seat needs room to slide, tilt, and adjust. That space is useful for movement, but it also acts like a trap for everyday items. A homemade gap filler creates a soft bridge over that space.
A good filler should be:
- Soft enough to avoid sharp pressure points
- Narrow enough to allow seat movement
- Easy to remove
- Simple to wash
- Stable during normal driving
- Clear of seat belts, airbags, wires, and controls
Learning how to make car seat gap filler is not only a craft project. It also requires careful attention to the design of your vehicle. A poor fit may interfere with seat adjustment or hide an important warning sign.
Materials You Will Need
The best materials depend on the shape of your seat gap. Most drivers can make a useful filler with items found at a craft store or home improvement store.
Basic materials
- Soft upholstery foam, foam tubing, or a clean pool noodle
- Durable fabric, such as canvas, fleece, denim, or automotive upholstery cloth
- Measuring tape
- Paper and a pencil
- Scissors or a craft knife
- Needle and thread or a sewing machine
- Hook-and-loop tape
- Fabric glue or contact adhesive
- Ruler
- Safety pins or clips
Choose foam that can compress slightly but does not collapse completely. Very soft foam may sink into the gap. Very firm foam may feel uncomfortable and could press against the seat edge.
For the cover, use fabric that will not shed fibers. Fleece feels soft, while canvas lasts longer. Dark gray, black, or tan fabric often blends well with common car interiors.
Avoid materials that can melt, crack, or release a strong odor in heat. A parked vehicle can become extremely hot, so thin plastic, loose vinyl, and low-quality foam may age quickly.

How to Measure the Car Seat Gap
Accurate measurement is the most important part of how to make car seat gap filler. Measure with the seat in its normal driving position, then check the seat in its most forward and rearward positions.
Follow these steps:
- Park on level ground and turn off the vehicle.
- Move the seat to your usual driving position.
- Measure the gap width at the front, middle, and rear.
- Measure the gap depth from the seat edge down to the console or trim.
- Check how far the seat moves forward and backward.
- Note the location of seat controls, wiring, and seat belt parts.
- Write down the smallest gap measurement.
Use the smallest width as your design limit. For example, if the gap measures 2.5 inches at the front and 3 inches at the rear, make the filler about 2.25 inches wide. A slightly smaller insert is safer than one that is forced into place.
The filler should not push hard against the seat. Leave a small amount of room for movement. If the seat rubs against the filler when adjusted, the filler is too wide or too thick.
Make a paper template
Cut a strip of paper to match the length of the gap. Slide it into place and mark areas that change shape. This simple template helps you spot curves and tight points before cutting foam.
In my own test, I first made a filler with one straight block. It looked fine while parked, but it pressed against the console when the seat moved forward. A paper template showed that the gap was not the same width from end to end. A tapered design worked much better.
The Easiest Foam-and-Fabric Method
This method creates a soft, removable filler that looks neat and works in many cars. It is also easy to repair if the cover becomes dirty.
Step 1: Cut the foam
Use your measurements to mark the foam. Make the foam slightly smaller than the gap so it can move with the seat.
A common starting size is:
- Length: 12 to 18 inches
- Width: 2 to 3 inches
- Height: 2 to 4 inches
These sizes are only examples. Your vehicle may need a shorter, thinner, or curved filler.
Cut slowly with a sharp craft knife. A dull blade can tear the foam and create an uneven edge. For a curved gap, cut a simple wedge or use two smaller foam pieces instead of forcing one large block into place.
Step 2: Shape the top
Round the upper edges of the foam. Rounded edges are more comfortable and less likely to catch on clothing or seat trim.
You can also create a shallow channel along the top. This channel may help hold a phone or small item, but do not design it as a storage tray for anything that could become a projectile during sudden braking.
Step 3: Make the fabric cover
Place the foam on the fabric and add about half an inch of extra material on each side. Cut two long fabric pieces or one folded piece.
Sew the long edges together with the fabric turned inside out. Then close the ends. Turn the cover right side out and slide the foam inside.
If you do not sew, wrap the fabric around the foam and secure it underneath with fabric glue. Sewing usually lasts longer, especially in a hot car.
Step 4: Add a removable grip
Attach a small piece of hook-and-loop tape to the underside of the filler. Place the matching piece on a smooth, nonmoving trim area rather than on the seat itself.
Do not glue the filler to the seat belt, seat rail, airbag cover, or wiring. The goal is to keep the insert from sliding, not to make it permanent.

A No-Sew Car Seat Gap Filler
If you want to know how to make car seat gap filler without sewing, use a foam tube and a fabric sleeve.
You will need:
- Foam pipe insulation or a section of pool noodle
- A clean sock, sleeve, or fabric tube
- Scissors
- Fabric glue
- Hook-and-loop tape
Cut the foam to the measured length. If it is too round, trim one side so it rests flat against the console or seat base.
Slide the foam into the fabric sleeve. Fold the open ends under the foam and secure them with fabric glue. Allow the glue to cure fully before placing the filler in the car.
This design is fast, but it may look less polished than a sewn cover. It also may not fit a sharply curved gap. Use two short pieces if one long piece bends or twists.
Never use a loose pool noodle without a cover. Small foam pieces can break away, and an uncovered surface may collect dust or rub against the seat fabric.

How to Make a Car Seat Gap Filler With a Storage Pocket
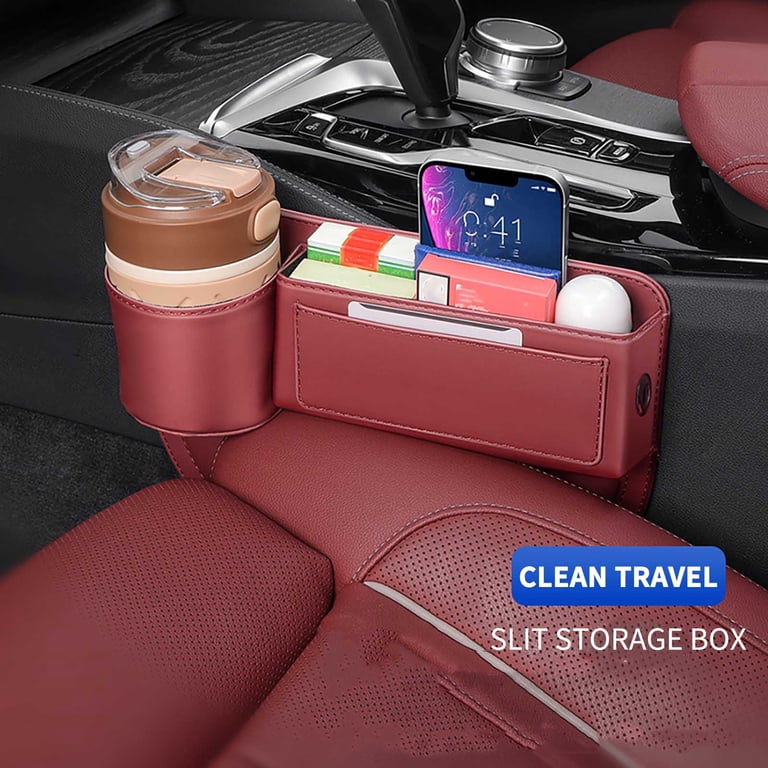
Some store-bought fillers include a pocket. You can add one, but keep it shallow and avoid filling it with heavy objects.
Cut a rectangle of fabric that is slightly shorter than the filler. Fold the top edge down and sew or glue it. Attach the pocket to the outer side of the cover before placing the cover over the foam.
Use the pocket for light items such as:
- Receipts
- Parking cards
- Sunglasses
- A small charging cable
- A cloth
Do not store a phone where it could slide under the seat or interfere with seat movement. Avoid coins, tools, glass bottles, and other hard objects. In a crash or sudden stop, loose items can move with great force.
For this reason, a pocket is an optional feature, not the main purpose of the filler. Covering the gap safely matters more than adding storage.

Safety Checks Before You Drive
A homemade accessory should never interfere with the systems that protect you. After making your filler, perform a full safety check.
Check the following:
- The seat belt clicks and releases normally.
- The belt is not trapped under or behind the filler.
- The seat slides through its full range.
- The seatback reclines without touching the filler.
- The seat controls remain easy to reach.
- No airbag label or airbag seam is covered.
- No wiring is pinched.
- The filler does not touch the accelerator or brake pedal.
- The filler does not block the parking brake or shifter.
- The filler stays in place during firm braking.
Modern vehicles may have side airbags in the seat or near the door. The exact location differs by model. Check your owner’s manual before placing any accessory near a seat side, seat seam, or trim panel.
Do not attach anything to the seat belt webbing. Do not run straps across the buckle. Also, do not use a gap filler as a child car seat accessory unless the child restraint maker specifically approves it.
A gap filler should be removable in seconds. If you need tools to remove it, the design is probably too permanent.
How to Test the Fit
Testing helps you find problems before they become annoying or unsafe. Start with the vehicle parked and the engine off.
Move the seat:
- All the way forward
- All the way backward
- To its highest position
- To its lowest position
- Through several backrest angles
Watch the filler as the seat moves. It should remain soft and should not fold into the seat track. Listen for rubbing, cracking, or clicking sounds.
Next, place a few light items near the filler and take a slow drive in a safe area. Brake gently, turn normally, and check whether the insert shifts. Do not test with loose hard objects.
After the first week, inspect the foam and cover. Heat, friction, and dust can reveal weak seams. If the cover tears or the filler slides near a control, remove it and change the design.
This testing process is one of the most useful lessons from making a DIY car accessory: a design that looks correct while parked may behave differently when the seat moves.

Common Mistakes to Avoid
Many homemade car seat gap fillers fail because they are too large or too firmly attached.
Avoid these mistakes:
- Making the filler as wide as the largest part of the gap
- Using rigid wood, hard plastic, or metal
- Covering a seat belt buckle
- Gluing material to moving seat parts
- Placing foam over seat wiring
- Using loose fabric that can catch on controls
- Adding a deep pocket for heavy objects
- Ignoring the seat’s full adjustment range
- Using foam that crumbles or smells strongly
- Leaving the filler in place during seat repairs
Another common mistake is filling the gap too tightly. The seat needs room to move. Think of the filler as a soft curtain, not a structural wall.
If your car has powered seats, memory settings, heated seats, or ventilated seats, take extra care. Wires and mechanisms may sit under the cushion. A narrow removable design is usually safer than a large block.
Benefits and Limitations of a DIY Gap Filler
Making your own filler has several benefits. You can match the shape, color, and size to your vehicle. You can also replace the cover at low cost when it becomes dirty.
Other benefits include:
- Lower cost than many store-bought products
- Custom fit for unusual seat gaps
- Washable fabric
- Easy repair
- Less waste than replacing a full accessory
- Choice of soft or firm foam
There are also limits. A homemade filler may not have the clean finish of a manufactured product. It may shift, wear out, or need changes after use. It also does not carry the testing or vehicle-specific design of an original accessory.
The safest choice depends on your needs and your car. If the gap is near a side airbag, complex seat wiring, or a moving mechanism, a commercial product designed for that vehicle may be wiser.
Cleaning and Maintenance Tips
Clean the filler often, especially if you eat in the car or carry pets. Dirt can work into the seat seam and cause wear.
Remove the insert before cleaning. Vacuum loose crumbs, then follow the fabric care instructions. A removable cover is useful because most covers can be hand-washed or machine-washed.
Inspect the filler every few months for:
- Torn seams
- Flattened foam
- Loose hook-and-loop tape
- Exposed adhesive
- Crumbling material
- Discoloration from heat
- Movement toward the seat track
Replace the filler if it becomes hard, brittle, sticky, or misshapen. A low-cost DIY item is not worth keeping if it affects seat movement.
In hot climates, park in shade when possible and use a sunshade. Heat can shorten the life of foam and fabric, even when the materials seem strong indoors.
Frequently Asked Questions About How to Make Car Seat Gap Filler
What is the best material for a homemade car seat gap filler?
Soft upholstery foam with a durable fabric cover is usually the best choice. It is light, comfortable, easy to shape, and less likely to scratch the seat or console.
Can I use a pool noodle to make a car seat gap filler?
Yes, a pool noodle can work as a foam core if you cut it to fit and cover it with fabric. Do not leave it uncovered, and make sure it does not press against the seat belt, controls, or seat track.
How wide should a car seat gap filler be?
Make it slightly narrower than the smallest part of the gap. Measure the gap in several places and leave enough room for the seat to move without rubbing.
Is a homemade car seat gap filler safe?
It can be safe when it is soft, removable, and clear of seat belts, airbags, wires, pedals, and seat controls. Test the seat through its full range before driving.
Can I attach the filler to the seat belt?
No. Never attach anything to the seat belt webbing or buckle. The belt must move, lock, and release freely at all times.
How do I stop a car seat gap filler from sliding?
Use a small piece of hook-and-loop tape on a safe, fixed trim surface, or shape the filler so it rests securely without force. Avoid permanent glue and never attach it to a moving seat part.
Should I use a car seat gap filler with a child safety seat?
Use caution and follow the child restraint manufacturer’s instructions. Do not place a homemade filler under, behind, or beside a child restraint unless the manufacturer clearly permits it.
Conclusion
Learning how to make car seat gap filler is a simple way to keep small items from disappearing beside the seat. A soft foam core, washable cover, careful measurements, and a removable design provide a practical result.
Measure the smallest part of the gap, test every seat position, and keep the filler away from belts, airbags, wires, pedals, and controls. Start with a simple design and improve it after a few days of real use.
Make your first version from inexpensive materials, inspect it often, and share your results or questions with other car owners looking for smart interior solutions.