
How To Change Car Key Housing: Easy DIY Guide
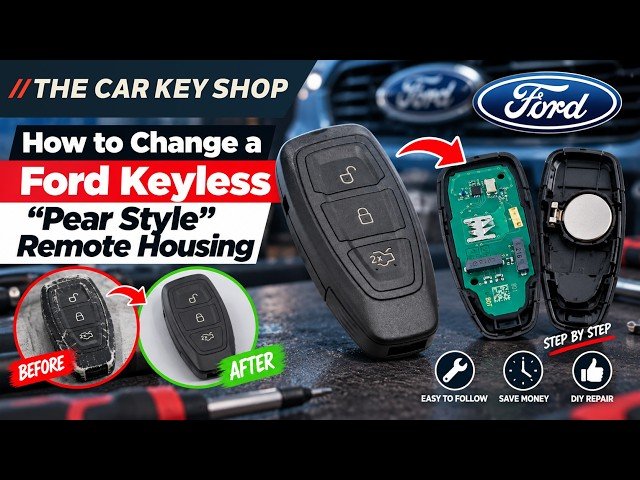
Changing a car key housing is usually a simple swap that protects your buttons, battery, and electronic key parts.
A cracked key shell can make a car key feel unreliable, but you often do not need a new programmed key. This guide explains how to change car key housing safely, how to move the circuit board and transponder chip, and when a locksmith should handle the job.
What Is a Car Key Housing?
A car key housing is the outer shell that holds and protects the key’s internal parts. It may also be called a key shell, key case, remote shell, or key fob cover.
The housing usually protects:
• The plastic buttons
• The circuit board
• The battery
• The emergency metal key
• The transponder chip
• The key ring attachment
The housing does not normally contain the programming data. That data stays on the circuit board or transponder chip. This is why learning how to change car key housing can save money compared with buying and programming a full replacement key.
Still, car keys vary by make, model, year, and trim. A Honda key shell will not fit a Ford fob, and even two Toyota keys may use different layouts. Always match the replacement housing to your exact key.
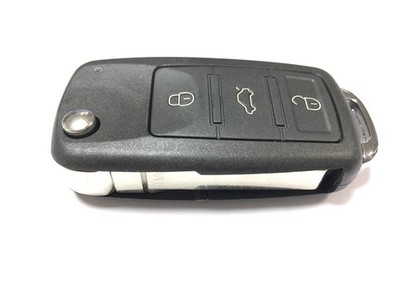
When Should You Replace a Car Key Housing?
A damaged housing can cause more trouble than a poor appearance. Small cracks may let dust or moisture reach the electronics. Broken button tabs can also make the circuit board move inside the case.
You may need a new housing if:
• The case is cracked or split
• Buttons are missing or hard to press
• The key ring loop has broken
• The case will not stay closed
• The battery cover keeps falling off
• The metal blade is loose
• The key fob feels weak or worn
• Water has entered through a damaged seam
A worn housing does not always mean the electronic key is bad. If the car still starts and the remote still works, a shell replacement may be all you need.
In my experience, the most common mistake is waiting until the key ring loop breaks completely. The key then falls, gets lost, or lands in a puddle. Replacing the housing early is usually easier than replacing the whole key.

What You Need Before You Start
Good preparation makes how to change car key housing much easier. You do not need a large tool kit, but the right tools help prevent scratches and broken clips.
Gather these items:
• A matching replacement key housing
• A small flat-head screwdriver or plastic pry tool
• A small Phillips or Torx screwdriver, if required
• A clean, flat work surface
• A small tray for screws and springs
• A soft cloth
• The original key
A plastic pry tool is safer than a metal screwdriver when opening a snap-fit fob. If you use a metal tool, cover its tip with tape. This reduces marks on the plastic.
Before opening the old key, compare it with the new shell. Check the button layout, battery position, key blade style, screw location, and transponder chip space. A housing may look similar but still lack a slot for the immobilizer chip.
Take a photo of the open key before removing anything. This simple step can show you where each button, spring, and rubber pad belongs.
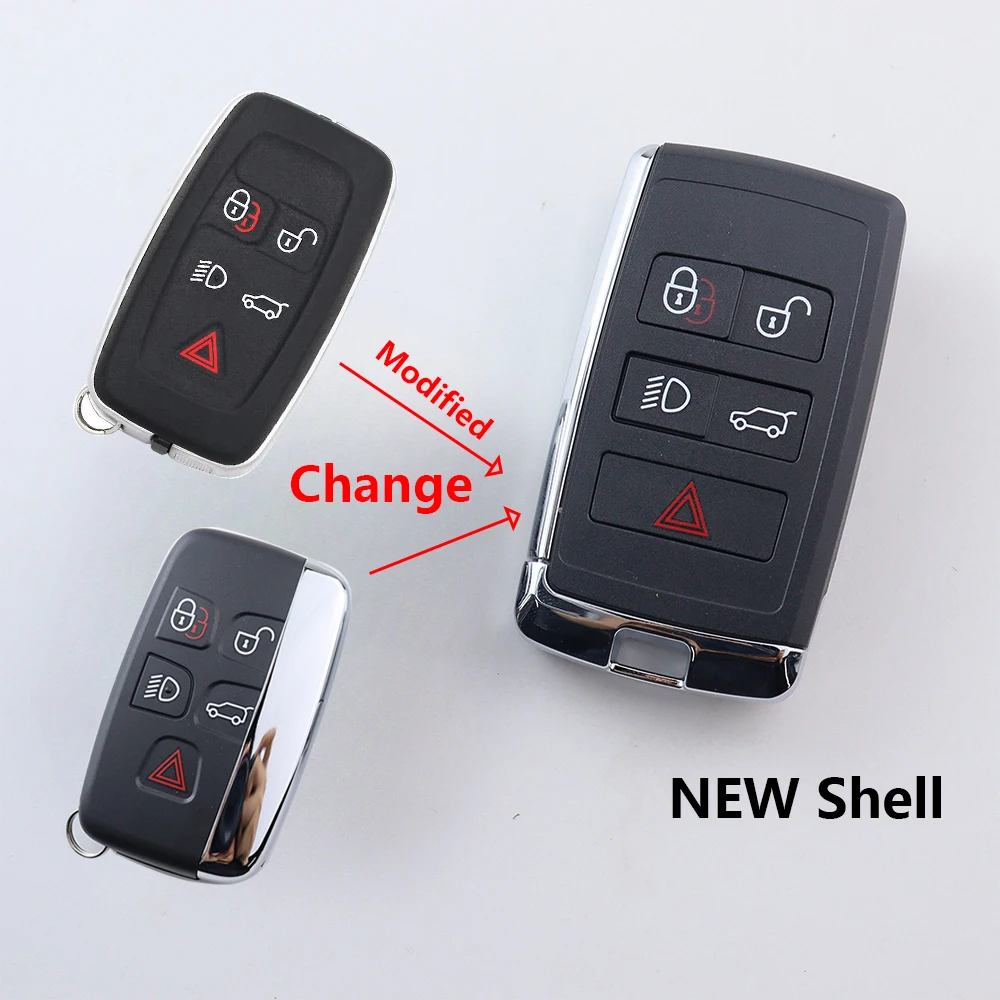
How to Change Car Key Housing Step by Step
The exact process differs between key designs, but the basic method is similar. Work slowly. The circuit board is small and can be damaged by force, static, or moisture.
1. Get the replacement housing
Buy a housing made for your exact vehicle and key type. Search by the vehicle’s make, model, year, button count, and blade style.
Some replacement shells include:
• A blank metal blade
• Rubber buttons
• A battery holder
• A logo badge
• Screws and clips
Others include only the empty plastic case. Read the product details carefully. If the new shell includes a blank blade, it must be cut to match your original key.
2. Remove the emergency blade
Many modern fobs have a small release button or latch. Press it and slide out the emergency metal key.
Some older flip keys use a small screw near the hinge. Remove the screw first, then separate the blade assembly as the design allows.
Keep the blade in a safe place. It may help you open the door if the remote battery fails.
3. Open the old key housing
Look for a screw, seam, or small notch along the edge of the case. Remove any screw and place it in your tray.
Insert the pry tool into the seam. Twist gently until the clips release. Do not force one side open too far because many housings have clips that can snap.
For a flip key, open the shell around the hinge with extra care. The spring may be under tension. If it jumps out, the key may no longer fold or stay open correctly.
4. Remove the buttons and circuit board
Once the housing is open, note the order of the parts. Remove the rubber button pad, circuit board, battery, and other loose pieces.
Hold the circuit board by its edges. Avoid touching the gold contact points or pressing on small components.
If the battery is still good, move it to the new housing. If it is weak, replace it with the same battery type. Common types include CR2032 and CR2025, but the correct size depends on the key.
5. Find and move the transponder chip
Some vehicles use a separate transponder chip. It may sit in a small slot inside the key housing. It may also be attached to the circuit board.
This chip allows the immobilizer system to recognize the key. The remote buttons may work without it, but the engine may not start.
Move the chip carefully into the matching slot in the new housing. Do not discard the old shell until the vehicle starts and all buttons work.
6. Install the circuit board in the new shell
Place the circuit board into the new housing in the same direction as before. Make sure the buttons line up with the board’s contact points.
The board should sit flat. If it rocks, shifts, or presses against the case, stop and check for a misplaced rubber pad or plastic guide.
A poor fit can cause buttons to work only sometimes. It can also damage the board when you close the shell.
7. Refit the battery and buttons
Install the battery with the same positive and negative direction as the old one. Most coin batteries show the positive side with a plus sign, but always follow the original layout.
Place the rubber button pad over the correct contacts. Make sure each button sits in its own opening.
If the housing has a logo badge, fit it after the main parts are secure. Do not use excess glue near the circuit board or battery.
8. Close and secure the housing
Align the two halves of the shell. Press around the edges until each clip clicks into place.
Install the screw if the design uses one. Do not overtighten it. Too much force can strip the plastic or bend the shell.
If the key is a flip style, reinstall the spring and hinge parts exactly as they were. This is the part where many first attempts fail. Take your time and compare your work with the photo you took earlier.
9. Test every function
Test the key before throwing away the old housing. Check:
• Lock button
• Unlock button
• Panic button
• Trunk button
• Vehicle starting
• Emergency blade fit
• Flip or folding action
• Key ring attachment
This testing step is central to how to change car key housing correctly. A remote can lock the doors while the immobilizer chip is missing, so always test the engine as well.

Common Key Housing Designs
Different designs need slightly different care. Knowing your key type can help you choose the right replacement shell.
Standard remote key
A standard remote key has a fixed metal blade and separate lock and unlock buttons. It is often the easiest design to open and transfer.
The main risk is losing a small transponder chip. Look for a tiny glass capsule or a molded chip pocket inside the shell.
Flip key
A flip key stores the metal blade inside the fob. It often uses a spring, hinge pin, and release button.
The spring can fly out when the case opens. Work inside a clear plastic bag or place a cloth over the key while separating the shell.
Smart key fob
A smart key may have no visible metal blade. Instead, it may contain a hidden emergency key and several antennas.
Smart keys can be more difficult to transfer. Some use sealed housings, delicate clips, or integrated circuit boards. If the case is difficult to open, a locksmith is often the safer choice.
Proximity key
A proximity key allows the vehicle to start when the fob is nearby. It may contain several antennas and a separate emergency key.
Use extra care with these units. The shell may look simple, but the inside can be tightly packed. Never assume that a new housing will preserve the same signal performance.

Mistakes to Avoid When Changing a Key Housing
Learning how to change car key housing is mostly about avoiding small errors. The parts are simple, but they are easy to lose or install backward.
Avoid these common mistakes:
• Buying a shell with the wrong button layout
• Throwing away the old shell before testing the new one
• Forgetting the transponder chip
• Installing the battery backward
• Forcing clips with a large screwdriver
• Touching circuit board contacts with dirty hands
• Losing the hinge spring
• Gluing the circuit board into place
• Closing the shell with a loose part inside
• Assuming remote operation means the key is fully working
One mistake I have seen often is moving the circuit board but leaving the chip in the old shell. The owner then reports that the buttons work but the car will not start. The fix is simple: transfer the immobilizer chip or have the key properly programmed.
Another issue is buying a generic shell that has a slightly different battery clip. It may close at first, then loosen after a few days. A precise fit matters more than a low price.

Does Changing the Housing Erase Key Programming?
No, changing the housing usually does not erase the key’s programming. The programming is stored in the electronic components, not the outer plastic shell.
You may need programming if you buy a new circuit board, replace the entire key, or use a blank transponder. A housing-only replacement normally keeps the original remote and immobilizer data.
However, some keys have integrated parts that cannot be moved easily. Check the design before ordering. When in doubt, ask a qualified automotive locksmith to confirm whether a shell-only replacement will work.
How Much Does a Car Key Housing Replacement Cost?
A replacement housing often costs much less than a complete key. The price depends on the brand, key type, material, and whether the shell includes a blade or buttons.
Typical costs may include:
• Basic aftermarket shell: about $5 to $20
• Better-quality remote shell: about $15 to $50
• Blade cutting: about $10 to $30
• Locksmith assistance: often $40 to $150 or more
• Complete replacement key and programming: often $100 to $400 or more
These are broad estimates, not fixed prices. Luxury vehicles and newer smart keys can cost much more.
The cheapest shell is not always the best value. Poor plastic, weak clips, and stiff buttons may create another problem. Look for accurate photos, clear compatibility details, and reviews that mention fit and button quality.
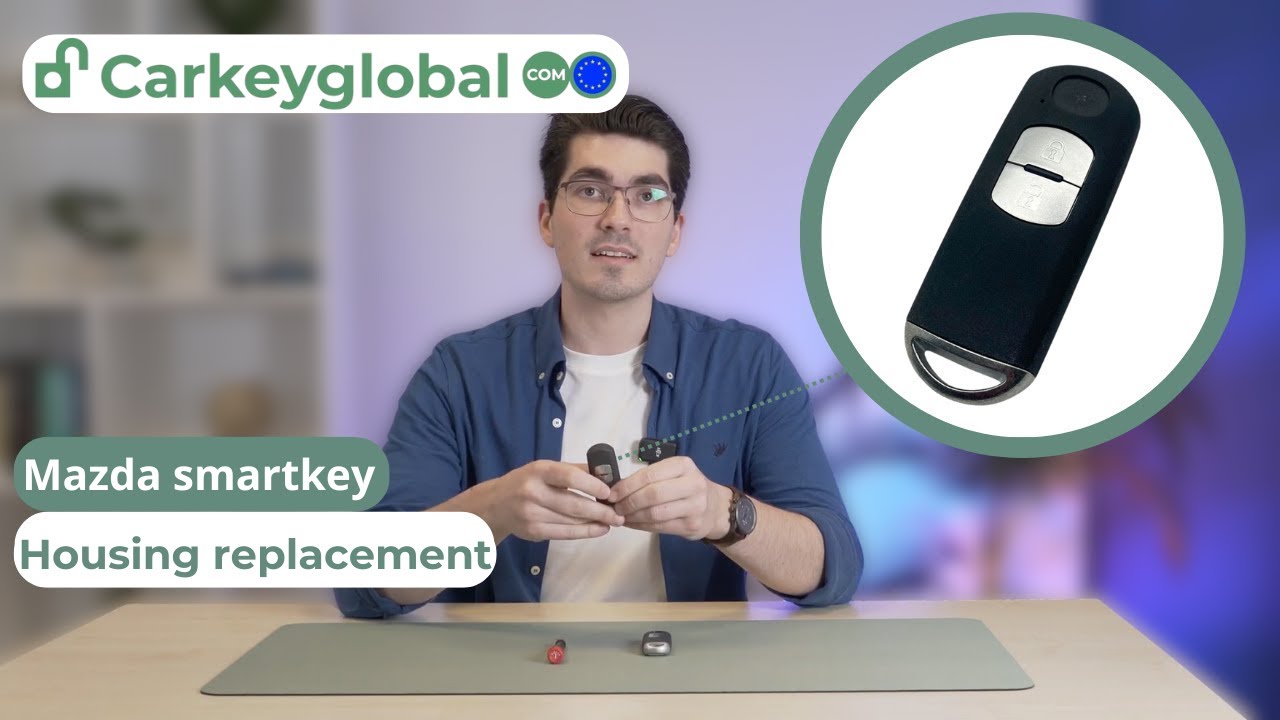
When to Use a Locksmith
Some people can complete how to change car key housing at home. Others should use a locksmith, especially when the key has a sealed or complex design.
Contact a professional if:
• The circuit board is damaged
• The transponder chip is missing
• The key will not start the vehicle
• The shell is sealed and will not open
• The hinge spring will not stay in place
• You need a new blade cut
• The vehicle uses a complex smart key
• You need key programming
A locksmith can identify the chip, cut the emergency blade, test the signal, and program a replacement when needed. A dealership can also help, but an automotive locksmith may offer more repair options.
Do not keep trying if the housing resists. A cracked shell is cheaper to fix than a damaged circuit board.

How to Protect the New Key Housing
A new shell can last for years with basic care. Treat it like a small electronic device rather than a simple piece of plastic.
Follow these tips:
• Keep the key away from water
• Do not attach heavy items to the key ring
• Replace weak batteries early
• Keep the fob away from extreme heat
• Avoid dropping it on hard floors
• Clean dirt from the buttons
• Use a silicone cover for extra protection
• Store a spare key in a safe place
A silicone cover acts like a phone case. It will not prevent every problem, but it can reduce scratches, impact damage, and daily wear.
If the key becomes wet, remove the battery if possible. Let the parts dry fully before testing them. Do not use high heat from a hair dryer, as it can warp the plastic or harm the electronics.
Frequently Asked Questions About How to Change Car Key Housing
Can I change the car key housing myself?
Yes, many standard keys can be changed at home with a matching shell and a small pry tool. The process becomes harder when the key uses a hidden transponder, spring-loaded hinge, or sealed smart-key design.
Do I need to reprogram the key after changing the housing?
Usually, no. If you move the original circuit board and transponder chip into the new housing, the existing programming should remain unchanged.
Will the car start if I forget the transponder chip?
Usually, the remote buttons may still work, but the engine may not start. The immobilizer system needs the correct transponder signal before it allows the vehicle to run.
Can I use any replacement key shell?
No. The shell must match the key’s shape, button layout, battery position, blade style, and internal parts. Check the vehicle details and compare your old key with product photos before buying.
What should I do if the buttons do not work after the swap?
Open the shell and check the rubber pad, circuit board position, and battery direction. If the board is damaged or the new shell does not fit correctly, use the original shell or ask a locksmith for help.
Can I replace only the broken key blade?
Sometimes. Many keys use a removable blade, while others have a blade molded into the housing. A locksmith can cut a new blade or move the old blade if the design allows it.
How long does a replacement key housing last?
A good housing can last for several years with normal use. Its life depends on plastic quality, drops, moisture, key ring weight, and how often the buttons are pressed.
Conclusion
Changing a car key housing can restore a damaged key without replacing its working electronics. Match the shell carefully, transfer the circuit board and transponder chip, protect small springs and clips, and test every function before discarding the old case.
If the key is complex or the vehicle will not start after the swap, stop before causing more damage. A trusted automotive locksmith can diagnose the problem and complete the repair safely. Use these steps to make an informed repair, and share your experience or questions in the comments.