
How To Make A Back Seat Cover For Dogs: Easy DIY Guide
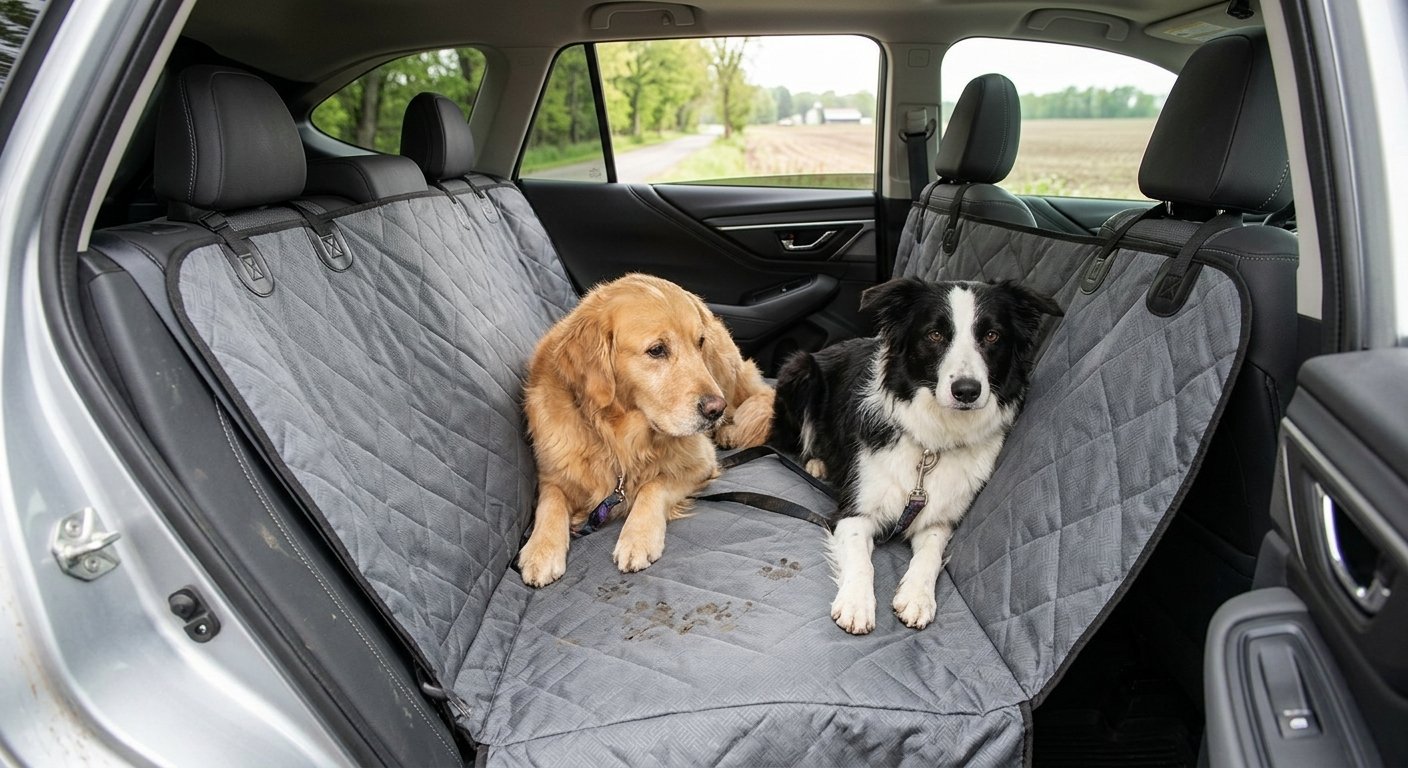
A sturdy back seat cover for dogs needs washable fabric, accurate measurements, secure anchors, and safe restraint planning.
Learning how to make a back seat cover for dogs is a simple weekend project that can protect your seats from fur, mud, drool, and scratches. With the right fabric and a careful fit, you can create a cover that feels like a soft, washable shield between your dog and your car.
This guide explains how to make a back seat cover for dogs with clear measurements, practical sewing steps, safety advice, and cleaning tips. I will also share common mistakes, fabric choices, and ways to adapt the design for small cars, trucks, and large dogs.
What a Homemade Dog Car Seat Cover Does
A back seat cover acts as a barrier between your dog and the vehicle seat. It can catch loose hair, dirt, water, crumbs, and claw marks before they reach the upholstery.
The best covers also reduce gaps between the seat and the floor. This helps keep a nervous dog from slipping into the footwell. Still, a cover is not a crash safety device. Your dog should wear a properly fitted harness attached to a suitable seat belt system.
When learning how to make a back seat cover for dogs, think of the cover as a fitted blanket with anchor points. It should stay in place, feel comfortable, and allow the dog to sit, stand, and turn around.
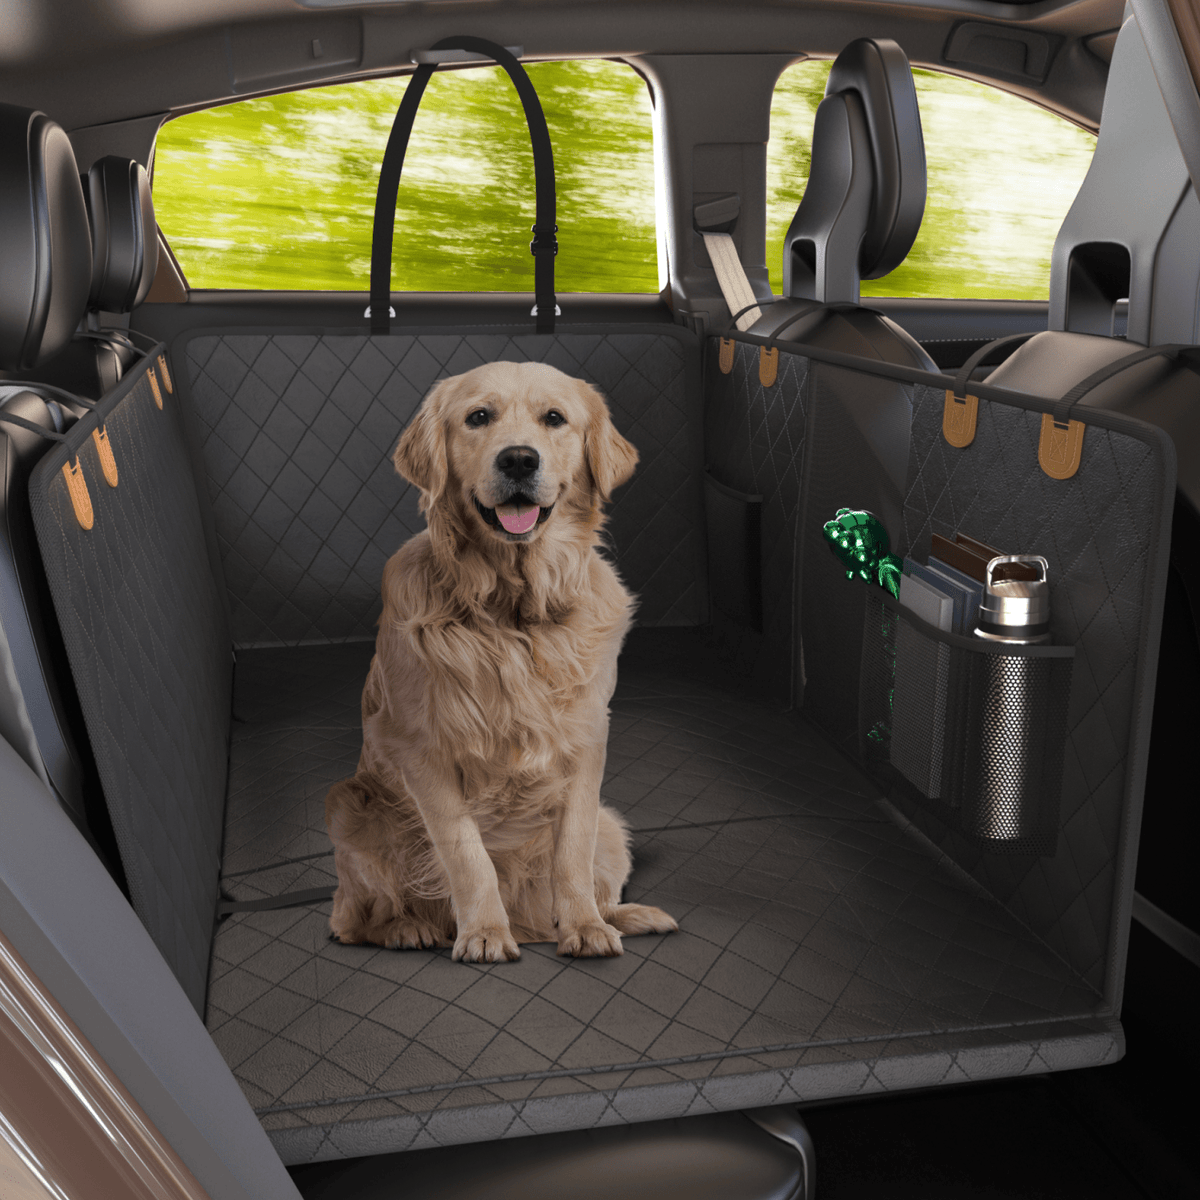
Materials and Tools You Will Need
Choose materials that can handle daily use. A pretty fabric may look great at first, but it can fail after a few muddy trips.
Recommended materials
• Waterproof canvas or coated polyester for the outer layer
• Quilted fabric or thick fleece for padding
• Waterproof nylon or polyester for the underside
• One-inch-wide nylon webbing for straps
• Four adjustable side-release buckles
• Two or four headrest straps
• Polyester thread made for heavy fabrics
• Optional mesh fabric for a hammock-style front section
Useful tools
• Measuring tape
• Fabric scissors or a rotary cutter
• Fabric clips
• Sewing machine with a heavy-duty needle
• Ruler or straight edge
• Tailor’s chalk or washable fabric marker
• Iron and ironing mat
• Seam ripper
• Optional snap tool or grommet kit
Polyester thread is usually a strong choice because it resists moisture and does not weaken as quickly as some natural threads. Use a denim or heavy fabric needle, and test your machine on scrap fabric before sewing the main cover.
For a no-sew version, use a large waterproof blanket, fabric glue made for outdoor materials, and clip-on webbing straps. This option is fast, but sewn seams usually last longer.

Measure Your Back Seat Carefully
Accurate measurements are the foundation of how to make a back seat cover for dogs. A cover that is too small leaves exposed areas. One that is too large may bunch up and become uncomfortable.
Measure these areas:
• Seat width from one door to the other
• Seat depth from the seat back to the front edge
• Seat back height from the seat cushion to the top of the backrest
• Gap between the front and rear headrests
• Distance from each headrest post to the seat edge
• Width of the center seat belt area
Add about two inches to the width and depth for seams. If you want the cover to climb partway up the doors, add six to eight inches to each side.
For example, if your seat is 54 inches wide and 20 inches deep, cut the main panel about 58 inches wide and 24 inches deep. Measure twice before cutting. Car seats often look symmetrical but may have curved edges, raised sides, or a center armrest.
A paper or old-sheet pattern can help. Lay the pattern on the seat first and check that the doors close without pinching the fabric.
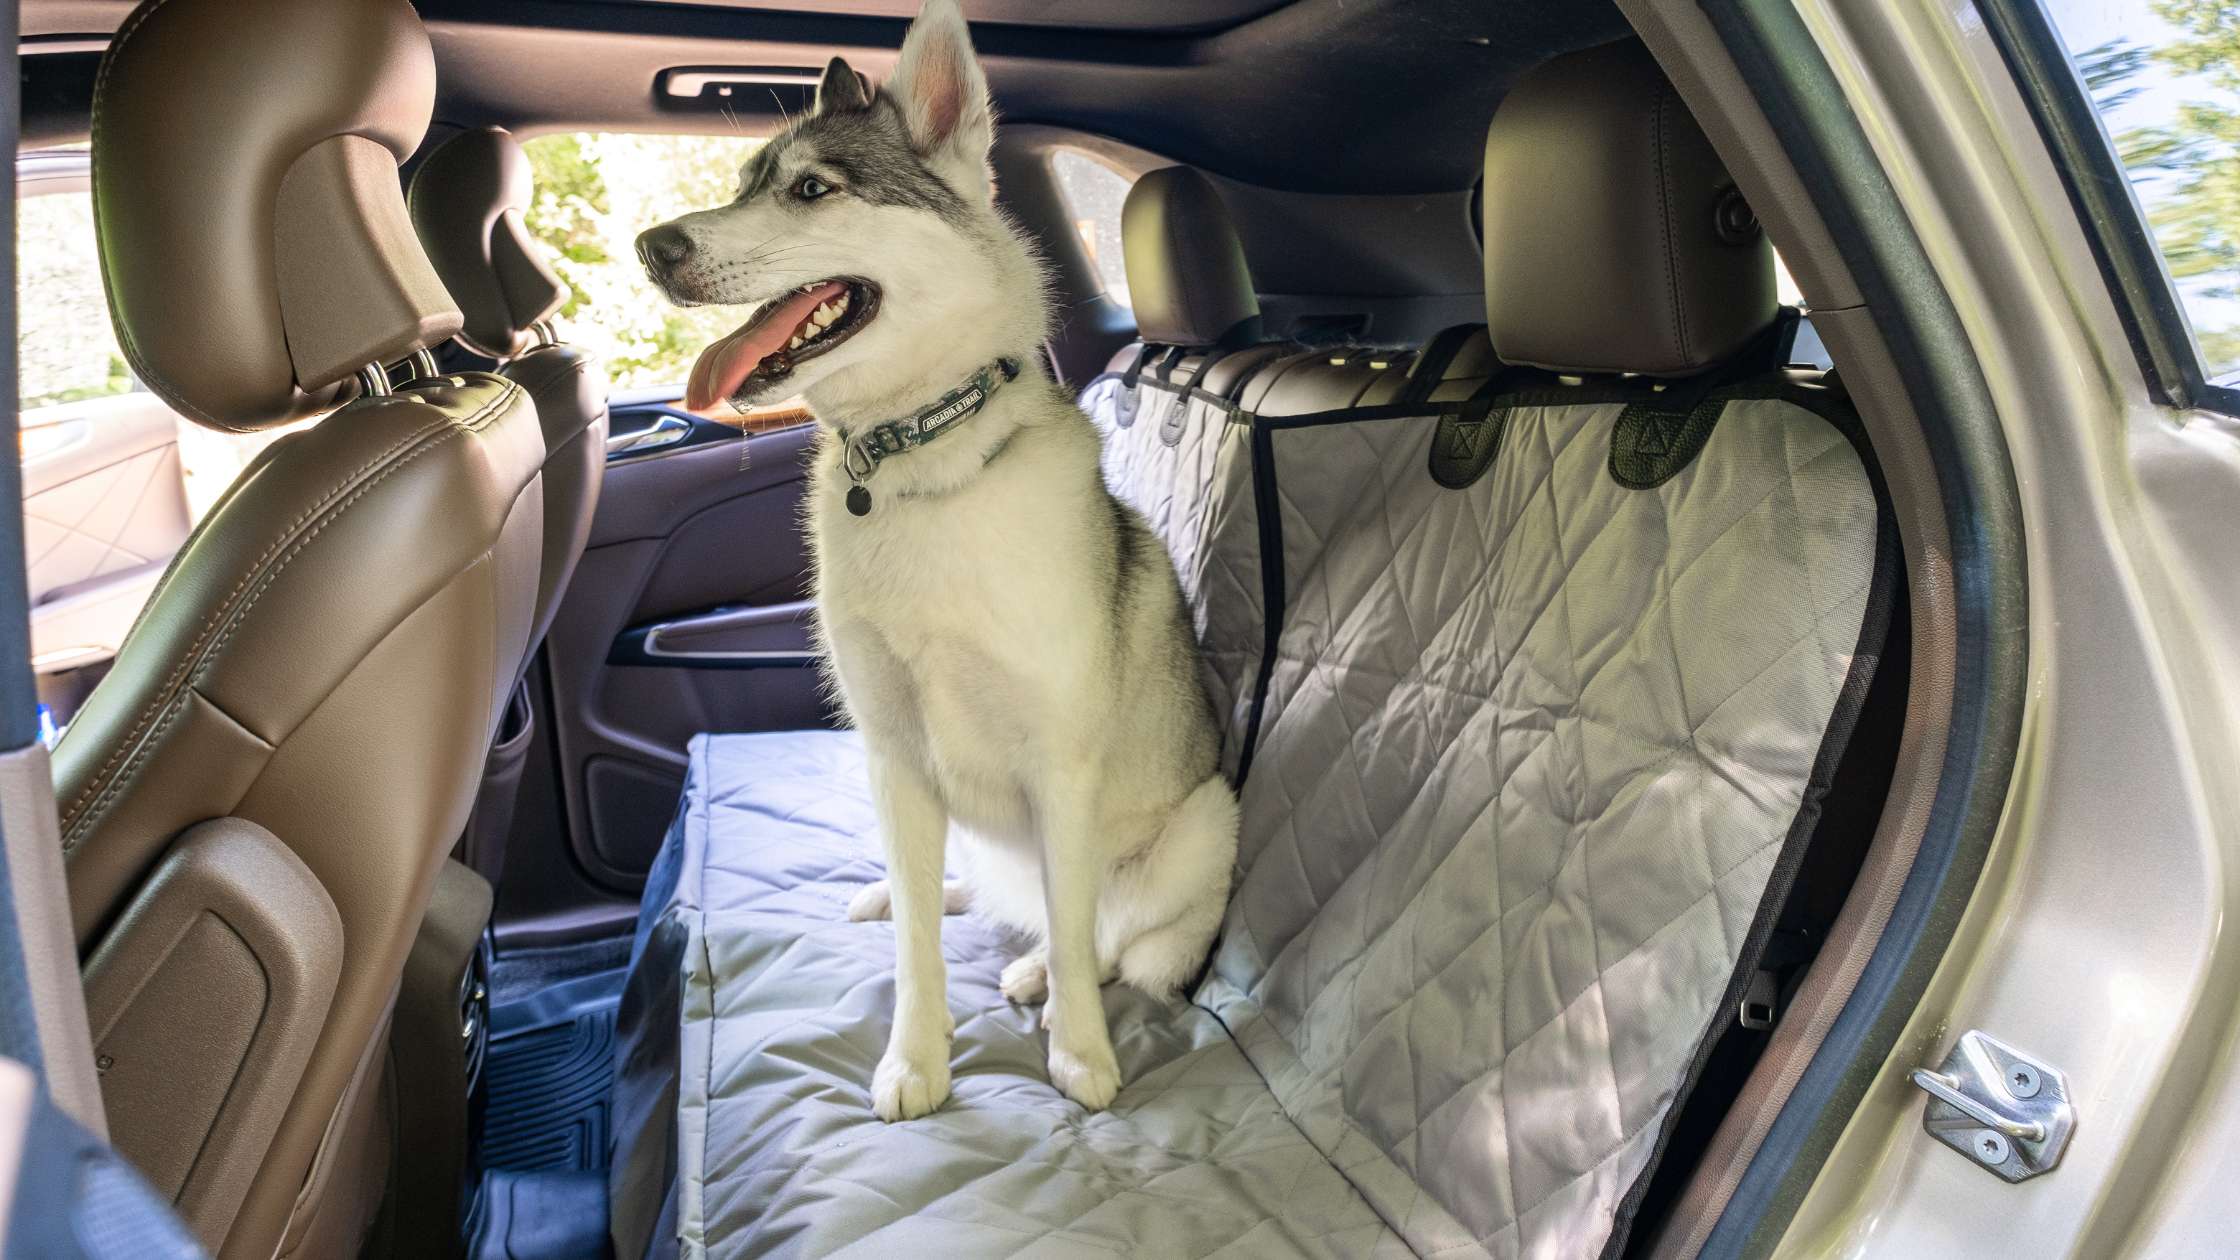
Choose the Best Cover Design
There are three common designs. The right one depends on your dog, car, and cleaning needs.
Bench-style cover
A bench-style cover rests on the seat cushion and backrest. It is simple, quick to sew, and works well for calm dogs that stay on the seat.
It usually needs two or four headrest straps. Add a non-slip layer underneath if your dog moves around often.
Hammock-style cover
A hammock cover connects the rear headrests to the front headrests. The front section hangs over the gap between the front and rear seats.
This design can stop a dog from falling into the footwell. It also creates a barrier that may reduce distractions for the driver. Leave a center opening or use mesh if you need access to a seat belt buckle.
Split hammock cover
A split hammock has a center opening or zipper. It offers more flexibility when a person must sit beside the dog.
This design takes more time to sew, but it works well for families that share the back seat with pets and passengers.
For most first projects, I recommend a bench-style cover with optional front straps. It uses fewer pieces and is easier to adjust.

How to Make a Back Seat Cover for Dogs Step by Step
This section gives a practical method for how to make a back seat cover for dogs using a three-layer design.
1. Make a simple paper pattern
Use kraft paper, newspaper, or an old bedsheet. Mark the seat width, seat depth, and the extra fabric needed for the side flaps.
Place the pattern inside the car. Check the doors, seat belts, armrest, and headrests. Make changes now, before cutting expensive fabric.
2. Cut the fabric layers
Cut three matching panels:
• One waterproof outer layer
• One padded middle layer
• One water-resistant or non-slip bottom layer
If your dog sheds heavily, choose a fabric color that hides hair but still shows dirt. Dark gray, brown, and medium blue are often practical choices.
Round the corners slightly. Sharp corners can catch on door handles or curl after washing.
3. Stack and clip the layers
Place the outer fabric face down. Add the padding, then place the bottom layer on top.
Smooth the layers from the center outward. Use fabric clips instead of pins when working with coated waterproof fabric. Pins leave holes that may allow water to pass through.
Clip around the edges every few inches. If the cover is wide, add a few temporary clips or lines of basting to stop the padding from shifting.
4. Sew the main panel
Sew around the edge with a seam allowance of about half an inch. Leave a small opening for turning the cover right side out.
Turn the cover, push out the corners, and close the opening with a strong topstitch. Sew a second line around the edge for extra strength.
For a large dog, add two or three lines across the center of the cover. These quilting lines stop the padding from sliding during washing.
5. Add the headrest straps
Cut four pieces of webbing. Each piece should be long enough to wrap around a headrest post and connect with a buckle.
Position two straps near the front corners and two near the rear corners. Sew each strap into a box shape with an X through the center. This stitch pattern spreads the pulling force across the fabric.
Do not attach straps to a seat belt, child-seat anchor, or any part that must remain available for passenger safety. The straps should hold the cover, not restrain the dog.
6. Add side flaps
Side flaps protect the doors from muddy paws. Cut two fabric rectangles that are about 12 to 18 inches wide and the same height as the cover’s side edge.
Sew or bind them to the main panel. Add a small magnet, hook-and-loop tab, or soft clip if needed. Avoid hard metal pieces that could scratch the door.
7. Create seat belt openings
Mark the location of the vehicle’s seat belt buckles. Sew a reinforced buttonhole or install a fabric-bound opening at each point.
The opening should be large enough for the buckle, but not so large that dirt and water can pass through easily. Test the buckle several times before using the cover.
8. Test the fit in the car
Install the cover and check every edge. Make sure:
• Doors close without catching the fabric
• Seat belt buckles remain easy to reach
• The cover does not block the driver’s view
• The fabric does not cover the airbag area
• Your dog has enough room to move
• The straps do not interfere with a child safety seat
This testing step is a key part of how to make a back seat cover for dogs safely and well. A cover that looks perfect on the floor may fit differently inside the vehicle.

How to Make the Cover Safer and More Comfortable
A dog seat cover should protect the car without creating new risks. Keep the design soft, secure, and easy to remove.
Use a non-slip base if your dog slides during turns. Rubberized fabric, silicone dots, or a washable non-slip mat can help. Test the material first because some rubber coatings can mark leather or vinyl seats.
Avoid loose cords, long straps, exposed snaps, and small parts. Dogs may chew or swallow them. Tuck away extra webbing and use rounded hardware when possible.
Never rely on the cover to keep your dog safe in a crash. Veterinary and transportation safety guidance supports using a properly fitted crash-tested harness or secured travel crate. A cover may prevent mess, but it does not replace a restraint.
If your dog is anxious, add a familiar washable blanket. A known scent can make the back seat feel less strange. Never cover your dog’s carrier or block ventilation.

Personal Lessons and Mistakes to Avoid
One of the most common mistakes when learning how to make a back seat cover for dogs is using fabric that is waterproof but too slippery. A dog may slide every time the car turns, which can cause stress and make the cover bunch up.
Another mistake is adding straps before testing the fabric layers. Thick padding can change the finished size. Sew one temporary strap first, install the cover, and adjust the placement before completing all four.
I also suggest avoiding white fleece as the top layer. It feels soft, but it shows mud, hair, and drool quickly. A removable fleece pad is a better choice because you can wash it more often than the full cover.
Do not skip reinforcement around the straps. A large dog can put strong force on a small area when jumping into the car. A box stitch with an X is simple, neat, and much stronger than one straight seam.
Finally, do not make the cover so tight that it pulls on the headrests. The cover needs slight movement. A little slack is better than constant tension.

Cleaning and Maintaining a DIY Dog Seat Cover
A washable cover only helps if you clean it often. Shake off loose hair outdoors before putting it in the washer.
Follow the fabric care label, but these general steps work for many covers:
• Remove straps or buckles if possible
• Vacuum or brush away hair
• Rinse mud and sand with cool water
• Wash with mild detergent
• Avoid strong fragrances and fabric softener
• Air-dry the cover when the label allows
• Check seams and straps after each wash
Do not use bleach unless the fabric maker says it is safe. Bleach can weaken webbing and damage waterproof coatings.
Inspect the cover every few weeks. Look for torn seams, loose buckles, frayed webbing, and cracked waterproof layers. Repair small problems early. A tiny tear can become a large opening after one active trip.
If the cover smells even after washing, clean the car seat below it. Odors often hide in the seat crease or under the padding.

No-Sew Back Seat Cover for Dogs
You can make a temporary version without a sewing machine. This is useful if you need protection before a road trip.
Use a large waterproof blanket or shower-curtain liner as the base. Add a thick washable blanket on top for comfort. Attach the layers with wide fabric clips or purpose-made upholstery clips.
For headrest straps, use adjustable luggage straps with covered buckles. Keep the buckles outside your dog’s reach. Do not use bungee cords because they can snap back and cause injury.
A no-sew cover is best for short-term use. Inspect it before every trip because clips may loosen and fabric may shift. For regular travel, a sewn cover with reinforced anchor points is more dependable.
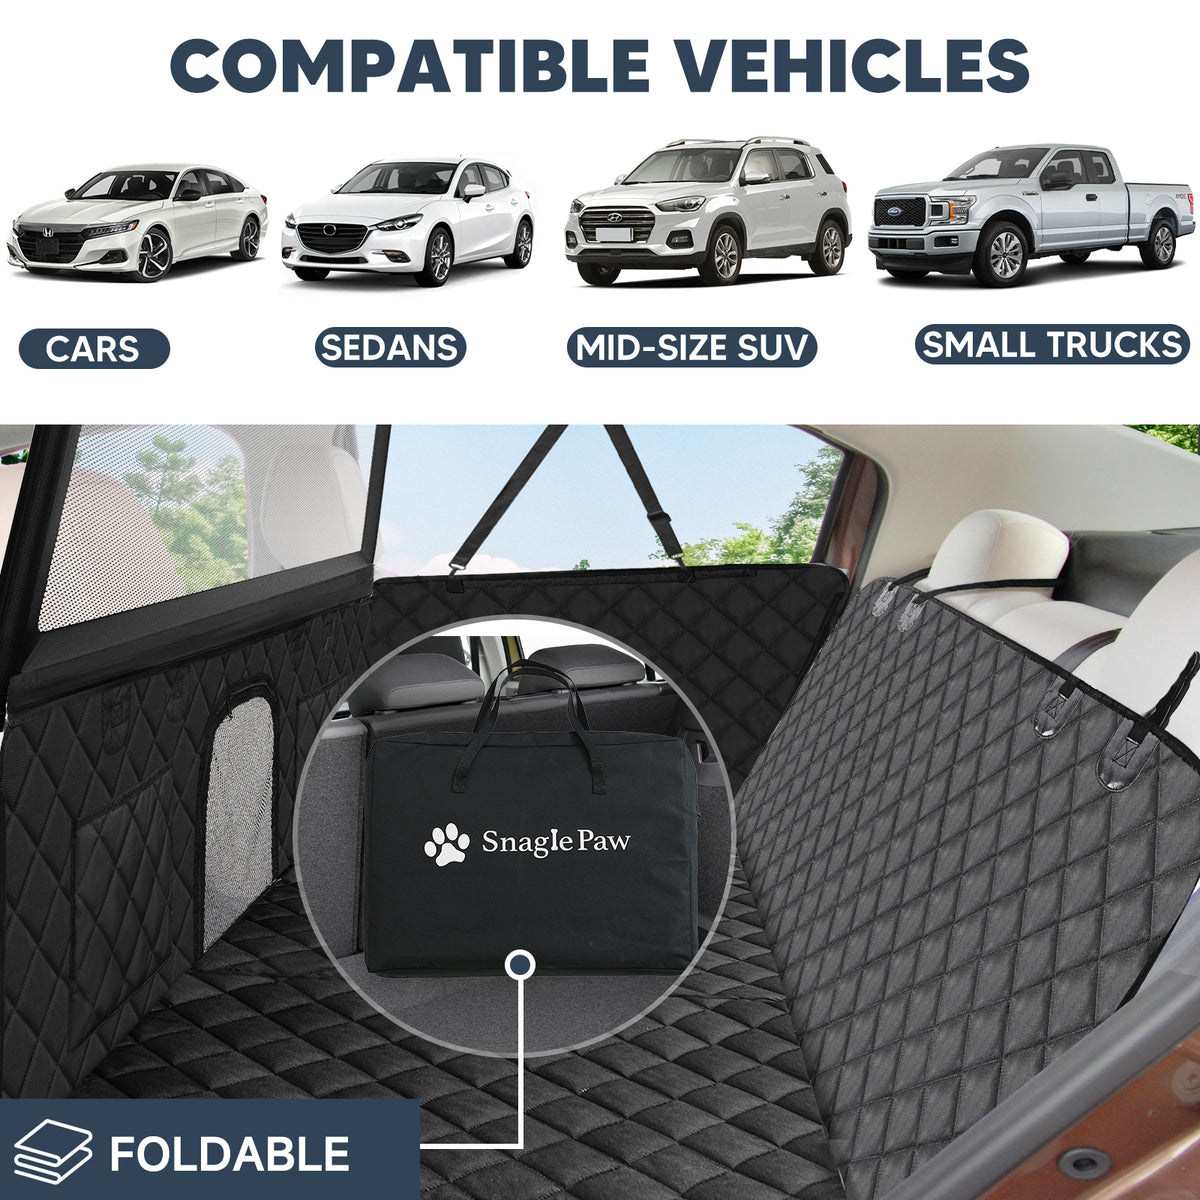
Helpful Design Upgrades
Once you know how to make a back seat cover for dogs, you can add features that suit your routine.
Add a storage pocket
Sew a flat pocket onto the door flap for waste bags, a leash, or a towel. Keep sharp objects and medicines in a separate locked container.
Use mesh for airflow
A mesh center panel can improve airflow in a hammock design. It also lets you see your dog more easily. Choose strong pet-safe mesh that cannot tear under normal paw pressure.
Add a removable top layer
A removable fleece or towel layer makes cleanup easier. Use snaps, hook-and-loop strips, or small fabric ties. Avoid loose ties where a dog could chew them.
Add reflective trim
Reflective trim can make the cover easier to see when loading your dog at night. It does not replace lights or safe roadside practices.
Make the cover reversible
Use a waterproof side for wet days and a softer side for dry trips. Bind the edges carefully so the layers do not separate in the wash.
Common Questions About How to Make a Back Seat Cover for Dogs
What is the best fabric for a homemade dog seat cover?
Waterproof canvas, coated polyester, and heavy nylon are strong choices. Add fleece or quilted polyester for comfort, but make sure the top layer can be removed or washed.
How much fabric do I need for a dog car seat cover?
Most back seat covers need about two to three yards of fabric, depending on the vehicle and design. Measure the seat first, then add extra material for seams, side flaps, and mistakes.
Can I make a dog seat cover without sewing?
Yes. You can use a waterproof blanket, washable padding, and adjustable straps or strong clips. A no-sew cover is convenient, but sewn and reinforced seams usually provide better long-term durability.
Should a dog seat cover cover the front seats?
A hammock-style cover can connect to the front headrests, but it should not block the driver or interfere with controls. Keep the front section low enough to preserve visibility and safe movement.
Does a dog seat cover protect my pet in a crash?
No. A seat cover protects the vehicle from dirt and may stop a dog from falling into the footwell, but it is not a restraint. Use a suitable crash-tested harness or secured crate for travel safety.
How do I stop a dog seat cover from sliding?
Use a non-slip underside, correctly placed headrest straps, and seat belt openings. Avoid very slick fabrics, and check that the cover is not too large for the seat.
How often should I wash a homemade dog seat cover?
Wash it whenever it becomes wet, muddy, or noticeably dirty. For frequent travelers, brushing the cover after each trip and washing it every one to two weeks can help control hair and odor.
Conclusion
Making a back seat cover for dogs is an affordable way to protect your vehicle and make travel more comfortable. Measure the seat carefully, choose durable washable fabric, reinforce every strap, and leave room for seat belts and safe movement.
A simple bench cover is a good first project, while a hammock design offers more coverage and helps prevent footwell falls. Remember that the cover is for cleanliness and comfort, not crash protection.
Gather your fabric, make a paper pattern, and test the fit before sewing the final seams. If this guide helped, share your design ideas or explore more practical pet travel resources for your next road trip.