
How To Install Starlink Mini In Car: Easy Setup Guide
Introduction
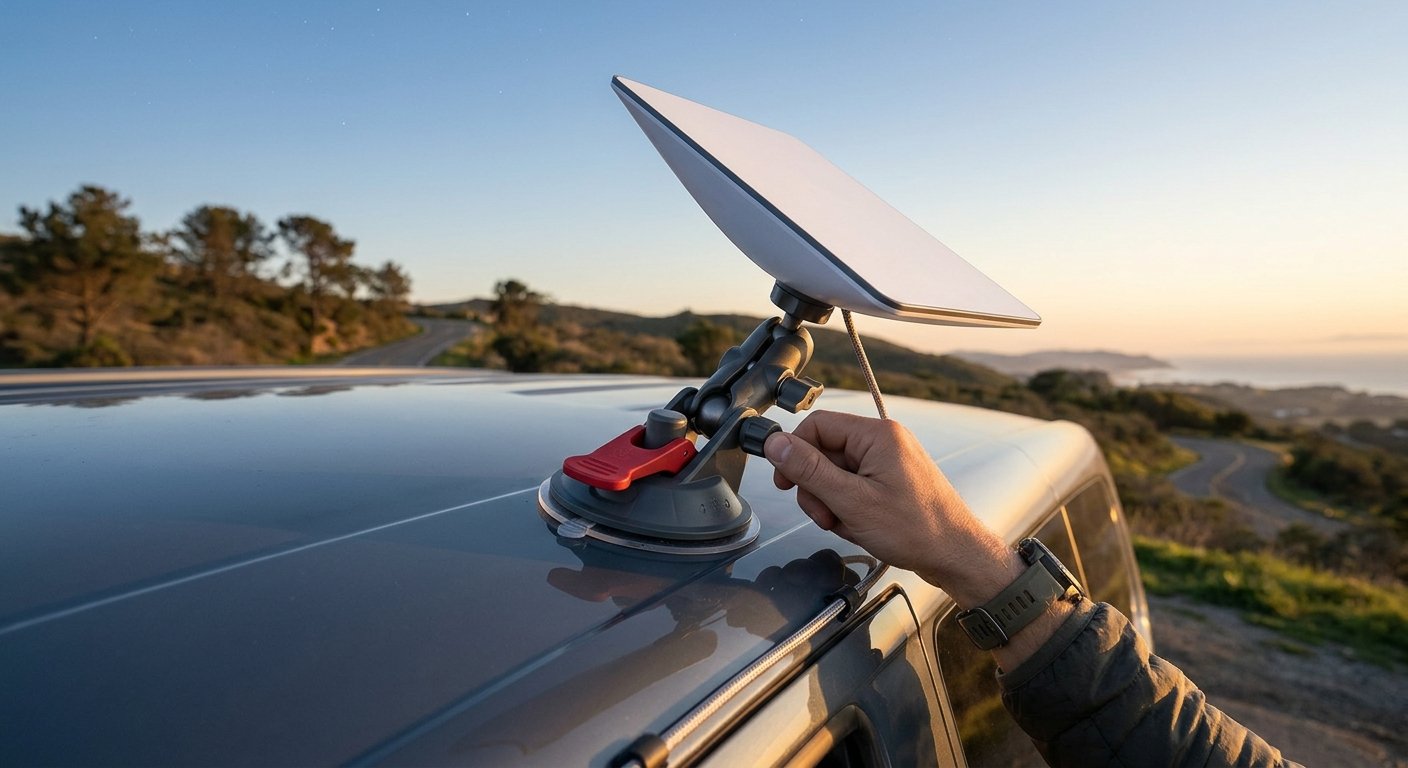
You can use starlink Mini in a car for road trips, remote work, camping, and travel across the United States. The basic setup is simple: place the dish where it has a clear view of the sky, power it from a suitable source, connect the Starlink app, and keep the cable and mount secure.
The harder part is deciding whether you need service while parked or while the vehicle is moving. A portable Starlink Mini setup on a parked car is different from a permanent roof installation or an in-motion system. Before driving with the dish installed, check Starlink’s current service terms, hardware guidance, and local safety rules.

What You Need Before Installing Starlink Mini in a Car
A working vehicle setup needs more than the Starlink Mini dish. Prepare these items first:
- Starlink Mini dish and its supplied cable
- Starlink Mini Wi-Fi router or integrated networking hardware
- An active Starlink service plan that supports your intended use
- A clear mounting location
- A safe 12-volt or AC power source
- The Starlink mobile app
- A phone, tablet, or laptop for testing
- Cable clips or soft straps for temporary cable management
- An approved vehicle mount for regular travel
Starlink Mini uses a DC power connection. Starlink lists the Mini input range as 12 to 48 volts DC, with power use that can reach about 60 watts, depending on conditions. Confirm the rating printed on your own unit and cable before choosing a power method because hardware revisions can differ.
The most important item is a clear view of the sky. The dish needs to communicate with satellites above the vehicle. A car roof, windshield, roof rack, trees, buildings, and nearby hills can block part of that view.
Choose the right installation type
| Setup type | Best for | Main requirement | Main limitation |
|---|---|---|---|
| Portable, parked setup | Camping, work stops, emergency backup | Dish placed outside with a clear sky view | You must set it up each time |
| Temporary roof setup | Long stops or frequent travel | Secure approved mount and protected cable path | Not automatically safe for driving |
| Permanent vehicle setup | Fleet, RV, or regular mobile use | Professional mounting and wiring | Higher cost and more installation work |
| In-motion setup | Internet while the car is moving | Hardware and service must support in-motion use | Not guaranteed for every Starlink Mini account or setup |
Do not assume that a portable dish is approved for use while driving. Starlink service plans, hardware rules, and regional requirements can change. Check the current information in your Starlink account before using the dish in motion.
How to Power Starlink Mini From a Car
The safest power method depends on the vehicle and the Starlink Mini power equipment you have.
Option 1: Use a suitable AC inverter
An AC inverter changes the vehicle’s 12-volt power into household-style AC power. You can then use the Starlink Mini power supply if it is designed for AC input.
This is usually the easiest temporary option:
- Check the power rating on the Starlink Mini power supply.
- Choose a pure-sine-wave inverter with a continuous rating above that requirement.
- Plug the inverter into a correctly rated vehicle outlet or a properly wired battery connection.
- Connect the Starlink power supply to the inverter.
- Keep the inverter ventilated and away from water, loose clothing, and heat.
A small inverter may work for a short stop, but the vehicle outlet may have a limited current rating. Do not exceed the fuse or outlet rating listed in the vehicle owner’s manual.
Option 2: Use a compatible DC power system
A direct DC setup can be more efficient because it avoids the extra conversion from DC to AC and back to DC. However, it requires the correct voltage, polarity, connector, wiring, and protection.
Use only a power cable or adapter made for the Starlink Mini or confirmed by a qualified technician. Do not cut the original cable or guess the connector wiring.
For a basic estimate, a 60-watt load on a 12-volt system draws:
60 watts ÷ 12 volts = 5 amps
Real demand may be higher because of conversion losses and startup conditions. A direct connection should include suitable circuit protection and wire sized for the full cable length and expected load.
Option 3: Use a portable power station
A portable power station can run Starlink Mini without draining the car battery. This is useful when you are parked with the engine off.
A simple runtime estimate is:
Usable battery watt-hours ÷ Starlink power draw in watts = estimated runtime
For example, a hypothetical 500-watt-hour power station powering a 40-watt average load could provide about:
500 ÷ 40 = 12.5 hours
Actual runtime will be lower if the power station uses an inverter, powers other devices, or loses capacity in cold weather.
Never leave a vehicle running in an enclosed garage or other poorly ventilated space. Carbon monoxide can build up quickly.

Step-by-Step: How to Install Starlink Mini in a Car
For most drivers, the best approach is a portable setup used while the car is parked.
1. Activate and update the Starlink service
Open your Starlink account and confirm that the service plan matches your location and intended use. If you plan to travel between locations, review the current Roam rules and any limits shown in your account.
Install the latest Starlink app on your phone. Updates can improve setup instructions, obstruction scans, and network management.
2. Park in a suitable location
Choose an open area with as much sky as possible. A large parking lot, open campsite, beach, or field is usually better than a street lined with trees.
Avoid parking directly under:
- Tree branches
- Dense forest
- Bridges
- Building overhangs
- Metal structures
- Steep cliffs
- Large roof racks or cargo boxes
The dish may connect in a partly blocked area, but interruptions are more likely.
3. Place the dish outside the vehicle
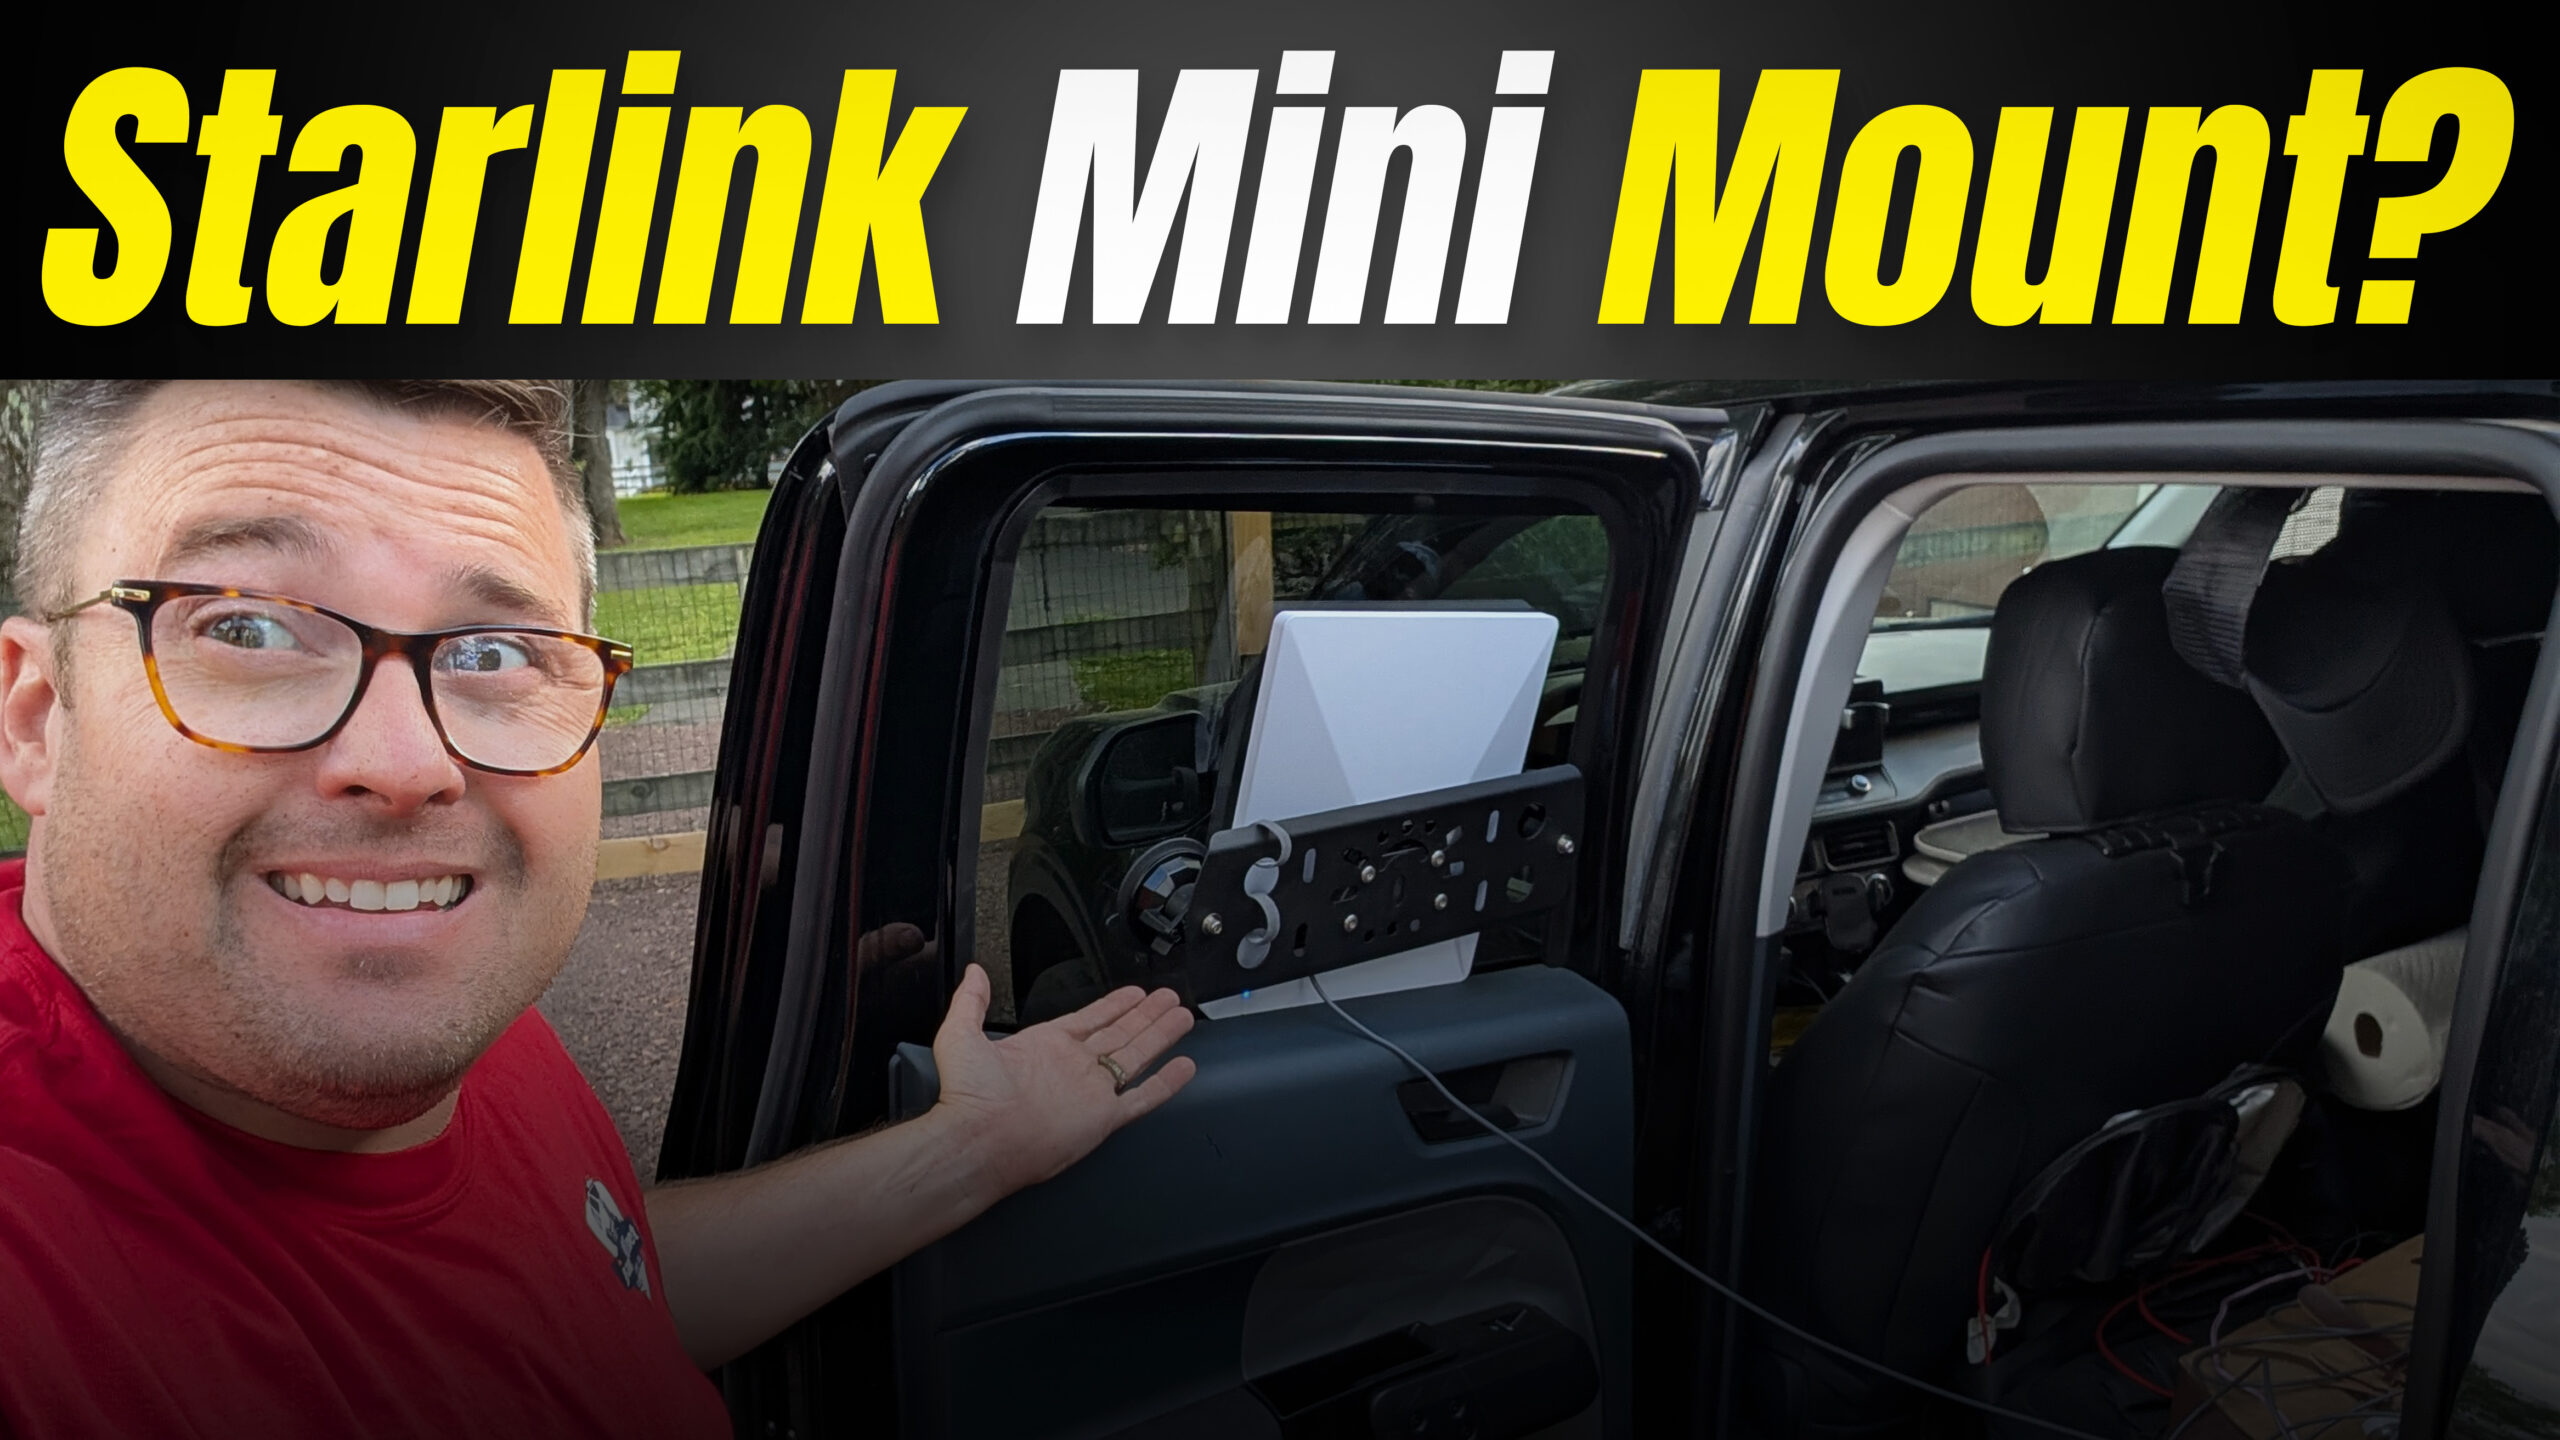
Place Starlink Mini on a stable, level surface such as the ground, a table, or an approved vehicle mount. Do not leave it inside the car. The vehicle roof and glass can block the satellite signal.
If you place the dish on the roof, use a mount designed for that purpose. The small kickstand or temporary support supplied with a device should not be treated as a certified high-speed driving mount.
Keep the dish away from hot exhaust parts. Do not place it where a person could trip over it or where a door, trunk, or hood could crush the cable.
4. Route the cable safely
Run the cable from the dish to the power equipment without sharp bends. Keep it away from:
- Tires and moving suspension parts
- Hinges
- Hot engine parts
- Sharp roof edges
- Door latches
- Water-filled areas
- Walkways
For a parked setup, a door or hatch may be closed gently over a protected cable path if the seal does not crush the cable. Do not do this while driving unless the cable route and mount are specifically designed for motion.
5. Connect power
Connect the dish and power equipment according to the Starlink instructions for your model. Then connect the inverter, DC adapter, or power station.
The dish may take several minutes to start. Keep the power source stable during boot-up. If the vehicle battery is low, use a power station or run the vehicle only in a safe outdoor area.
6. Connect through the Starlink app
Open the Starlink app and follow the setup prompts. The app can help you:
- Locate the Starlink network
- Check for obstructions
- View the connection status
- Rename the Wi-Fi network
- Set a Wi-Fi password
- Test the connection
- Review alerts
Connect a phone or laptop to the Starlink Wi-Fi network. Then open a webpage or run a speed test.
7. Check the connection before relying on it
A successful setup normally shows that the dish is online and the app does not report a serious obstruction. Test the connection for several minutes.
For work or video calls, test the connection from the exact place where you will use it. A dish can show service while the Wi-Fi signal is weak inside the vehicle if the router is too far away or blocked by the car’s body.

Where Should You Mount Starlink Mini on a Car?
For a parked vehicle, place Starlink Mini outside the car with the widest possible sky view. A roof mount can work well, but the roof is not automatically a safe permanent mounting point.
Temporary mounting
A temporary setup may use a stable surface or a manufacturer-approved accessory. It should be removed before the vehicle moves unless the mount is rated for travel and installed according to its instructions.
Do not rely on:
- Loose magnets
- Tape alone
- Bungee cords across the dish
- A suction cup not designed for highway use
- The factory kickstand as a driving mount
Wind can lift or shift the dish. A falling dish can injure someone, damage another vehicle, or create a road hazard.
Permanent mounting
A permanent installation may require:
- A vehicle-specific roof or rack mount
- A sealed cable entry
- Proper strain relief
- A protected power circuit
- Weatherproof connections
- Clearance from airbags and moving parts
- A professional check of the roof, rack, and wiring
If you need to drill into the vehicle roof, consult an automotive or RV installer. A poor cable entry can cause leaks, corrosion, or electrical damage.
Mounting for use while driving
A regular portable Starlink Mini setup is not automatically an in-motion system. Before using it on a moving car, confirm all of the following:
- Starlink supports in-motion use for your exact hardware.
- Your service plan and region allow that use.
- The mount is designed for highway wind loads.
- The cable connection is protected from movement and water.
- The installation does not block lights, sensors, doors, emergency equipment, or the driver’s view.
- Local laws allow the equipment and its placement.
If any of these points are unclear, use Starlink Mini only while parked.

How Much Power Does Starlink Mini Use in a Car?
Starlink Mini can use less power than larger Starlink hardware, but the exact amount changes with temperature, network conditions, obstructions, and the power method.
Use the rating on your unit as the safe design limit. If the system can draw up to 60 watts, plan the vehicle power circuit around that maximum rather than only its average use.
| Power source | Good use case | What to check |
|---|---|---|
| Vehicle accessory outlet | Short stops | Outlet fuse and inverter rating |
| Portable power station | Camping and engine-off use | Usable watt-hours and inverter loss |
| Direct 12-volt wiring | Permanent installation | Voltage, polarity, fuse, wire size, and technician installation |
| Larger auxiliary battery | Long remote sessions | Battery capacity, charging method, and ventilation |
A car’s starter battery is not designed to run electronic equipment for long periods without charging. Even if Starlink Mini works for a while, the vehicle may not start afterward.
For repeated use, consider a portable power station or auxiliary battery system. Keep lithium batteries within the temperature and charging limits provided by their manufacturer.
Common Problems When Using Starlink Mini in a Car
Starlink says “offline”
Check the following in order:
- Confirm that the power source is on.
- Check every cable connection.
- Look for a low-voltage warning from the inverter or power station.
- Open the Starlink app for service alerts.
- Move the dish to a more open area.
- Restart the system only after checking the physical setup.
A weak vehicle outlet or overloaded inverter can cause repeated restarts.
The connection drops often
Frequent drops usually point to obstructions, not a Wi-Fi password problem. Trees, buildings, roof racks, and hills can interrupt the satellite view.
Use the obstruction scan in the Starlink app. If the scan shows blocked areas, move the dish rather than repeatedly rebooting it.
The dish works outside but not inside the car
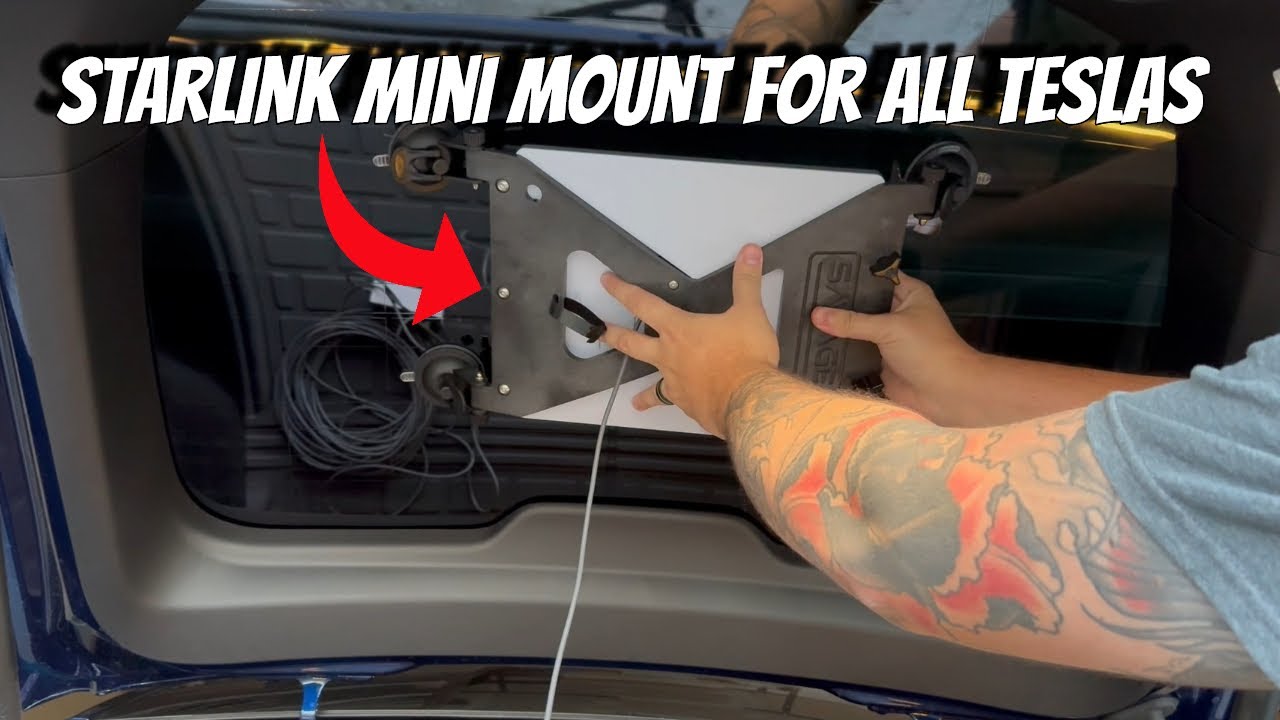
This is expected in many setups. The vehicle body can block the dish’s view of the sky. Keep the dish outside and place the router where people inside the car can reach it.
If the router is outside, protect it from rain only as directed by Starlink’s equipment instructions. Do not seal a device in a hot, airtight container.
The system is slow
Run the test at a different location and time. Starlink performance can vary with satellite availability, network congestion, obstructions, weather, and service-plan conditions.
A crowded campsite may have slower service than an open rural location. A speed test is useful, but latency and stability matter more for video calls.
The dish or cable gets hot
Stop using the system if a cable, connector, inverter, or power adapter becomes unusually hot. Disconnect power and inspect for crushed cables, loose plugs, poor ventilation, or an overloaded circuit.
Do not cover the power supply with clothing or place it next to a heater, engine part, or direct sun-heated surface.

Safety Rules for a Car-Based Starlink Installation
Follow these rules to reduce the risk of damage or injury:
- Never place the dish where it can fall into traffic.
- Do not mount equipment over a windshield, license plate, light, or driver sightline.
- Keep cables away from airbags, pedals, wheels, and hot parts.
- Do not use a damaged cable or connector.
- Do not exceed the vehicle outlet or inverter rating.
- Do not work on permanent wiring while the battery is connected unless you know the proper procedure.
- Do not run the engine in a garage or enclosed building.
- Do not drive with a temporary dish mount.
- Do not assume a roof mount is waterproof without checking its instructions.
- Stop using the system during lightning or other dangerous weather.
If you need a permanent 12-volt circuit, roof penetration, or in-motion mounting, have the work completed by a qualified automotive, RV, or 12-volt electrical installer.

FAQ: Starlink Mini in a Car
Can I use Starlink Mini inside my car?
You can use the Wi-Fi router and connected devices inside the car, but the dish normally needs to be outside with a clear view of the sky. The roof and body may block the satellite signal if you place the dish inside.
Can I power Starlink Mini from a 12-volt outlet?
Possibly, but check the outlet rating and the Starlink Mini power requirements first. A compatible DC adapter may be more efficient than an AC inverter, but the voltage, polarity, connector, and protection must match exactly.
Can Starlink Mini work while my car is moving?
Do not assume it can. Confirm current Starlink support for your exact Mini hardware, plan, and region. You also need a mount and cable installation designed for vehicle motion and must follow local laws.
Will Starlink Mini drain my car battery?
It can if you run it while the engine is off. The risk depends on the battery condition, system power use, and operating time. A portable power station or auxiliary battery is safer for long parked sessions.
Does rain stop Starlink Mini from working?
Light rain may not cause a noticeable problem, but heavy rain, snow, ice, and strong storms can reduce performance or interrupt service. Keep connectors protected and follow the weather and operating limits in the Starlink documentation.
Final Recommendation
For most U.S. drivers, the safest way to install Starlink Mini in a car is to use it as a portable, parked setup. Place the dish outside, give it a clear view of the sky, power it from a correctly rated inverter or portable power station, and keep the cable away from heat and moving parts.
If you need internet while driving, treat that as a separate vehicle-installation project. Verify Starlink’s current in-motion rules before buying a mount, and use professional help for permanent wiring or roof work.
Check the latest information in the Starlink Mini specifications, the Starlink Support Center, your vehicle owner’s manual, and the instructions for your power equipment before installation.